In this guide, we will show you the steps to unbrick your Redmi K40 device via Fastboot Commands. The Chinese smartphone giant runs three different smartphone series, but there’s hardly a shadow of a doubt that its Redmi lineup is the most popular one out there. They tend to bake in a plentitude of features at an extremely affordable price.
While you would have to adjust with in-device ads and bloatwares, but for many, the perks associated with these devices tend to outweighs the aforementioned caveats. Moreover, Xiaomi has itself virtually segregated its Redmi series into two parts- one is the ever so popular Note series that is quite light on your pockets.
The other is the slightly costlier but more feature riched K series. It is this K series of devices that are reaching new heights. In this regard, the newest entry to this list, the K40 device has proven to be quite a popular name in custom development. With truckloads of mods to get your hands on, users are all spoilt for choices.
However, at the same time, complaints of devices getting soft-bricked or in a boot-loop are also lining up. Well, if your device is also currently in the same state, then fret not. In this guide, we will show you the steps to unbrick your Redmi K40 device via Fastboot Commands. Follow along.
Table of Contents
How to Unbrick Redmi K40 via Fastboot Commands
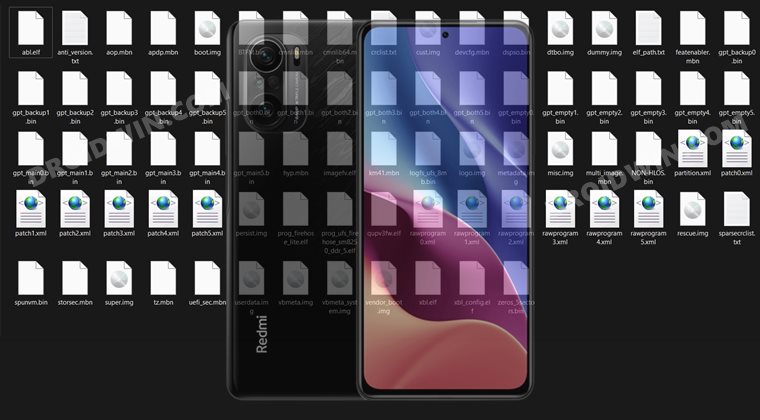
The below instructions are listed under separate sections for ease of understanding. Make sure to follow in the exact same sequence as mentioned. Droidwin and its members wouldn’t be held responsible in case of a thermonuclear war, your alarm doesn’t wake you up, or if anything happens to your device and data by performing the below steps.
STEP 1: Install Android SDK

First and foremost, you will have to install the Android SDK Platform Tools on your PC. This is the official ADB and Fastboot binary provided by Google and is the only recommended one. So download it and then extract it to any convenient location on your PC. Doing so will give you the platform-tools folder, which will be used throughout this guide.
STEP 2: Download Redmi K40 Fastboot ROM
Next up, download the Fastboot ROM for your device. As for this guide, I am using the following ROM file: Redmi K40 V12.5.6.0.RKHCNXM Fastboot ROM (Stable). You are free to try any version of your choice, but it is recommended to try the newer builds only and more importantly, of your region.

Here is how to understand the Xiaomi Fastboot firmware version:
- V12.5.6.0 – Firmware version
- R – Android version (R-> Android 11).
- KH – Smartphone model code (KH = Redmi K40)
- CN – Firmware build type (IN for India | MI for Global | EU for Europe| CN for China)
- XM – Firmware version code
Furthermore, the downloaded firmware file might be in .gz format. So right-click on it, select Rename and change its extension to TGZ. Then reply Yes in the confirmation dialog box. Once that is done, you may extract this TGZ file via WinRAR/7ZIP, etc and proceed ahead to the next step to unbrick Redmi K40 via Fastboot Commands.
STEP 3: Move Redmi K40 Fastboot ROM Files to ADB Folder
- Head over to the folder where you have extracted the firmware.
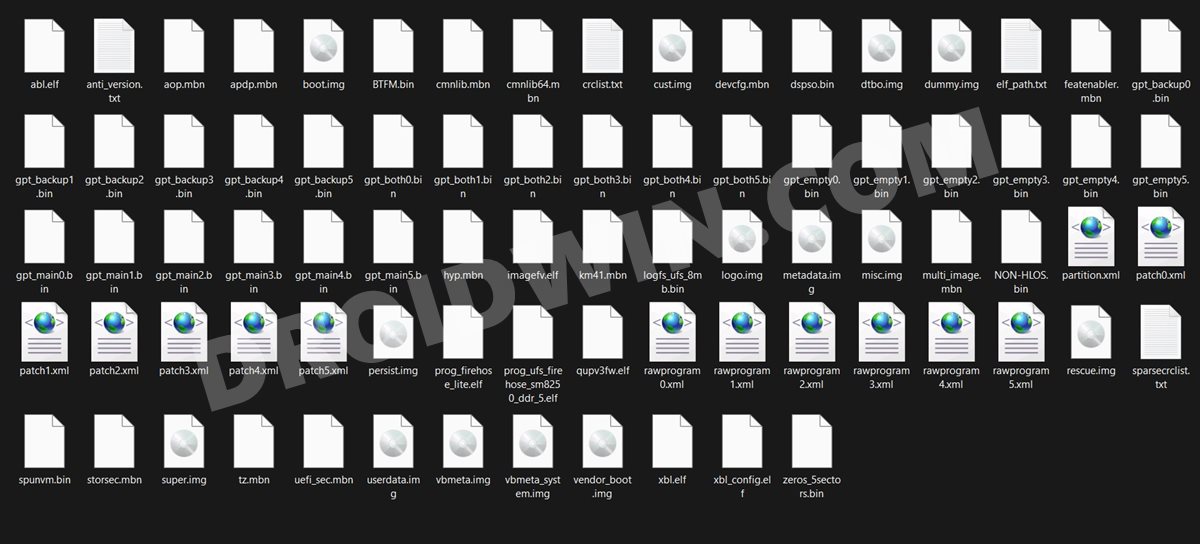
- Then go to the Images folder present inside this extracted firmware and you should find the following files:

- Select all these files via Ctrl+A shortcut keys and copy them to the platform-tools folder. This is the same folder that you have got after installing the Android SDK.
- Once done, proceed to the next step to unbrick your Redmi K40 device via Fastboot Commands.
STEP 4: Boot Bootloop/Soft Bricked Redmi K40 to Fastboot Mode
- First off, boot your device to the Fastboot Mode. For that, power it off.
- If you cannot do so (due to your device being stuck in a bootloop) then the only option left is to let the entire battery drain out.
- Once your device has turned off, press and hold the Volume Down and Power buttons for a few seconds. Then connect it to the charger at the very instance so that it gets some power to boot up to Fastboot Mode.
- This will boot your device to Fastboot Mode. You should see the famous Mi Bunny Logo with the Fastboot text underneath it.
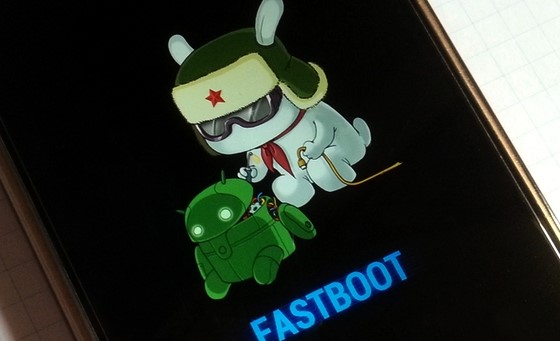
Fastboot Mode in Xiaomi
STEP 5: Unbrick Redmi K40 via Fastboot Commands
- Let’s now start off with the fastboot commands and flash each of these partition files to your device.
- For that, head over to the platform-tools folder where you have extracted the Fastboot ROM.
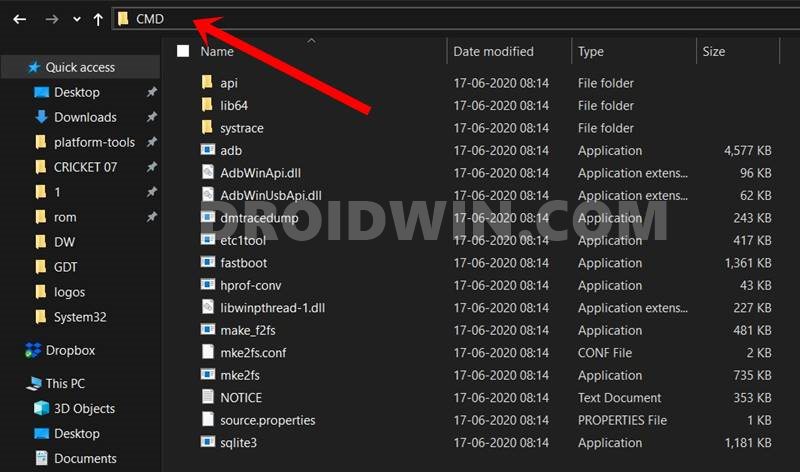
- Go to its address bar, type in CMD, and hit Enter. This will launch the Command Prompt window.

- Now execute the below commands in this CMD window. Don’t copy-paste them all at once, rather execute one command at a time:
fastboot erase boot_ab
fastboot flash xbl_ab xbl.elf
fastboot flash xbl_config_ab xbl_config.elf
fastboot flash abl_ab abl.elf
fastboot flash tz_ab tz.mbn
fastboot flash hyp_ab hyp.mbn
fastboot flash devcfg_ab devcfg.mbn
fastboot flash storsec storsec.mbn
fastboot flash bluetooth_ab BTFM.bin
fastboot flash cmnlib_ab cmnlib.mbn
fastboot flash cmnlib64_ab cmnlib64.mbn
fastboot flash modem_ab NON-HLOS.bin
fastboot flash dsp_ab dspso.bin
fastboot flash keymaster_ab km41.mbn
fastboot flash logo logo.img
fastboot flash featenabler_ab featenabler.mbn
fastboot flash aop_ab aop.mbn
fastboot flash qupfw_ab qupv3fw.elf
fastboot flash uefisecapp_ab uefi_sec.mbn
fastboot flash multiimgoem_ab multi_image.mbn
fastboot flash super super.img
fastboot flash misc misc.img
fastboot flash vbmeta_ab vbmeta.img
fastboot flash dtbo_ab dtbo.img
fastboot flash vbmeta_system_ab vbmeta_system.img
fastboot erase metadata
fastboot flash userdata userdata.img
fastboot flash cust cust.img
fastboot erase imagefv_ab
fastboot flash imagefv_ab imagefv.elf
fastboot flash rescue rescue.img
fastboot flash spunvm spunvm.bin
fastboot flash vendor_boot_ab vendor_boot.img
fastboot flash logfs logfs_ufs_8mb.bin
fastboot flash boot_ab boot.img
fastboot set_active a
fastboot reboot
- Once you have successfully executed all the above commands, your device will reboot to the OS. And your active slot will be set to A (due to the second last command that we executed).
With this, we conclude the guide on how to unbrick Redmi K40 via Fastboot Commands. The best part about this tutorial is the fact that it doesn’t require any Redmi K40 Patched Firehose File (prog_emmc_firehose.mbn) or the prog_firehose_ddr_unbrick.elf file.
Furthermore, we didn’t need to make use of the Mi Flash Tool either. With that said, if you have any queries concerning the aforementioned steps, do let us know in the comments section below. We will get back to you with a solution at the earliest.


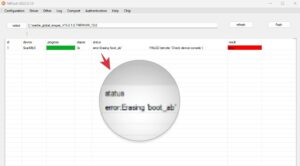


Sochies
there is one difficulty
if the phone is in brick mode (qdloader9008) , then this method will not help, and there is no prog_ufs_firehose_sm8250_ddr_5.elf file on your site