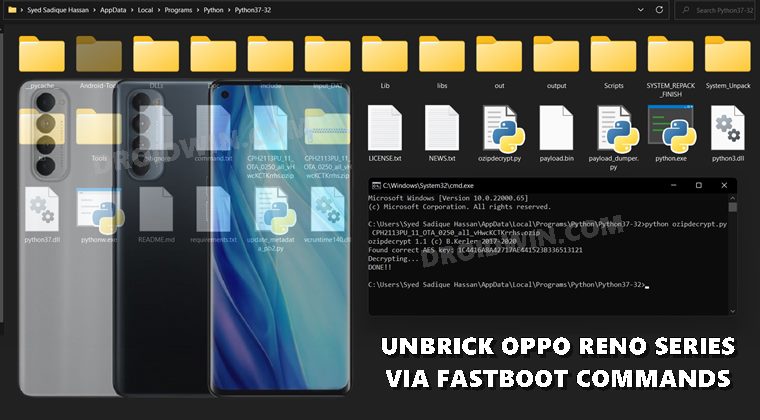
In this comprehensive tutorial, we will show you the steps to unbrick all the Oppo Reno series devices via Fastboot Commands. While the Chinese OEM has quite a few series lined up its sleeves, it’s the Reno one that has caught the attention of the masses. It all started with its unique-looking razer fin shark camera design that made it stand out from the crowds.
Apart from that, these devices also behold an impressive feature set, considering the price segment to which they belong. Likewise, they are also quite active in custom development. Right from unlocking the bootloader to flashing custom ROMs and recoveries, there’s a lot to try out. You may also gain administrative privileges by rooting the device via Magisk. However, all these tweaks bring in a few uninvited risks as well.
If you flash an incorrect binary or mess up with any instructions, then there are chances of your device ending up in a bootloop or soft-bricked state. Fortunately, there’s a handy way out. You could easily unbrick your Oppo Reno series device by flashing the stock firmware via Fastboot Commands. And this guide will show you how to do just that. So without further ado, let’s get started.
Table of Contents
How to Unbrick any Oppo Reno Device via Fastboot Commands
The below instructions are listed under separate sections for ease of understanding. Make sure to follow in the exact same sequence as mentioned. Droidwin and its members wouldn’t be held responsible in case of a thermonuclear war, your alarm doesn’t wake you up, or if anything happens to your device and data by performing the below steps.
Supported Device List
You could unbrick the following Oppo Reno devices using the instructions given in this tutorial:
Unbrick Oppo Reno
Unbrick Oppo Reno 10X Zoom
Unbrick Oppo Reno Z
Unbrick Oppo Reno 2
Unbrick Oppo Reno 2Z
Unbrick Oppo Reno 2F
Unbrick Oppo Reno3
Unbrick Oppo Reno3 Pro
Unbrick Oppo Reno4
Unbrick Oppo Reno4 Pro 5G
Unbrick Oppo Reno5
Unbrick Oppo Reno5 Pro 5G
Unbrick Oppo Reno6
Unbrick Oppo Reno6 Pro 5G
STEP 1: Install Android SDK

First and foremost, you will have to install the Android SDK Platform Tools on your PC. This is the official ADB and Fastboot binary provided by Google and is the only recommended one. So download it and then extract it to any convenient location on your PC. Doing so will give you the platform-tools folder, which will be used throughout this guide.
STEP 2: Boot Device to Fastboot Mode
Since your device is in a bootloop/soft-brick state, you cannot use the adb reboot bootloader command. Hence you will have to opt for the hardware key combinations. Here’s how it could be done:
- To begin with, power off your device (if you can’t do so via the Power key then let the battery drain out).
- Once it turns off, press and hold the Power and Volume Down keys for a few seconds,
- Your device will be booted to Fastboot Mode. Now connect it to the PC via USB cable.
STEP 3: Download Stock Firmware
Next up, you will have to download the stock firmware for your device. You may grab it from Oppo’s official Software Update page. At the time of writing, the stock firmware for Oppo Reno 5 and 6 series isn’t available on that page. So users having those devices would have to download the firmware from any other trustworthy site.
STEP 4: Extract Oppo OZIP Firmware
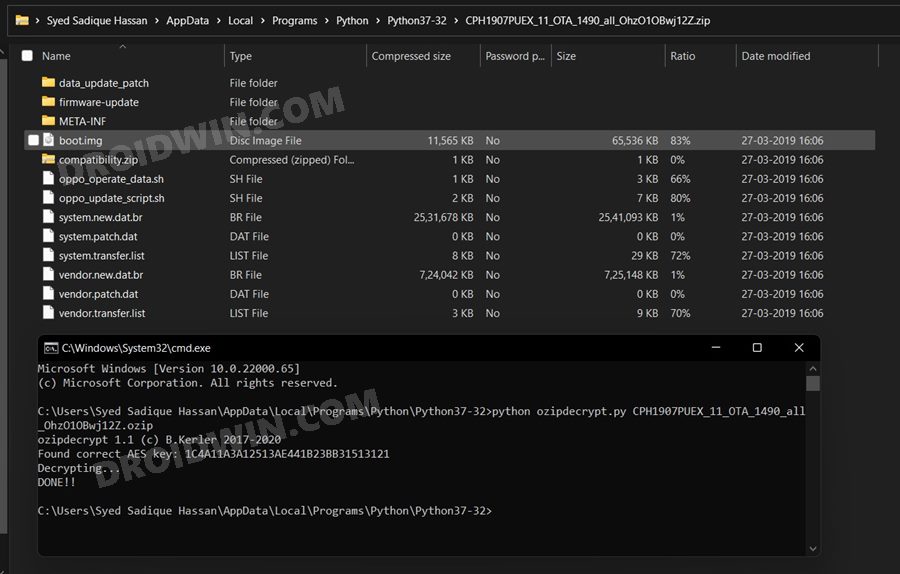
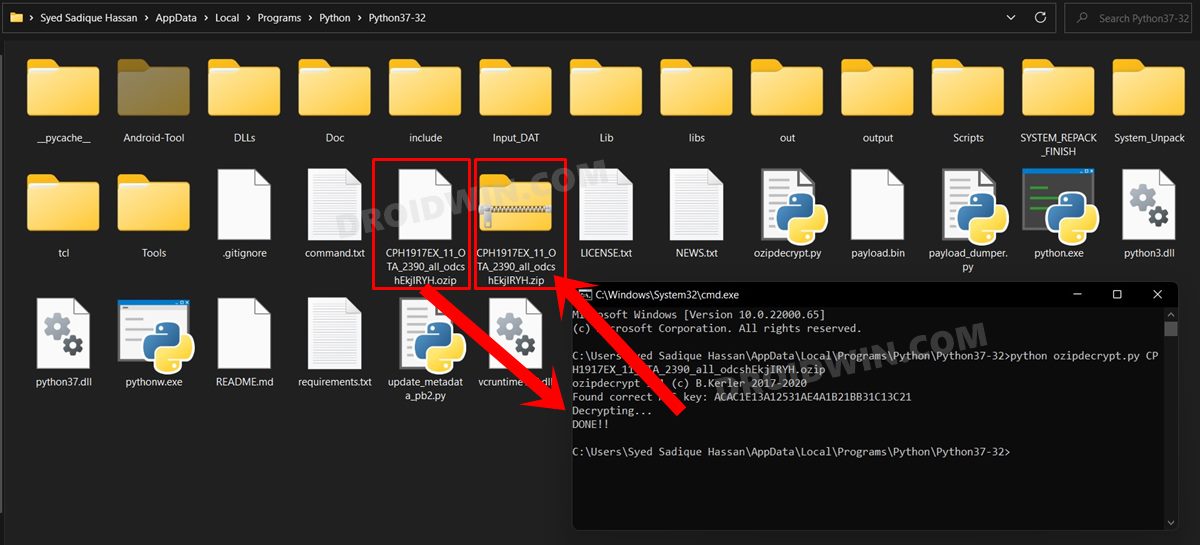
The firmware that you have downloaded will be in OZIP format. You will have to convert it to ZIP. For that, please refer to our detailed guide: How to Extract OZIP Realme Stock ROM (Firmware).
STEP 5: Download URTool
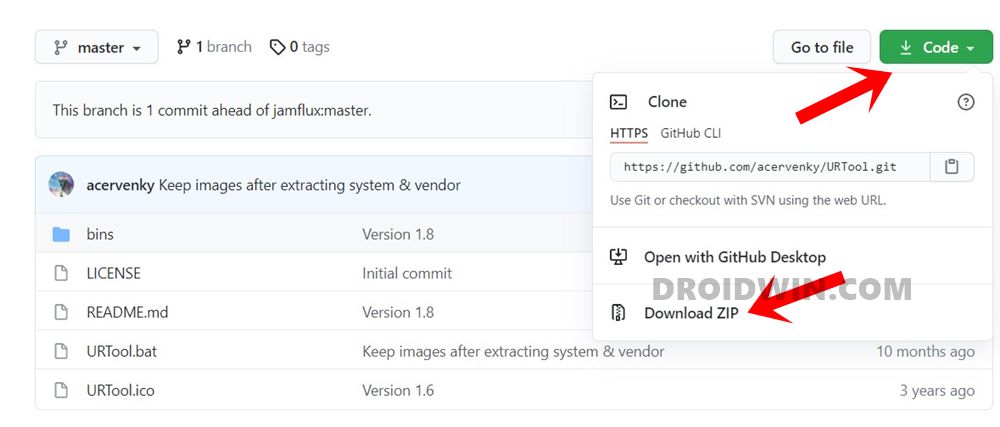
Download the URTool from GitHub [Credits: XDA Recognized Contributor acervenky] and extract it to any convenient location on your PC. This tool will be used to extract the dat.br files (the system.new.dat.br and vendor.new.dat.br files).
STEP 6: Set up the Working Environment
- Once you have extracted the OZIP firmware, you will get the resultant ZIP firmware file.
- Extract it using any software of your choice (WinRAR, 7ZIP, etc).

- Upon extraction, you shall see the boot.img file. Copy it and transfer it to the platform-tools folder on your PC.

- Next up, again go back to the extracted firmware and this time head over to the firmware-update folder.

- Copy all the files of that folder and transfer them to the platform-tools folder as well.
STEP 7: Extract Oppo dat.br Files
- You will now have to extract the system.new.dat.br and vendor.new.dat.br files.
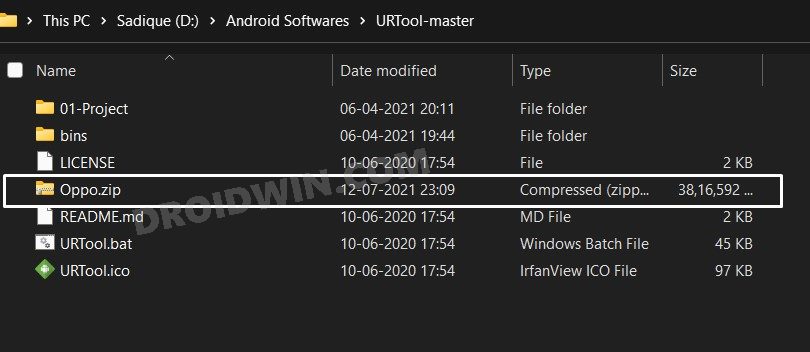
- Copy-paste the firmware ZIP file that you had got after converting OZIP to ZIP. Then transfer this firmware ZIP file to the URTool folder.

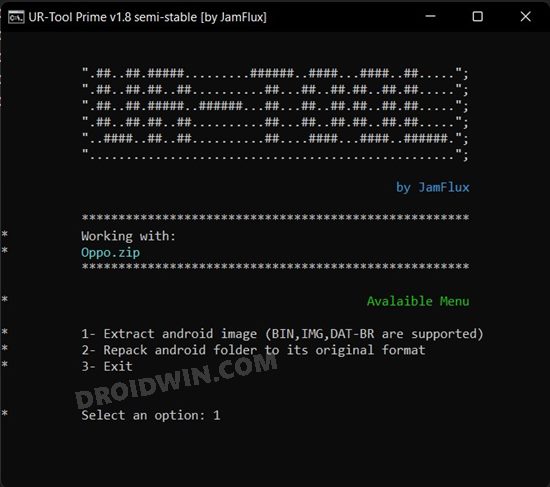
- After that, double click on the URTool.bat to launch the tool.
- The Tool will now read the file and display the same in the window. Type in the corresponding file number in the window and hit Enter (if there’s only one ZIP file, then it would be 1).

- Then select the Extract Android Image option. For that, type in 1 and hit Enter.

- Extraction will now begin and could take a few minutes.

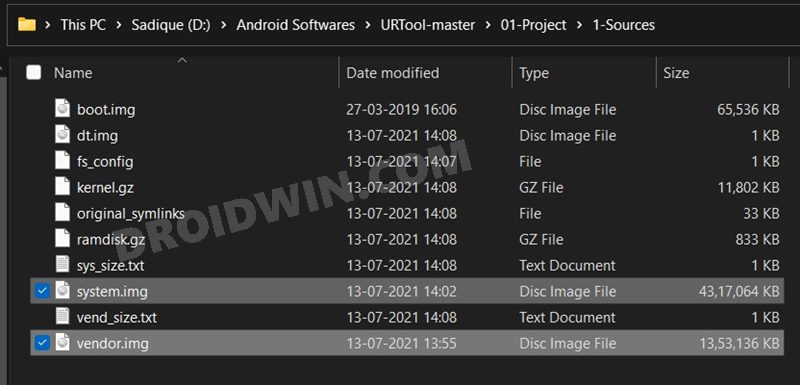
- Once the extraction is done, the files will be placed under the URTool-master > 01-Project> 1-Sources folder.

- Copy the system.img and vendor.img files from there and transfer them to the platform-tools folder.
STEP 8: Unbrick Oppo via Fastboot Commands
- Before moving ahead, verify that you have the following files in the platform-tools folder: boot.img, system.img, vendor.img, and all the files from the firmware-update folder.
- If that is all well and good, then head over to the platform-tools folder, type in CMD in the address bar, and hit Enter. This shall launch the Command Prompt window.

- Now type in each of the below commands, one at a time, in this CMD window to flash the Oppo stock firmware (if you get an error while executing a command, skip that command and move over to the next one. Never leave the command screen in between):
fastboot flash abl abl.img
fastboot flash aop aop.img
fastboot flash bluetooth BTFM.img
fastboot flash boot boot.img
fastboot flash cmnlib cmnlib.img
fastboot flash cmnlib64 cmnlib64.img
fastboot flash devcfg devcfg.img
fastboot flash dsp dspso.img
fastboot flash dtbo dtbo.img
fastboot flash hyp hyp.img
fastboot flash imagefv imagefv.img
fastboot flash keymaster keymaster64.img
fastboot flash modem modem.img
fastboot flash qupfw qupv3fw.img
fastboot flash system system.img
fastboot flash splash splash.img
fastboot flash storsec storsec.img
fastboot flash tz tz.img
fastboot flash uefisecapp uefisecapp.img
fastboot flash vbmeta vbmeta.img
fastboot flash vbmeta_system vbmeta_system.img
fastboot flash vbmeta_vendor vbmeta_vendor.img
fastboot flash vendor vendor.img
fastboot flash xbl xbl.img
fastboot flash xbl_config xbl_config.img
fastboot reboot
- The last command will boot your device back to the OS and your task stands complete.
So this is all from this guide on how you could unbrick any Oppo Reno series device via Fastboot Commands. No doubt the process is somewhat lengthy and could also be tagged as complicated by some, but as of now, that is the only way out. With that said, if you have any queries concerning the aforementioned steps, do let us know in the comments section below. We will get back to you with a solution at the earliest.
