In this guide, we will show you the steps to unbrick your OnePlus 9RT by flashing the stock firmware via Fastboot Commands. The OEM is going through a rough patch as of late, and its decision to OxygenOS in favor of ColorOS did no good either. However, in spite of that, there has always been one domain where these devices have excelled- and that is custom development. Be it for flashing custom ROMs or installing a custom recovery, there’s a lot to look forward to.
Likewise, you could also gain administrative privileges by rooting your device via Magisk. This in turn will allow you to flash a plentitude of mods and binaries. However, it goes without saying that all these tweaks do come in with a few added risks as well. If not done correctly, your device may end up in a bootloop or get soft-bricked. But even if that happens, you could easily unbrick your OnePlus 9RT by flashing the stock firmware via Fastboot Commands. And in this guide, we will show you how to do just that. Follow along.
Table of Contents
Unbrick OnePlus 9RT: Flash Firmware via Fastboot Commands

The below instructions are listed under separate sections for ease of understanding. Make sure to follow in the same sequence as mentioned. Droidwin and its members wouldn’t be held responsible in case of a thermonuclear war, your alarm doesn’t wake you up, or if anything happens to your device and data by performing the below steps.
STEP 1: Install Android SDK

First and foremost, you will have to install the Android SDK Platform Tools on your PC. This is the official ADB and Fastboot binary provided by Google and is the only recommended one. So download it and then extract it to any convenient location on your PC. Doing so will give you the platform-tools folder, which will be used throughout this guide to root your OnePlus 9RT via Magisk.
STEP 2: Download OnePlus 9RT OxygenOS/ColorOS Firmware
Next up, download the stock firmware for your OnePlus 9RT device from the below link. At the time of writing, the official site of OnePlus hasn’t uploaded the firmware. But still, we have managed to grab hold of the OxygenOS 11 and ColorOS 12 firmware for your OnePlus 9RT from various sources [XDA and Chinese OnePlus Forums], which you may get hold of from the below link.
OnePlus 9RT OxygenOS and ColorOS Firmware Collection: Download Link
STEP 3: Extract OnePlus 9RT Payload.bin
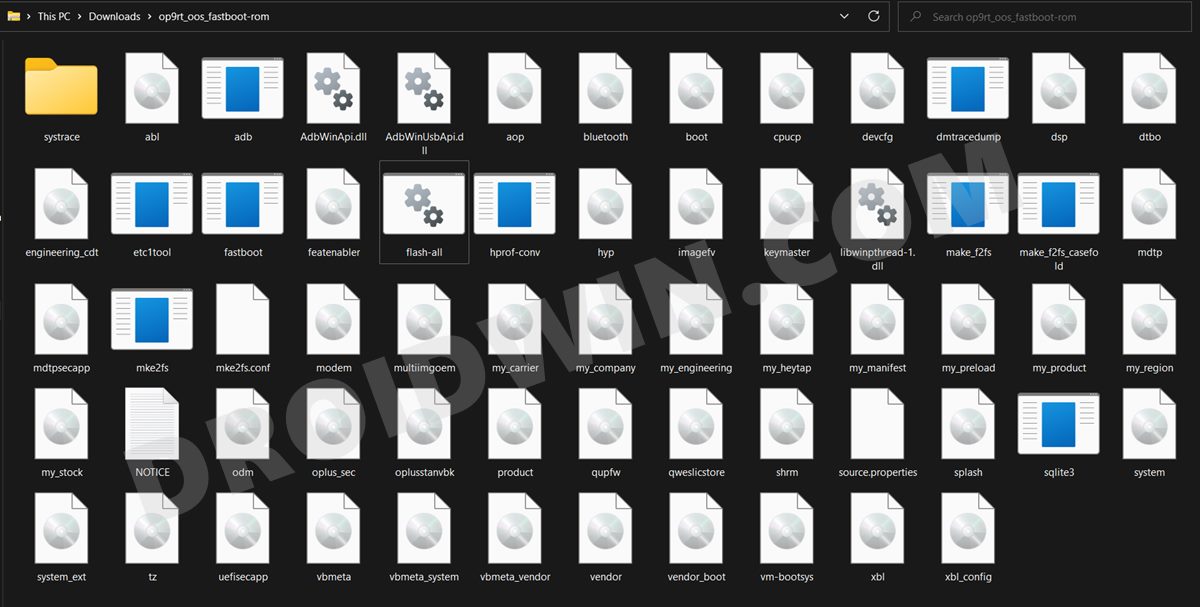
If you have downloaded the OxygenOS 11 firmware, then it is already a Fastboot ROM. So simply extract it via WinZIP/WinRAR to the platform-tools folder on your PC.
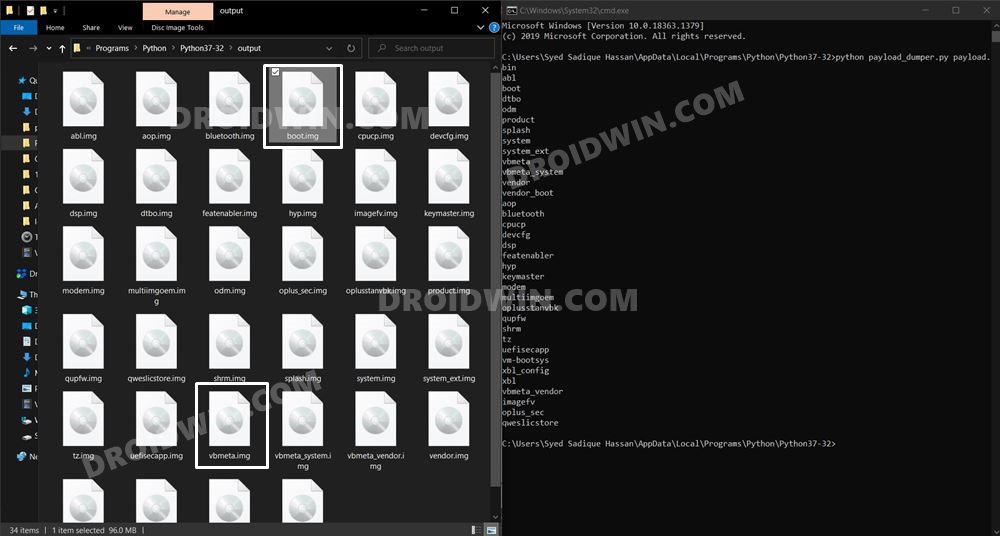
On the other hand, if you have downloaded the ColorOS 12 ROM, then it would be as a payload.bin file. So refer to our guide on How to Extract OnePlus Payload.bin file. Once extracted, you will get the required partition files, transfer all of them to the platform-tools folder.
STEP 4: Boot Bricked OnePlus 9RT to Fastboot Mode
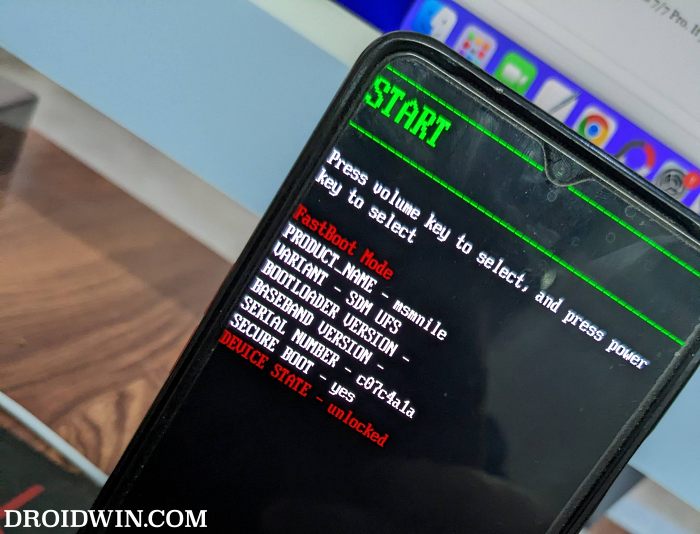
In most cases, a soft-bricked or boot looped device might already be in the Fastboot Mode. However, if you are stuck in a bootloop, then long-press the Power key to turn it off. Then press and hold the Power and Volume Down keys (or Power and Volume Up in some devices) together to boot your device to Fastboot Mode.

However, if you are unable to power off the device, then let its battery drain out. Once that happens, connect it to the charger. Then as soon as it is about to boot up, use the Power and Volume Up/Down keys and it will straightaway boot to Fastboot Mode.
STEP 5: Format Device via Fastboot
- Head over to the platform-tools folder where the extracted ROM is present.
- Then go to its address bar, type in CMD in its address and hit Enter. This will launch the CMD window.

- Now execute the below command to perform a factory reset (optional but recommended)
fastboot -w

STEP 6: Flash boot, dtbo, and vendor_boot
- You will now have to flash the boot, dtbo, and vendor_boot files.
- So execute the below three fastboot commands, one at a time:
fastboot flash boot boot.img
fastboot flash dtbo dtbo.img
fastboot flash vendor_boot vendor_boot.img
- Next up, boot your device to FastbootD Mode using the below command:
fastboot reboot fastboot
STEP 7: Flash Partition Files on Both Slots in FastbootD Mode
After that, use the following fastboot commands to flash the files to their respective partitions on your OnePlus 9RT, which is booted to FastbootD Mode:
fastboot flash --slot=all abl abl.img
fastboot flash --slot=all aop aop.img
fastboot flash --slot=all bluetooth bluetooth.img
fastboot flash --slot=all cpucp cpucp.img
fastboot flash --slot=all devcfg devcfg.img
fastboot flash --slot=all dsp dsp.img
fastboot flash --slot=all engineering_cdt engineering_cdt.img
fastboot flash --slot=all featenabler featenabler.img
fastboot flash --slot=all hyp hyp.img
fastboot flash --slot=all imagefv imagefv.img
fastboot flash --slot=all keymaster keymaster.img
fastboot flash --slot=all mdtp mdtp.img
fastboot flash --slot=all mdtpsecapp mdtpsecapp.img
fastboot flash --slot=all modem modem.img
fastboot flash --slot=all multiimgoem multiimgoem.img
fastboot flash --slot=all oplus_sec oplus_sec.img
fastboot flash --slot=all oplusstanvbk oplusstanvbk.img
fastboot flash --slot=all qupfw qupfw.img
fastboot flash --slot=all qweslicstore qweslicstore.img
fastboot flash --slot=all shrm shrm.img
fastboot flash --slot=all splash splash.img
fastboot flash --slot=all tz tz.img
fastboot flash --slot=all uefisecapp uefisecapp.img
fastboot flash --slot=all vm-bootsys vm-bootsys.img
fastboot flash --slot=all xbl xbl.img
fastboot flash --slot=all xbl_config xbl_config.img
STEP 8: Disable Vbmeta
Next up, disable the vbmeta, vbmeta_system and vbmeta_vendor checks on your OnePlus 9RT via the following three fastboot commands:
fastboot flash --disable-verity --disable-verification vbmeta vbmeta.img
fastboot flash --disable-verity --disable-verification vbmeta_system vbmeta_system.img
fastboot flash --disable-verity --disable-verification vbmeta_vendor vbmeta_vendor.img
STEP 9: Resize Partitions [in case of cross-flashing]
Now, if you are doing cross flashing, i.e. flashing OxygenOS over ColorOS, then you will have to resize partitions as well. So execute the below commands for that. On the other hand, if you are doing the normal flashing, i.e. flashing OxygenOS on Global OnePlus 9RT and ColorOS on the China variant, then you don’t need to resize partitions and you may directly move over to the STEP 10.
fastboot delete-logical-partition odm_a
fastboot delete-logical-partition odm_b
fastboot delete-logical-partition system_a
fastboot delete-logical-partition system_b
fastboot delete-logical-partition system_ext_a
fastboot delete-logical-partition system_ext_b
fastboot delete-logical-partition product_a
fastboot delete-logical-partition product_b
fastboot delete-logical-partition vendor_a
fastboot delete-logical-partition vendor_b
fastboot delete-logical-partition my_carrier_a
fastboot delete-logical-partition my_carrier_b
fastboot delete-logical-partition my_company_a
fastboot delete-logical-partition mu_company_b
fastboot delete-logical-partition my_engineering_a
fastboot delete-logical-partition my_engineering_b
fastboot delete-logical-partition my_heytap_a
fastboot delete-logical-partition my_heytap_b
fastboot delete-logical-partition my_manifest_a
fastboot delete-logical-partition my_manifest_b
fastboot delete-logical-partition my_preload_a
fastboot delete-logical-partition my_preload_b
fastboot delete-logical-partition my_product_a
fastboot delete-logical-partition my_product_b
fastboot delete-logical-partition my_region_a
fastboot delete-logical-partition my_region_b
fastboot delete-logical-partition my_stock_a
fastboot delete-logical-partition my_stock_b
fastboot create-logical-partition odm_a 1
fastboot create-logical-partition odm_b 1
fastboot create-logical-partition system_a 1
fastboot create-logical-partition system_b 1
fastboot create-logical-partition system_ext_a 1
fastboot create-logical-partition system_ext_b 1
fastboot create-logical-partition product_a 1
fastboot create-logical-partition product_b 1
fastboot create-logical-partition vendor_a 1
fastboot create-logical-partition vendor_b 1
fastboot create-logical-partition my_carrier_a 1
fastboot create-logical-partition my_carrier_b 1
fastboot create-logical-partition my_company_a 1
fastboot create-logical-partition my_company_b 1
fastboot create-logical-partition my_engineering_a 1
fastboot create-logical-partition my_engineering_b 1
fastboot create-logical-partition my_heytap_a 1
fastboot create-logical-partition my_heytap_b 1
fastboot create-logical-partition my_manifest_a 1
fastboot create-logical-partition my_manifest_b 1
fastboot create-logical-partition my_preload_a 1
fastboot create-logical-partition my_preload_b 1
fastboot create-logical-partition my_product_a 1
fastboot create-logical-partition my_product_b 1
fastboot create-logical-partition my_region_a 1
fastboot create-logical-partition my_region_b 1
fastboot create-logical-partition my_stock_a 1
fastboot create-logical-partition my_stock_b 1
STEP 10: Flash Logical Partition Files
You may now proceed ahead to flash the logical partition files onto your OnePlus 9RT via Fastboot Commands:
fastboot flash vendor vendor.img
fastboot flash odm odm.img
fastboot flash system system.img
fastboot flash system_ext system_ext.img
fastboot flash product product.img
fastboot flash my_carrier my_carrier.img
fastboot flash my_company my_company.img
fastboot flash my_engineering my_engineering.img
fastboot flash my_heytap my_heytap.img
fastboot flash my_manifest my_manifest.img
fastboot flash my_preload my_preload.img
fastboot flash my_product my_product.img
fastboot flash my_region my_region.img
fastboot flash my_stock my_stock.img
Finally, execute the below command to boot your device to the OS:
fastboot reboot
That’s it. These were the steps to unbrick your OnePlus 9RT by flashing the stock firmware via Fastboot Commands. If you have any queries concerning the aforementioned steps, do let us know in the comments section below. We will get back to you with a solution at the earliest.
Method 2: Unbrick OnePlus 9RT via Fastboot Enhance
This is a tool created by XDA Senior Member xzr467706992 and beholds a slew of intriguing features, including the ability to directly flash the payload.bin file, without the need to even manually extract it first. Do note that even though this tool was created for OnePlus 8T but it should work across other OnePlus devices too. [Well, I have personally tested it on OnePlus 7T and OnePlus 10 Pro, it works well and good even on those devices].
STEP 1: Download Fastboot Enhance Tool
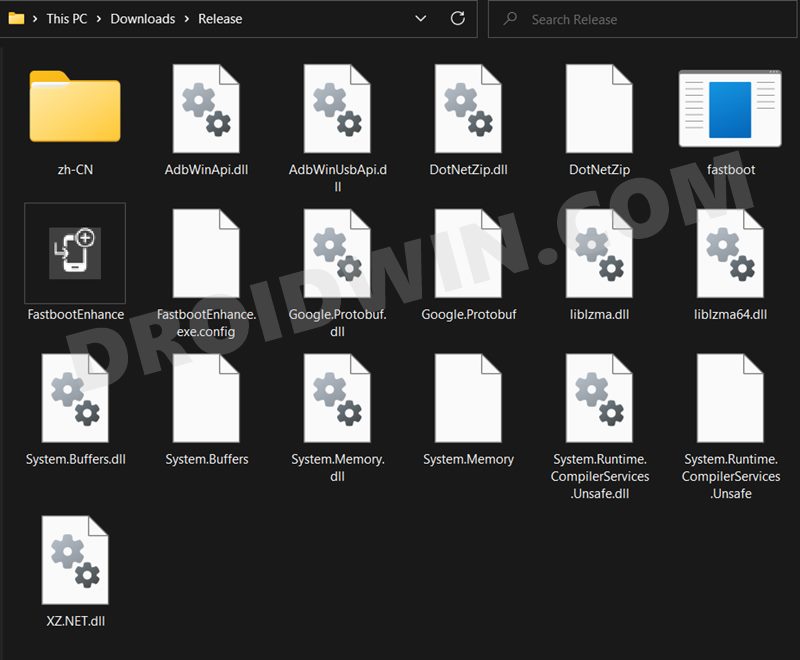
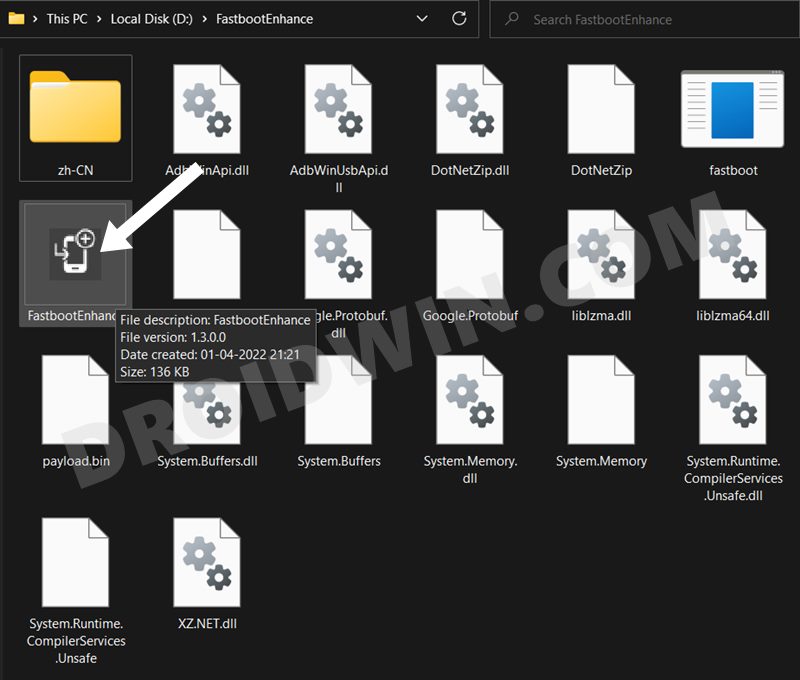
Download the Fastboot Enhance Tool from GitHub [direct link]. Once downloaded, extract it to any convenient location on your PC. The biggest advantage of this tool is that you could directory flash the payload.bin file, there is no need to extract it and get the resultant IMG files!
STEP 2: Download OnePlus OnePlus 9RT ROM
- Next up, get hold of the firmware for your device from below:
OnePlus 9RT Stock Firmware
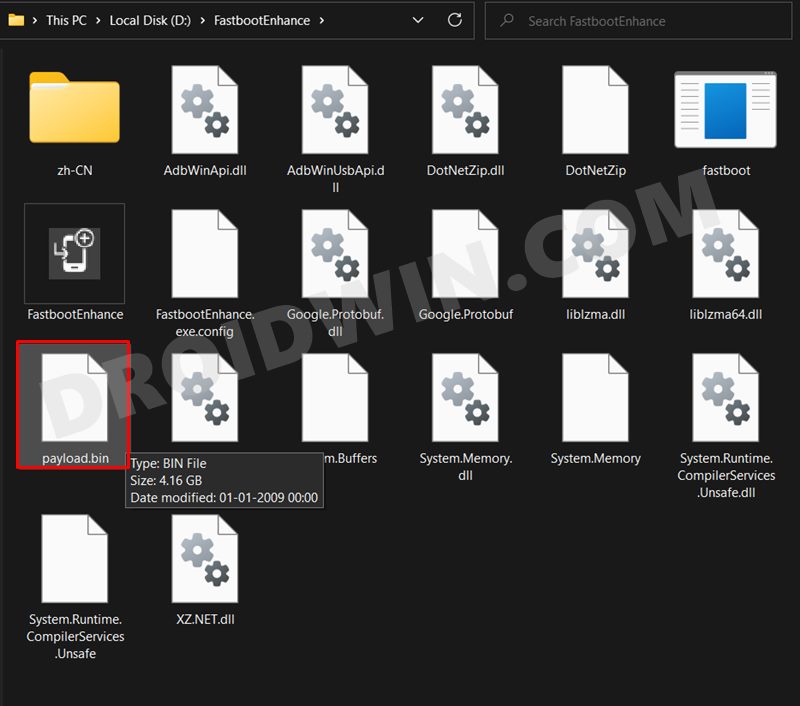
- Once downloaded, extract it and transfer the resultant payload.bin file to the Fastboot Enhance Tool folder.
STEP 3: Install Android SDK
Next up, install the Android SDK Platform Tools on your PC. This is the official ADB and Fastboot binary provided by Google and is the only recommended one. So download it and then extract it to any convenient location on your PC. Doing so will give you the platform tools folder, which will be used throughout this guide.
STEP 4: Install Fastboot Drivers
The tool doesn’t come with the Fastboot Drivers, so you will manually have to install it on your PC. For that, please refer to our guide on How to Install Fastboot Drivers in Windows 11. Likewise, make sure to install the OnePlus USB Drivers as well [they are usually automatically installed as soon as you connect your device to the Windows PC for the first time].
STEP 5: Boot to Fastboot Mode
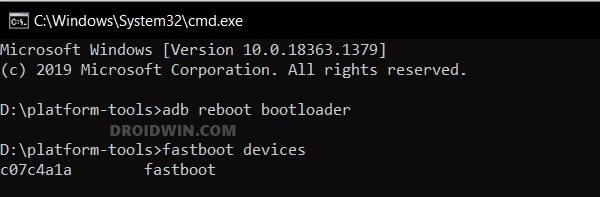
- Since your device is currently in a brick state, you wouldn’t be able to use the adb reboot bootloader command to boot your device to Fastboot Mode. Rather, you will have to take the help of the Hardware key combinations to get this job done.
- Once booted, type in the below command and you should get back the device ID. This signifies that the Fastboot connection stands successful.
fastboot devices
STEP 6: Flash Downgrade Firmware on OnePlus 9R via Fastboot
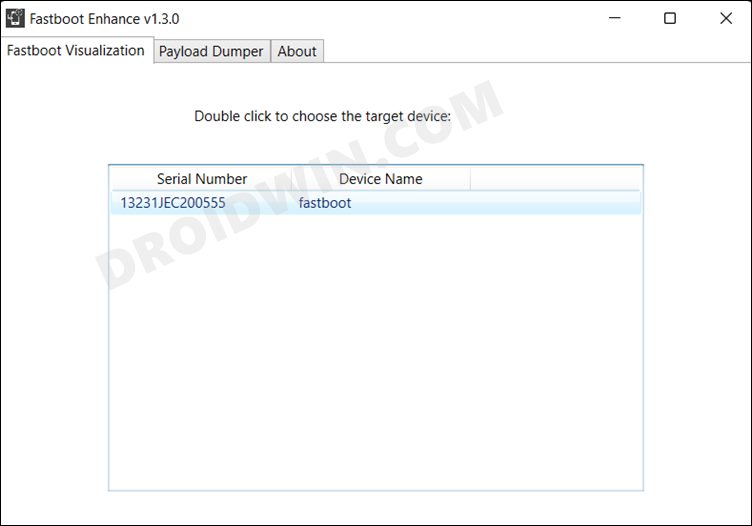
- To begin with, launch the Fastboot Enhance Tool via its EXE file.
- Your device should be listed under the Fastboot Virtualization tab, select it.
- After that, click on the Reboot to FastbootD button.
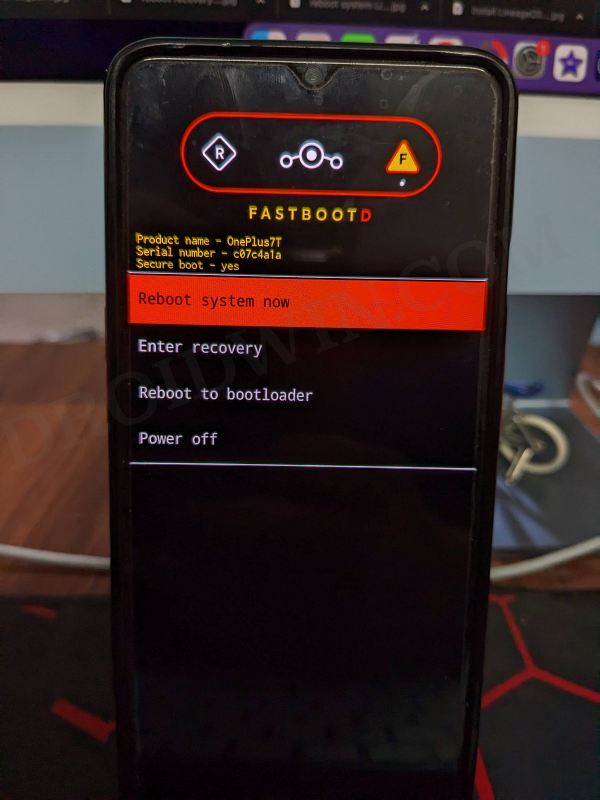
- Your device will boot to FastbootD Mode.
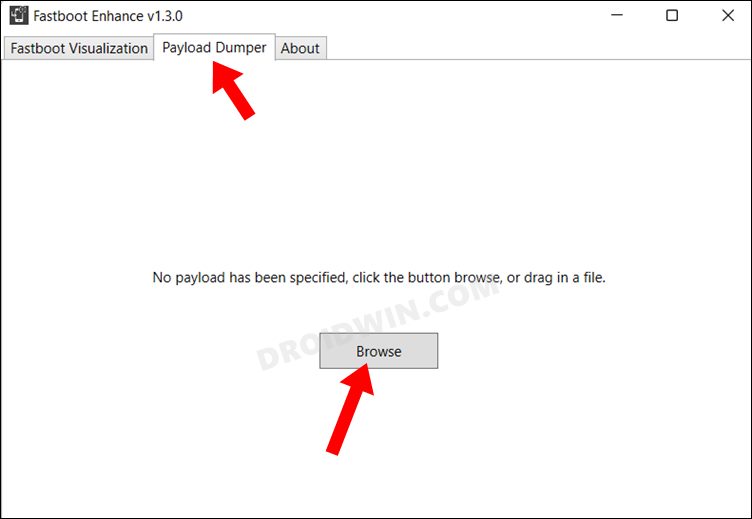
- Now go to the Payload Dumper tab and click on Browse.
- Navigate to the payload.bin file, select it and click Open.
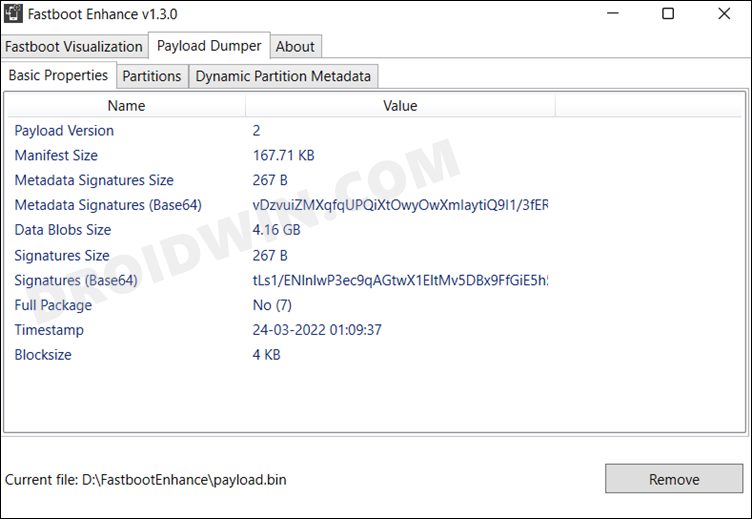
- The file will now be loaded in the tool, displaying the resultant information.
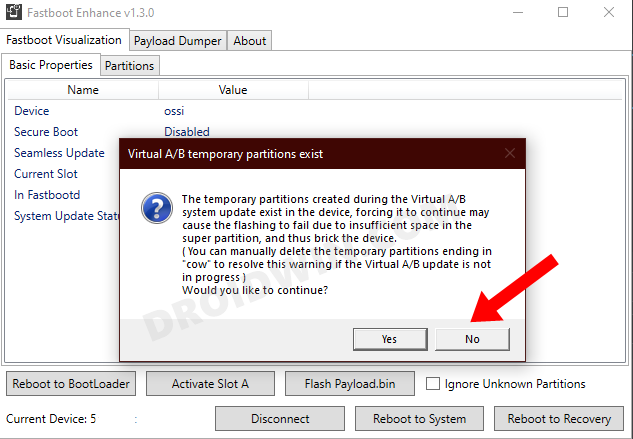
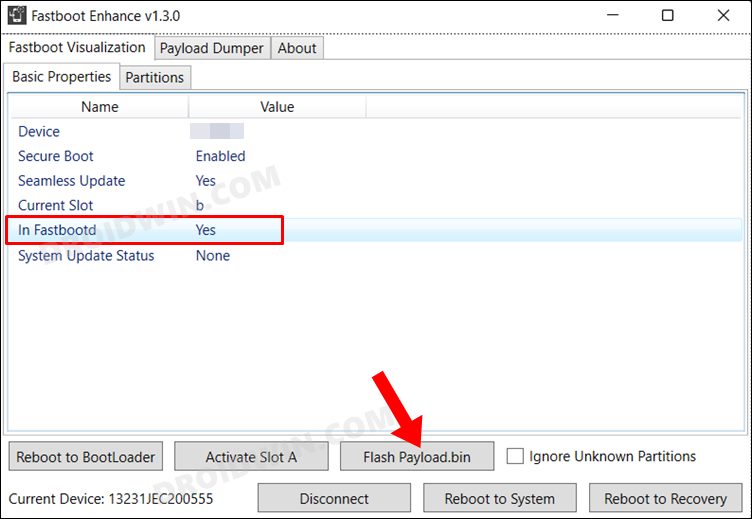
- Now go to the Fastboot Virtualization tab and click on Flash payload.bin. If the flashing starts, well and good.
- However, if you get the ‘Virtual A/B temporary partitions exist’ popup, then click on No.
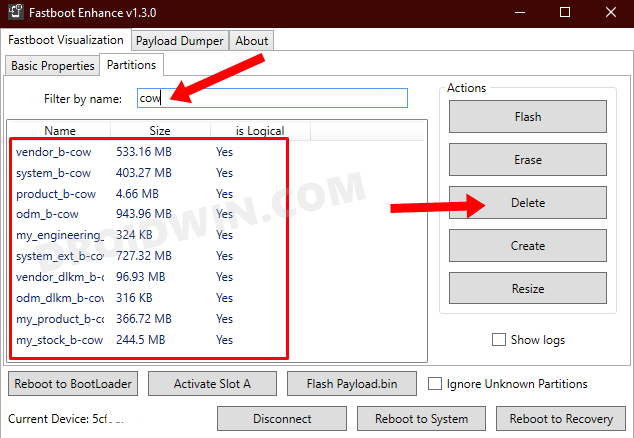
- After that, go to the Partitions tab and type in cow in the Filter by name box.
- Select all the partitions from the results that have cow in their name and hit the Delete button.
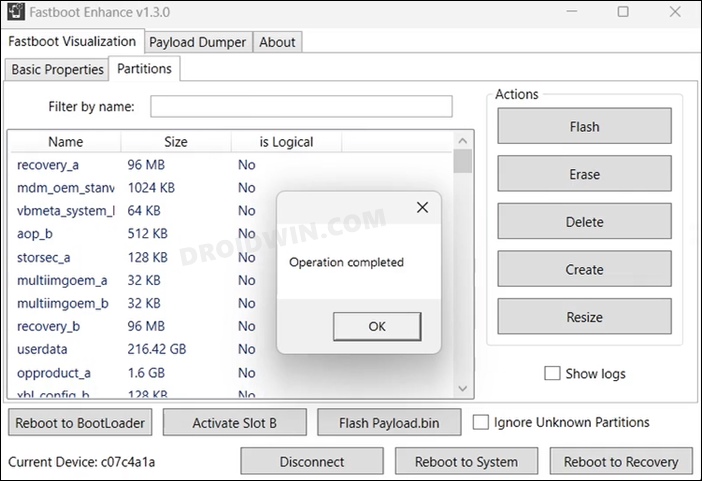
- Once done, click on Flash payload.bin. This time the flashing will start without any issues.
- Once complete, you will be notified of the same. You may now boot to the OS by clicking on Reboot to System.


Edward
My device is not detected in cmd while my phone is in fastbootD mode, only in fastboot mode. Would this be a problem to the process?