In this guide, we will show you the steps to set a custom MAC address on your Android device. A Media Access Control address is a unique identifier assigned to a network interface that could. be used as a network address for identification during communication. In this regard, if we talk about the Android ecosystem, then by default, it is set to follow a randomized MAC address. With that said, there did exist an option for rooted users to set their own addresses.
However, beginning with Android 12, Google has changed its implementation of MAC address randomization and has infact made it next to impossible even for the rooted users to get this job done. But we did manage to find a nifty workaround using which you could bypass this restriction and set a custom MAC address on your Android device. So without further ado, let’s check out how this could be carried out.
How to Set a Custom MAC Address/Change MAC Address on Android
- To begin with, root your device via Magisk.
- Then install the LSPosed app on your device.
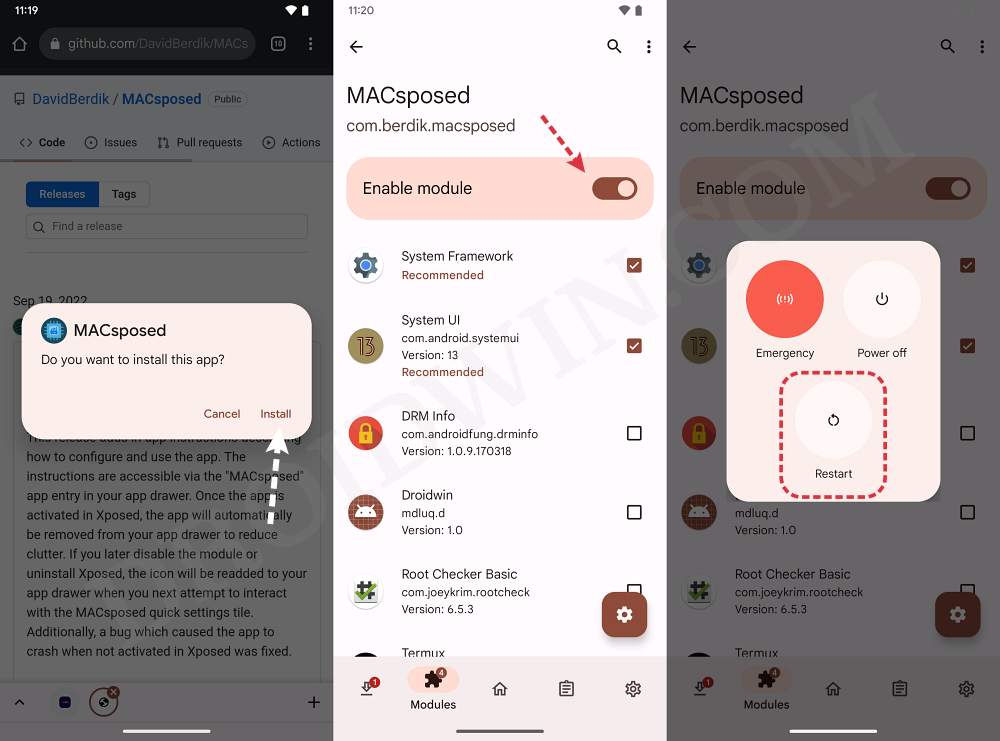
- Now download and install MACsposed from GitHub.
- Then launch LSPosed, go to Modules, and enable the toggle next to MACsposed.

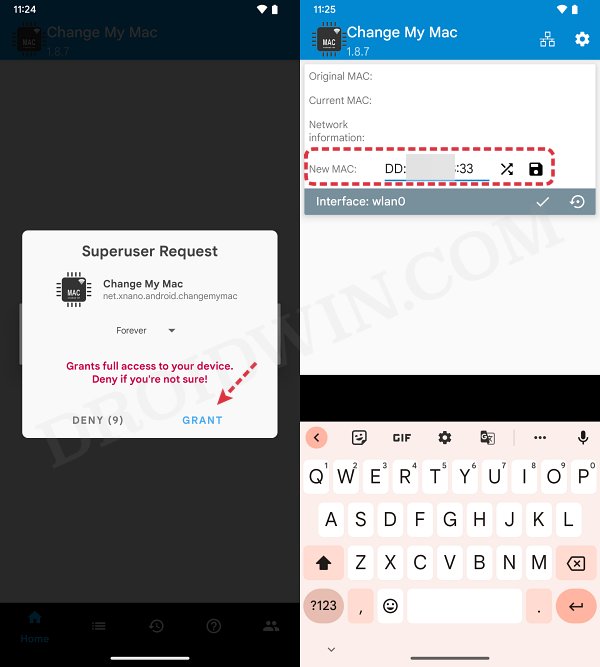
- Once done, restart your device. Now install a MAC changer app [such as Change My MAC].
- Then launch the app, grant it the Magisk request, and input the desired new MAC address.
- Finally, hit the floppy button to save the changes.
That’s it. These were the steps to set a custom MAC address on your Android device. If you have any queries concerning the aforementioned steps, do let us know in the comments. We will get back to you with a solution at the earliest.


