In this guide, we will show you the steps to unbrick your Realme GT Neo 2 via the Prog_Firehose_DDR4 file and QPST. Stepping into custom development always brings in a few associated risks with itself. In this regard, if your device is in a bootloop or soft brick state, then you could easily bring it back to life by flashing the firmware via Fastboot. But the real challenge arises when the device is hard bricked, as the Fastboot Mode is no longer accessible.
Fortunately, devices with Qualcomm chipsets come with an Emergency Download Mode that could be used for unbrick purposes by flashing the firmware via a Qualcomm-specific tool [QPST, QFIL, etc]. So by making full use of the same, this guide will make you aware of the steps to unbrick your Realme GT Neo 2 via the Prog_Firehose_DDR4 file and QPST. Follow along.
Table of Contents
Prog_Firehose_DDR4 for Realme GT Neo 2: Unbrick via QPST
The below instructions are listed under separate sections for ease of understanding. Make sure to follow the same sequence as mentioned. Droidwin and its members wouldn’t be held responsible in case of a thermonuclear war, your alarm doesn’t wake you up, or if anything happens to your device and data by performing the below steps. [Credits: XDA Member s3my0n].
STEP 1: Download the Required Files
- To begin with, download the device firmware corresponding to your region:
India RUI 3.0\C.08
China RUI 2.0\A.11
- Then download and install the Qualcomm MTK Drivers on your Windows PC.
Q_COM_MTK_Driver.zip
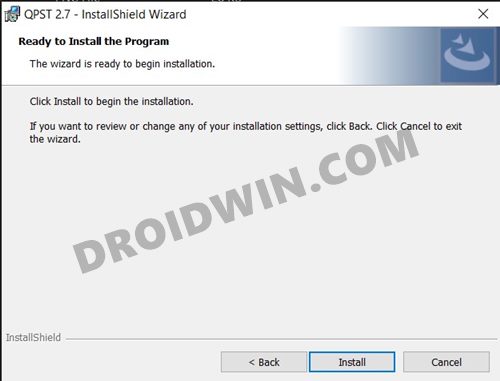
- Now download and install the QPST Tool and the Prog_Firehose_DD4 files:
QPST_2.7.49.6 and prog_firehose_ddr4_fwupdate.elf

- Finally, download and install the EDL Drivers from below:
Qualcomm HS-USB QDLoader 9008
STEP 2: Setup QFIL
- Once you have installed QPST, head over to the Start menu and search QFIL [QFIL is part of QPST]
- You should see QFIL under QPST, so right-click on it [QFIL] and select Run as administrator.
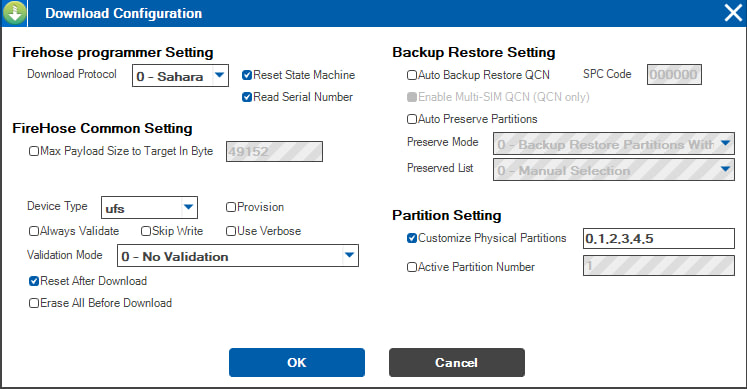
- Now click on the top of the Configuration-FireHose Configuration program and input the following details:
Download protocol: 0-Sahara
Device Type: UFS
Validation Mode: 0- No Validation
Check: Reset After Download, Reset State Machine, Read Serial Number
Customize Physical Partition: 0,1,2,3,4,5
- Once done, go back to the main menu and select Flat Build in the Select Build Type.
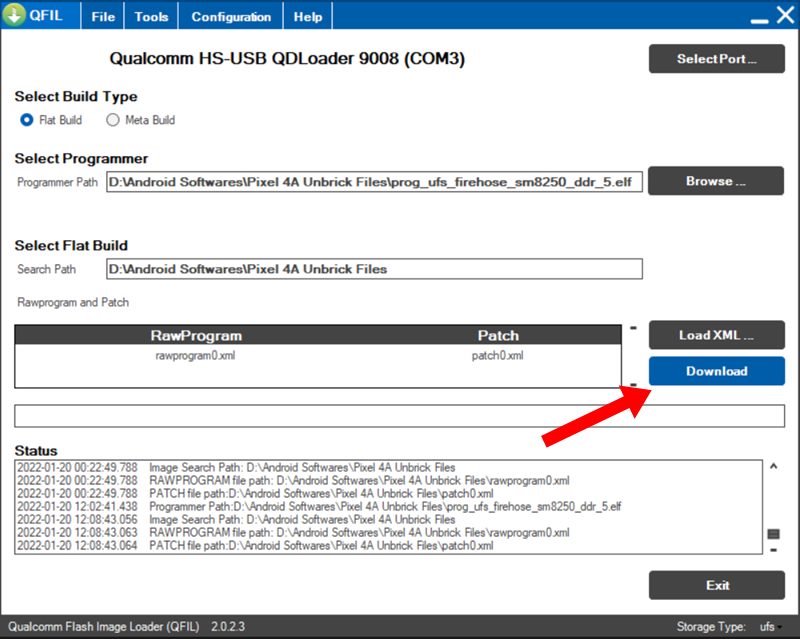
- Now under the Select Programmer item, click Browse and select the prog_firehose_ddr4_fwupdate.elf.
- Then click Load XML and select all six rawprograms files [rawprogram0.xml to rawprogram5.xml].
- After that, select all six patch files [patch0.xml to patch 5.xml] and load them to the tool as well.
STEP 3: Boot the Device to EDL Mode
- Plug one end of the USB cable into your PC and keep the other end free.
- Then power off your phone. Now press and hold the Volume Up and Down keys.
- While pressing both keys, connect it to the other end of the USB cable.
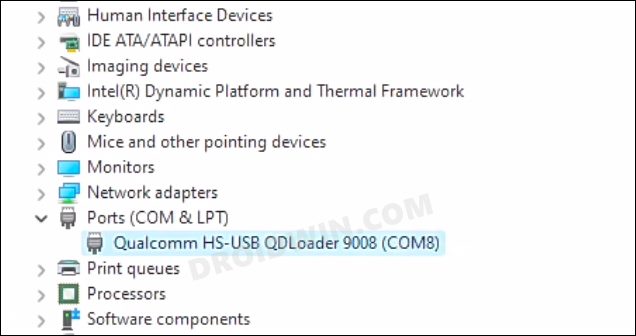
- Your device will now boot to EDL Mode. To verify the same, launch Device manager.
- Under the Ports section, it should be listed as Qualcomm HS-USB QDLoader 9008.
STEP 4: Flash Firmware via QFIL
- As soon as the device is booted to EDL, click Select Port in QFIL and then select the detected port.
- Now click OK and then at the bottom of the program, click Download. The flashing will now begin.
- Once done, your device will boot to the Recovery Mode which will be in Chinese.
- So select the first line with hieroglyphs, and the device will boot to the Recovery Mode in English.
- Wipe/Format Data from the Recovery. Once done, your device will now boot to the OS!
That’s it. These were the steps to unbrick your Realme GT Neo 2 via the Prog_Firehose_DDR4 file and QPST. If you have any queries concerning the aforementioned steps, do let us know in the comments. We will get back to you with a solution at the earliest.