In this guide, we will show you the steps to install the TWRP Recovery on your Galaxy Tab S7/S7 Plus. While the tablet domain isn’t the same as it used to be before, but there are still quite a few noteworthy names. Among them, it is no hidden secret that the offering from the South Korean giants is the absolute best in this domain. Boasting an impressive specs sheet, it beholds all the impressive features that one could have asked for from a tablet belonging to this price range.
And that’s not it. The tablet is also performing exceptionally well in custom development too. Be it for flashing custom ROMs, gaining administrative privileges by rooting it via Magisk patched boot.img.lz4, or trying out a plethora of mods, there’s a lot to look forward to. However, you wouldn’t be able to flash any of these tweaks unless you have a working custom recovery. So in this guide, we will show you the steps to install the TWRP Recovery on your Galaxy Tab S7/S7 Plus. Follow along.
Table of Contents
How to Install TWRP Recovery on Galaxy Tab S7/S7 Plus
The below process will wipe off all the data from your device, so take a complete device backup beforehand. Droidwin and its members wouldn’t be held responsible in case of a thermonuclear war, your alarm doesn’t wake you up, or if anything happens to your device and data by performing the below steps.
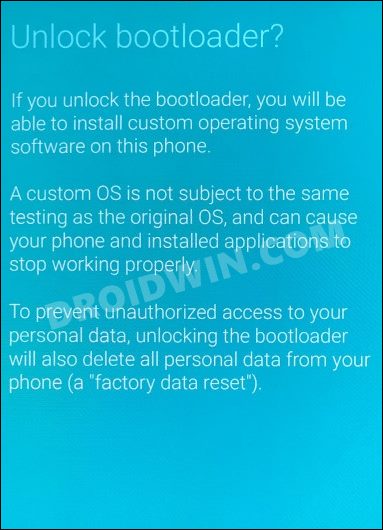
STEP 1: Unlock Bootloader on Galaxy Tab S7/S7 Plus
First and foremost, you need to unlock the bootloader on your device. Do note that doing so will wipe off all the data from your device and would trip the Knox as well. So if that’s well and good, then refer to our guide on How to Unlock Bootloader Samsung Galaxy Tab S7/S7 Plus.
STEP 2: Download TWRP for Galaxy Tab S7/S7 Plus
Next up, get hold of the TWRP recovery file for your device model number from the below links
Galaxy Tab S7+ T978U, T978U1 and T978W AND Galaxy Tab S7 T878U, T878U1 and T878W: Download Link
Galaxy Tab S7+ 5G (T976B), Wi-Fi-only T970: Download Link
STEP 3: Download vbmeta tar and multidisabler
You will also have to download the vbmeta to disable the verity checks and mulitdisabler to remove the decryption [these devices utilize proprietary file-based encryption (FBE) in its factory state for the user data partition, so we will have to remove the decryption before proceeding ahead]. Moreover, transfer the multidisabler-samsung-3.x.zip to your device once downloaded.
STEP 4: Download Odin
- To begin with, download the Odin Tool from this link.
- Then extract it to a convenient location on your PC.

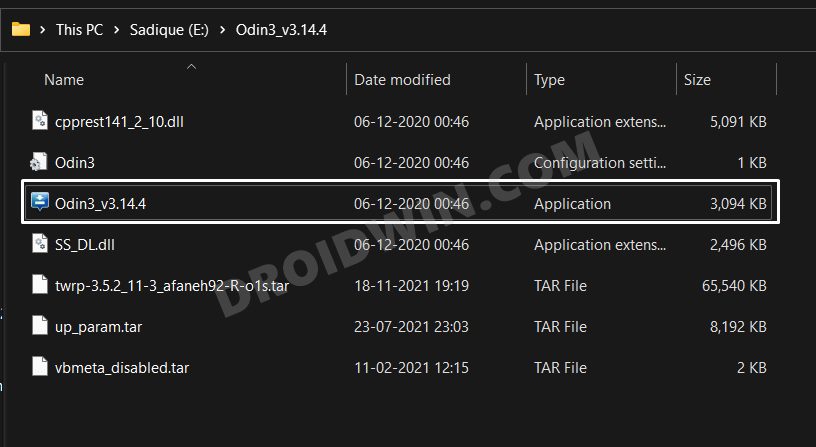
- After that, head over to the folder where you have extracted the tool.
- Finally, double-click on the Odin3_v3.14.4 EXE file to launch the tool.
STEP 5: Boot to Download Mode
You will now have to boot your Galaxy Tab S7 to Download Mode so that Odin is able to identify it and hence allows us to carry out the flashing of the patched vbmeta and the recovery files. So refer to our guide to Boot any Samsung Device to Download Mode. Or check out the below direct instructions:
- Start by powering off your device,
- Then press and hold Vol Up + Vol Down together and connect your device to the PC via USB cable.
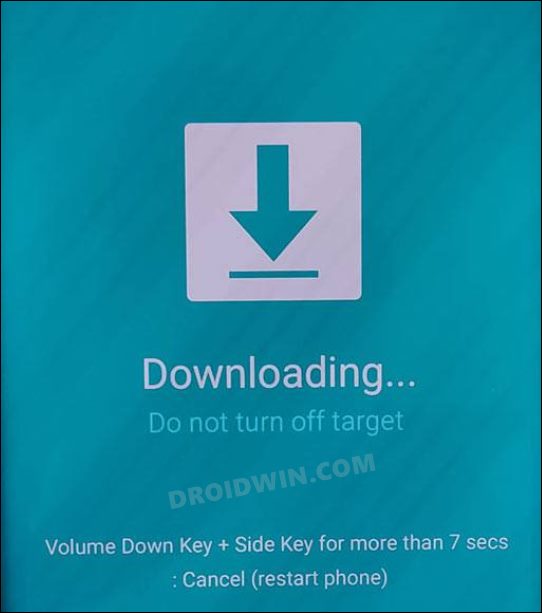
- As soon as you see the Warning message on your device, release the pressed keys.
- Finally, press the Volume Up key once and your device will be booted to Download Mode.
STEP 6: Flash Vbmeta on Galaxy Tab S7/S7 Plus
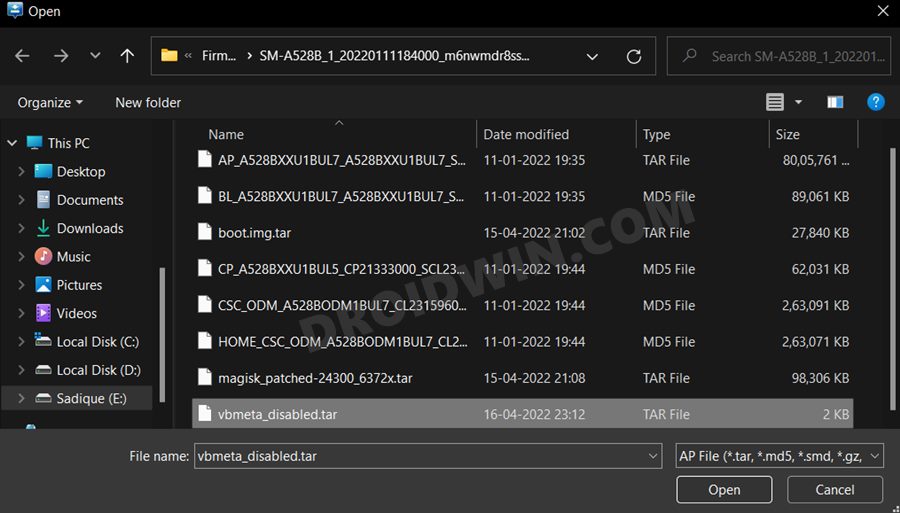
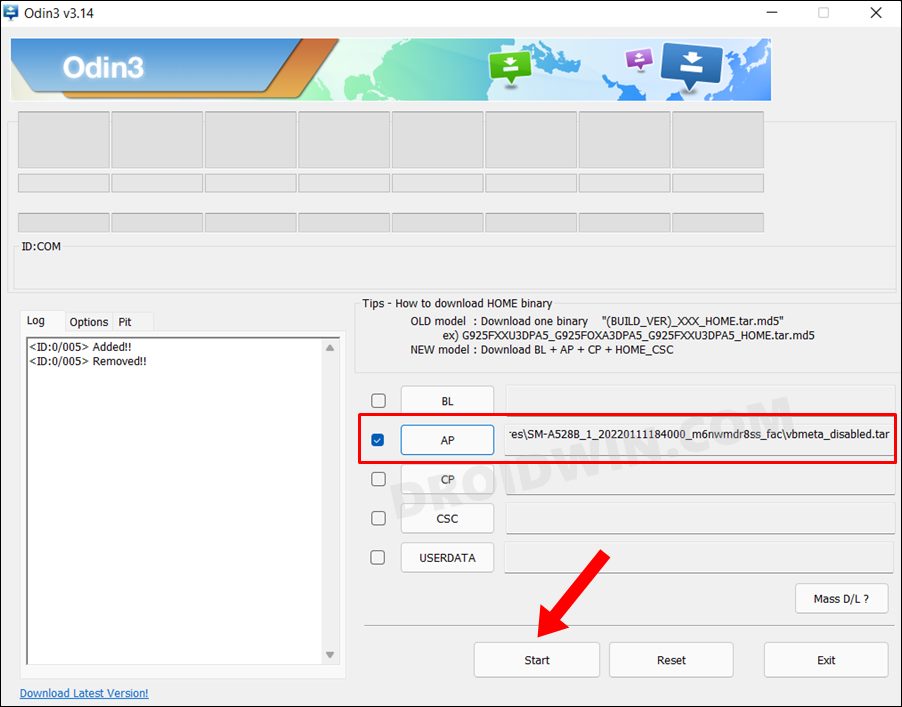
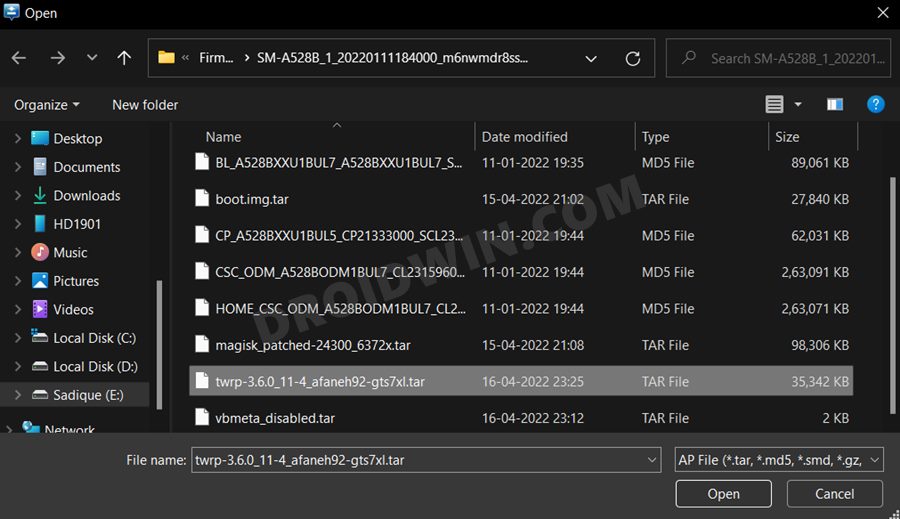
- Click on the AP button, navigate to the vbmeta.tar file and select it.
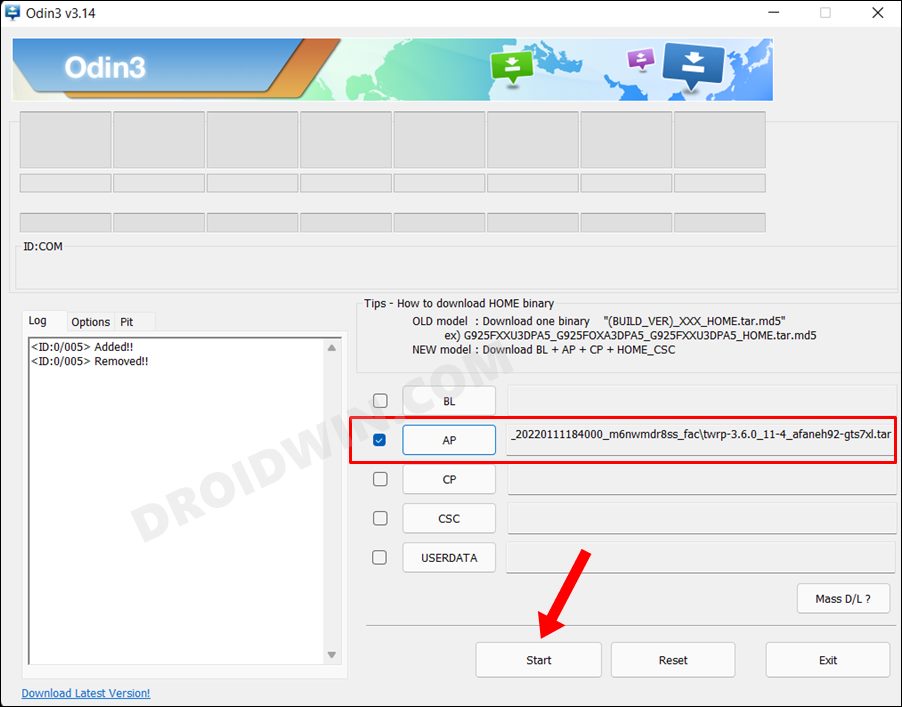
- Now click on the Start button. The file will be flashed onto your device.
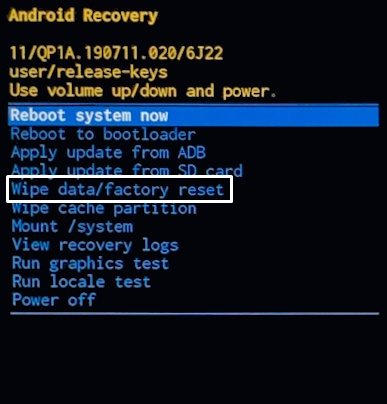
- Once done, the device will reboot to stock recovery. Select the option to wipe the data.
- Once done, again boot to the Download Mode.
STEP 7: Install TWRP on Galaxy Tab S7/S7 Plus via Odin
- Click on the AP button, navigate to the TWRP.tar file and select it.
- Now click on the Start button. TWRP will be flashed onto your device.
- Once done, reboot your device to the TWRP recovery via hardware key combinations.
STEP 8: Remove Encryption on Galaxy Tab S7/S7 Plus
- Transfer the multidisabler-samsung-3.x.zip file to your device via any of the three methods.
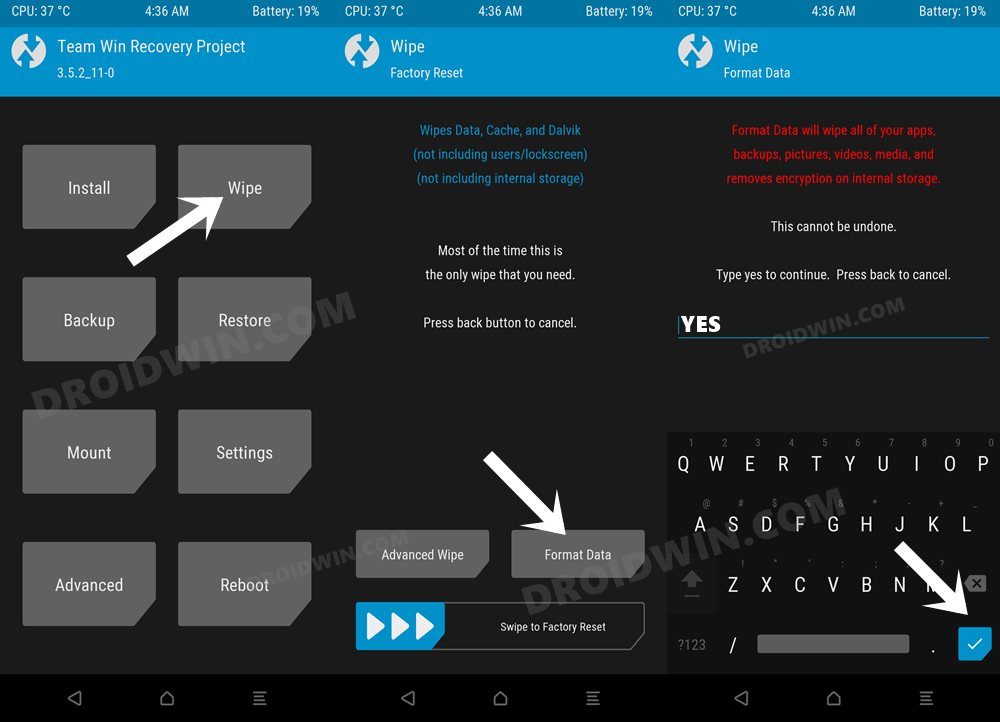
- Then go to Install, select the multidisabler-samsung-3.x.zip file and perform a right swipe to flash it.
- After that, go to Wipe and tap on Format Data. Then type in YES in the space provided and hit Enter.
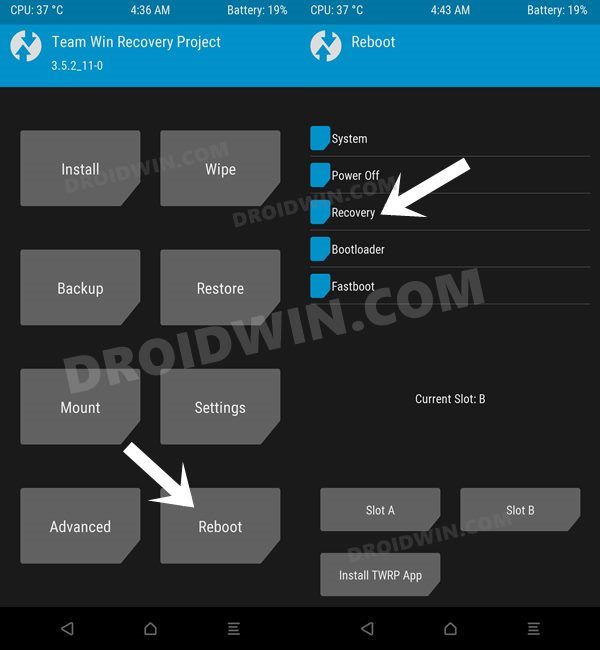
- Once the format is complete, go to Reboot and select Recovery. Your device will reboot to TWRP.
- [If you want to root your device, then send the Magisk app to your device and flash it via TWRP.]
- Finally, go to Reboot and select System. Your device will now boot to the OS.
That’s it. these were the steps to install the TWRP Recovery on your Galaxy Tab S7/S7 Plus. If you have any queries concerning the aforementioned steps, do let us know in the comments. We will get back to you with a solution at the earliest.