In this tutorial, we will be showing you how to install stock firmware on Motorola One Vision via Fastboot Commands. Follow along!
The device was launched in May 2019 and comes with some decent specs. With a slightly weird 21:9 aspect ratio, the device comes with 4GB RAM and 128GB Storage. Furthermore, the dual camera is 48 MP, f/1.7, (wide), and 5 MP, f/2.2, (depth). It is also capable of recording videos at 2160p@30fps and 1080p@30/60fps.
Similarly, being part of the Android One program, the device will also receive Android 11 official update. Currently, it is running on Android 10.0. And if you wish to flash the stock firmware on Motorola One Vision via fastboot commands, well then you have come to the right place. There are many reasons why you would like to flash the stock firmware via fastboot.
But the major reasons include updating your device to a newer OS by flashing the firmware of any other region (if it is not yet available in your own region). Similarly, if you have bricked your Motorola One Vision, you could easily unbrick it by flashing stock firmware via fastboot commands. With that said, here are the required instructions.
Table of Contents
Important Note
If you’re flashing the stock firmware of the same region to which your device belongs, theirs no need to unlock your bootloader. However, if you’re flashing any other region’s stock firmware on your Motorola One Vision via Fastboot, an unlocked bootloader is definitely required.
For example, many Motorola One Vision users prefer to flash RETAIL build over their device, because it’s the first to be updated over the air. With that said, here is what needs to be done if you wish to flash Stock Firmware via Fastboot Commands on Motorola One Vision.
Requirements
- Unlocked Bootloader, if flashing some other region’s firmware.
- Download and install Android SDK and Platform-Tools on your PC.
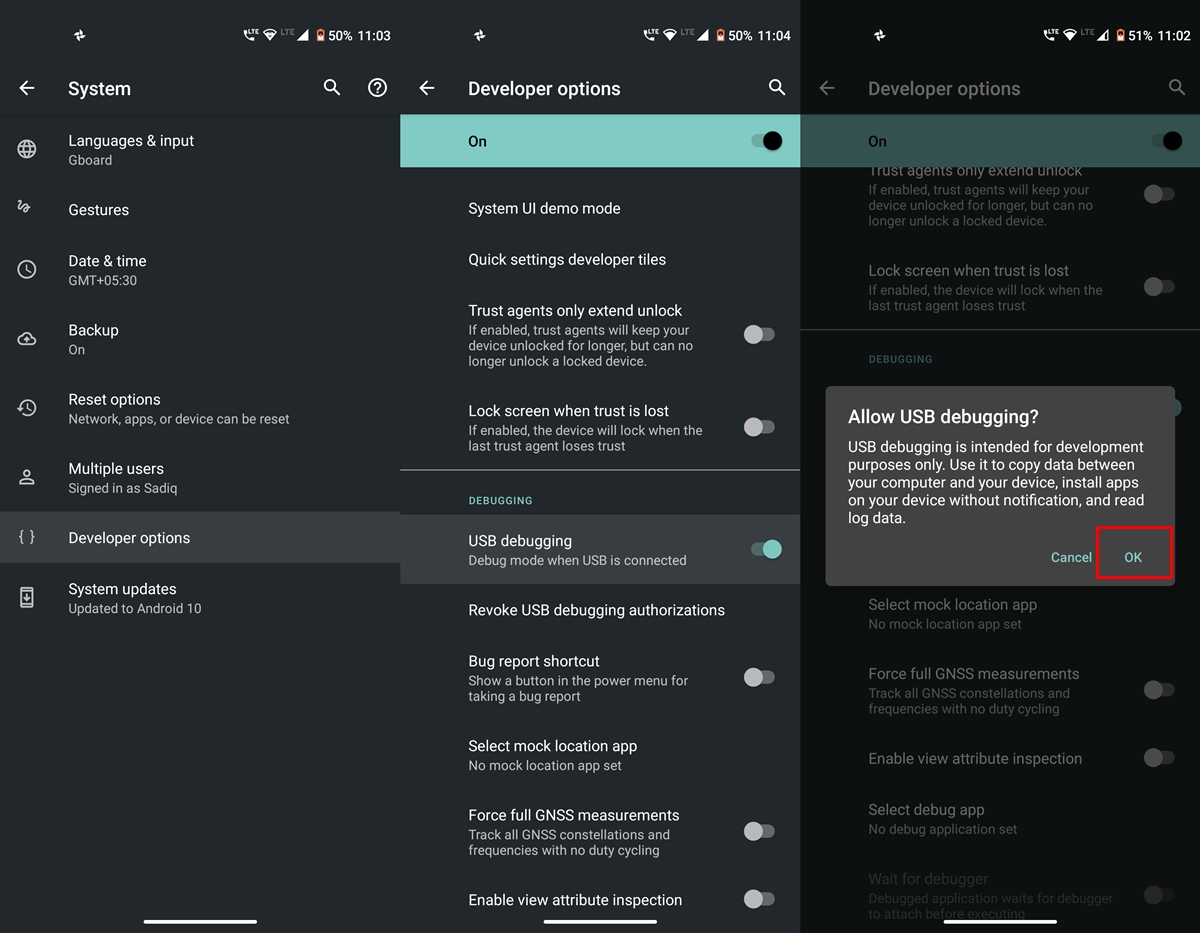
- Also, make sure to enable Developer Option and henceforth USB Debugging.

Enable USB Debugging Motorola One Vision - Complete Backup of your Moto device.
- Finally, download the firmware for Moto One Vision for your region from below.
Motorola One Vision Stock Firmware Collection
How to Install Stock Firmware on Motorola One Vision via Fastboot
Before beginning with the steps make sure you’re flashing the Android 10 based firmware. The commands won’t work for ANdroid 9.0 Pie-based firmware. If anyone of you is still using Moto One Vision on Android 9.0 (which hardly anyone of you would be), then please let me know in the comments. I will accordingly add for that Android version as well.
- Extract the downloaded stock firmware inside the platform-tools folder on your PC.
- Connect your device to PC via USB Cable. Make sure USB Debugging has been enabled.
- Now boot your device to Fastboot Mode. For that, use the hardware key combinations or inside the platform tool folder, type cmd in the address bar. This should open Command Prompt. Enter the below command to boot Motorola One Vision to fastboot:
adb reboot bootloader
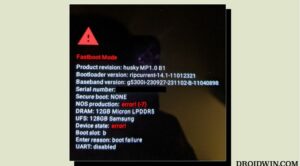
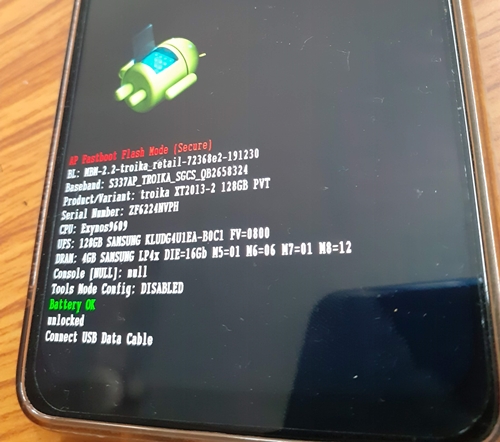
Fastboot Mode in Motorola - Once your device boots to fastboot/bootloader mode, enter the below commands in the CMD window (make sure to open it from the platform-tools folder only) Also, make sure to enter each command individually. That is, copy-paste one command, hit Enter, copy-paste the second one and so on. Here are the required fastboot commands to flash stock firmware on Motorola One Vision.
- Furthermore, the below fastboot erase userdata command wipes your data device’s data. If you want to, you could skip the said command, but it is always recommended for a fresh install. Hence make a backup beforehand and let the erase userdata command do its job
- Don’t miss: How to Install Android 11 on Any Android Device
Fastboot commands to flash stock firmware on Motorola One Vision (Android 10)
fastboot flash pit diskmap.pit
fastboot flash fwbl1 fwbl1.img
fastboot flash ldfw_a ldfw.img
fastboot flash ldfw_b ldfw.img
fastboot flash keystorage_a keystorage.img
fastboot flash keystorage_b keystorage.img
fastboot flash bootloader_a bootloader.img
fastboot flash bootloader_b bootloader.img
fastboot flash modem_a modem.bin
fastboot flash vbmeta_a vbmeta.img
fastboot flash oem_a oem.img
fastboot flash oem_b oem_other.img
fastboot flash logo_a logo.bin
fastboot flash dtbo_a dtbo.img
fastboot flash boot_a boot.img
fastboot flash system_a system.img_sparsechunk.0
fastboot flash system_a system.img_sparsechunk.1
fastboot flash system_a system.img_sparsechunk.2
fastboot flash system_a system.img_sparsechunk.3
fastboot flash system_a system.img_sparsechunk.4
fastboot flash system_a system.img_sparsechunk.5
fastboot flash system_a system.img_sparsechunk.6
fastboot flash system_a system.img_sparsechunk.7
fastboot flash system_a system.img_sparsechunk.8
fastboot flash system_a system.img_sparsechunk.9
fastboot flash system_a system.img_sparsechunk.10
fastboot flash system_b system_other.img_sparsechunk.0
fastboot flash system_b system_other.img_sparsechunk.1
fastboot flash system_b system_other.img_sparsechunk.2
fastboot flash vendor_a vendor.img
fastboot erase userdata
fastboot reboot bootloader
The entire flashing shouldn’t take more than 5-6 minutes. Only the sparse chunk files take some time to flash. Furthermore, once all the commands are executed, your device will be booted to fastboot. To boot it to Android OS, either do so via the power key or use the fastboot reboot command.
So this is all from this guide on how to install stock firmware on Motorola One Vision via Fastboot. Do let us know in the comments if you face any issues. I will definitely get back to you with a solution  Happy Flashing!