In this guide, we will show you the steps to install ColorOS on your OnePlus 10 Pro running OxygenOS. On paper, the Chinese OEM is yet to bring up the Unified OS wherein the code base of both these operating systems are unified, but in reality, it’s hard to differentiate between the two skins. Well, apart from the fact that the ColorOS still gives a more bloated experience in comparison with its OxygenOS. As a result, many users have already jumped ships from Oppo’s skin over to the offering from OnePlus. However, there exists a niche segment that wishes to revert this change.
In other words, they wish to install ColorOS on their OnePlus 10 Pro running OxygenOS. There are two major reasons for the same- due to the stock dialer app and more importantly, the native call recording functionality. Moreover, the Google Play Services would also be pre-installed, you might just have to sideload the Play Store APK. So with not much to lose and plenty to gain, the reason for this change is somewhat understandable. If you are also on the same page, then this guide is here to help you out. Follow along.
Table of Contents
How to Install ColorOS on OnePlus 10 Pro running OxygenOS
The below process will wipe off all the data, so take a backup beforehand. Droidwin and its members wouldn’t be held responsible in case of a thermonuclear war, your alarm doesn’t wake you up, or if anything happens to your device and data by performing the below steps.
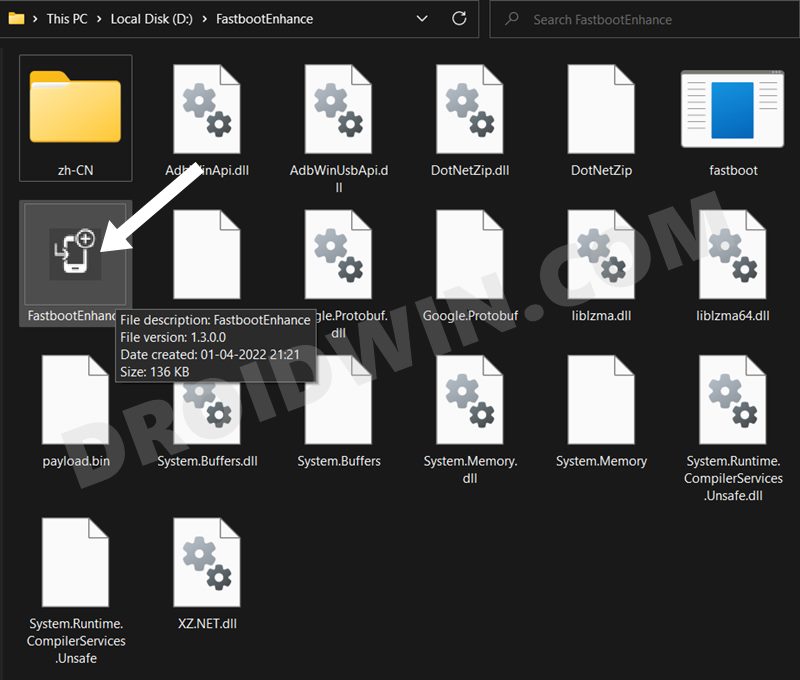
STEP 1: Download Fastboot Enhance Tool
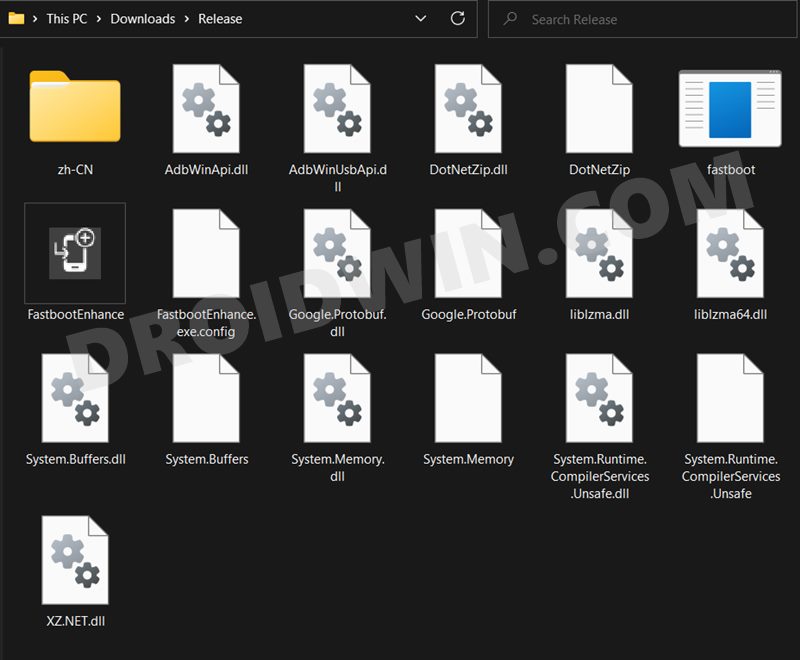
Download the Fastboot Enhance Tool from GitHub [direct link][Credits: XDA Senior Member xzr467706992]. Once downloaded, extract it to any convenient location on your PC. The biggest advantage of this tool is that you could directory flash the payload.bin file, there is no need to extract it and get the resultant IMG files!
STEP 2: Download OnePlus 10 Pro ColorOS ROM
- Next up, get hold of the ColorOS firmware for your OnePlus 10 Pro from below:
OnePlus 10 Pro ColorOS Firmware Collection
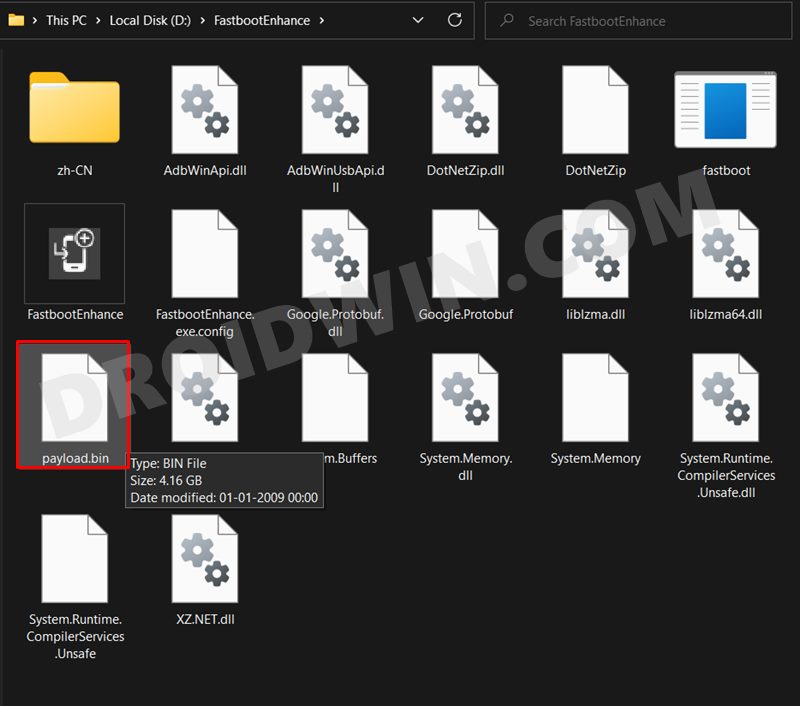
- Once downloaded, extract the payload.bin file to the Fastboot Enhance Tool folder.

STEP 3: Install Android SDK
First and foremost, you will have to install the Android SDK Platform Tools on your PC. This is the official ADB and Fastboot binary provided by Google and is the only recommended one. So download it and then extract it to any convenient location on your PC. Doing so will give you the platform-tools folder, which will be used throughout this guide.

STEP 4: Install Fastboot Drivers
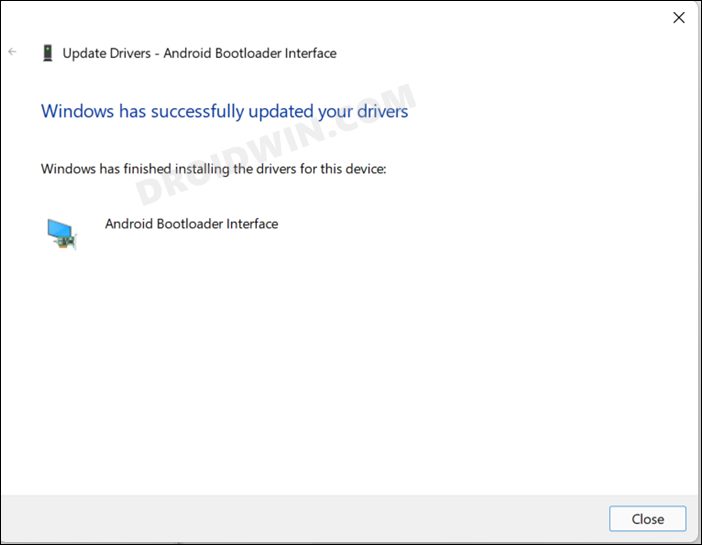
The tool doesn’t come with the Fastboot Drivers, so you will manually have to install it on your PC. For that, please refer to our guide on How to Install Fastboot Drivers in Windows 11. Likewise, make sure to install the OnePlus USB Drivers as well [they are usually automatically installed as soon as you connect your device to the Windows PC for the first time].
STEP 5: Enable USB Debugging and OEM Unlocking
Next up, you will have to enable USB Debugging and OEM Unlocking on your device. The former will make your device recognizable by the PC in ADB mode. This will then allow you to boot your device to Fastboot Mode. On the other hand, OEM Unlocking is required to carry out the bootloader unlocking process.
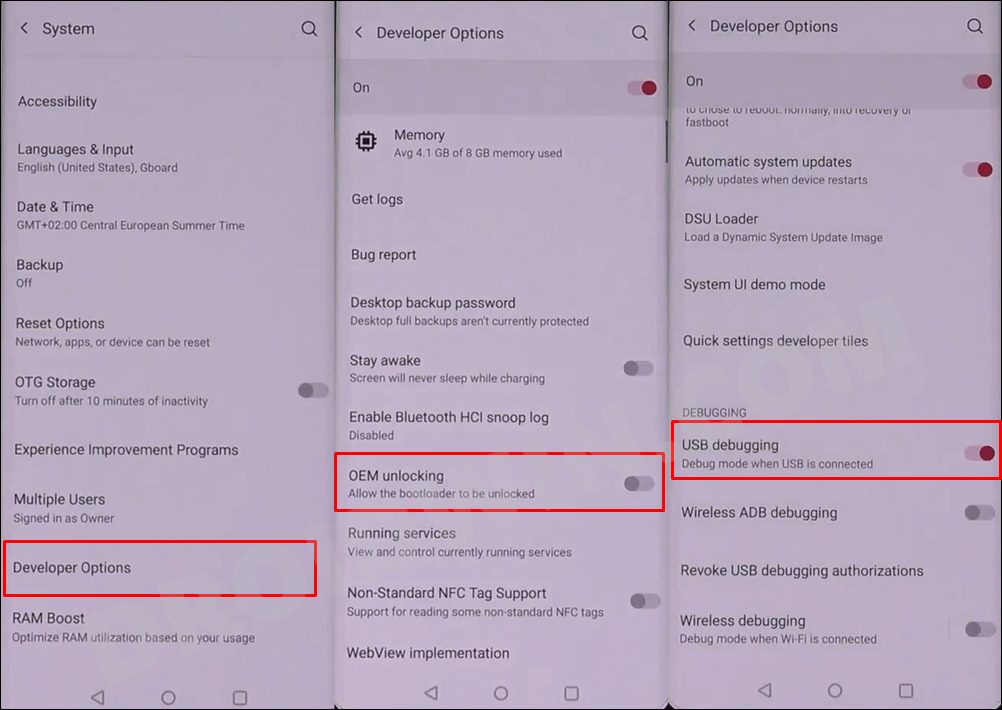
So head over to Settings > About Phone > Tap on Build Number 7 times > Go back to Settings > System > Advanced > Developer Options > Enable USB Debugging and OEM Unlocking.
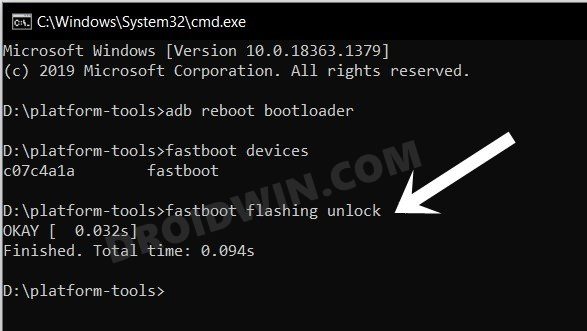
STEP 6: Unlock Bootloader on OnePlus 10 Pro
You will now have to unlock the bootloader on your OnePlus 10 Pro device. Do note that doing so will wipe off all the data from your device and might nullify its warranty as well. If that’s well and good, then refer to our guide on How to Unlock Bootloader on OnePlus 10 Pro.
STEP 7: Boot to Fastboot Mode
- Connect your device to the PC via USB cable. Make sure USB Debugging is enabled.
- Then head over to the platform-tools folder, type in CMD in the address bar, and hit Enter. This will launch the Command Prompt.
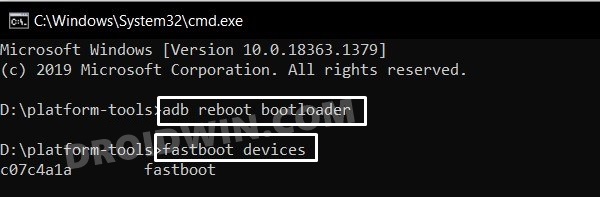
- After that, type in the following command in the CMD window to boot your device to Fastboot Mode
adb reboot bootloader
- To verify the Fastboot connection, type in the below command and you should get back the device ID.
fastboot devices
STEP 8: Install ColorOS on OnePlus 10 Pro
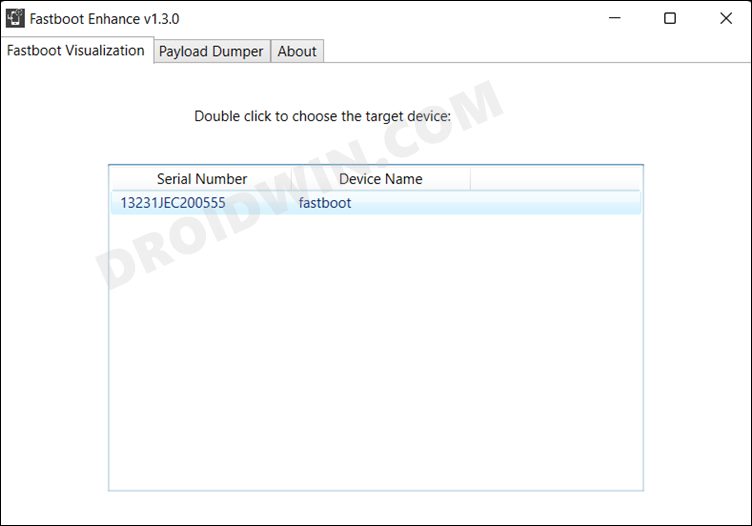
- To begin with, launch the Fastboot Enhance Tool via its EXE file.
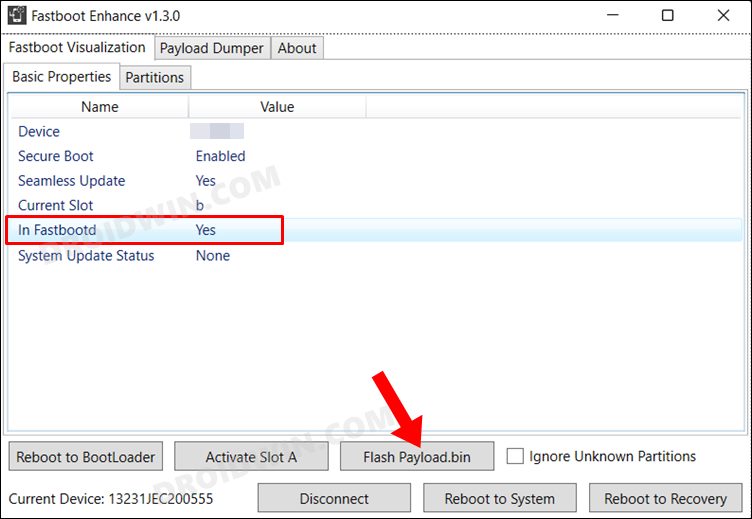
- Your device should be listed under the Fastboot Virtualization tab, select it.
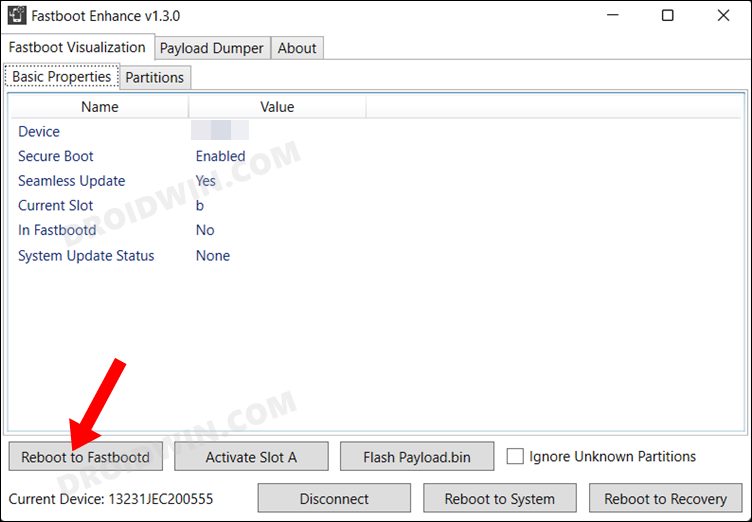
- After that, click on the Reboot to FastbootD button.
- Your device will boot to FastbootD Mode.
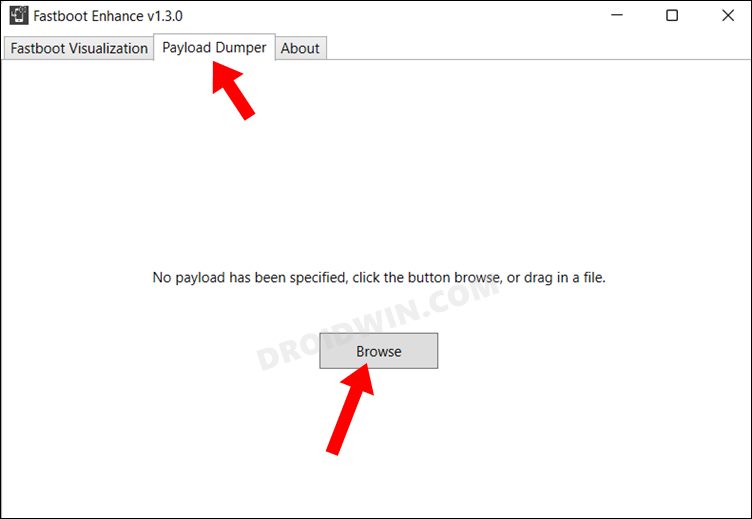
- Now go to the Payload Dumper tab and click on Browse.
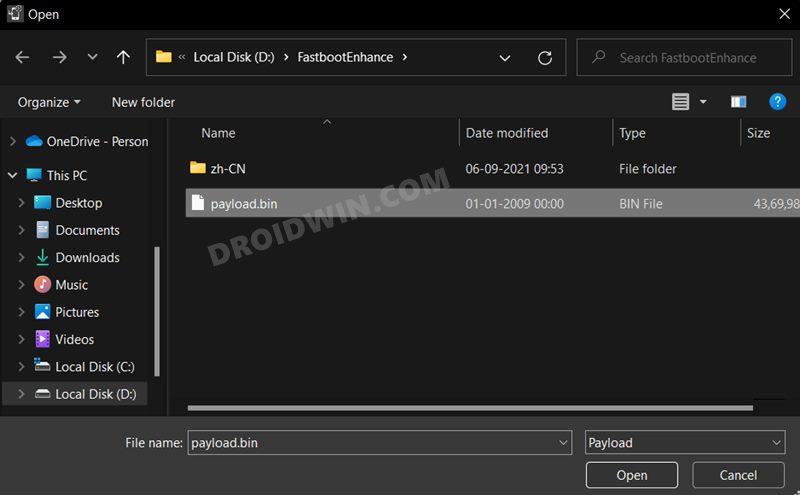
- Navigate to the payload.bin file, select it and click Open.
- The file will now be loaded in the tool, displaying the resultant information.
- Now go to the Fastboot Virtualization tab and click on Flash payload.bin. If the flashing starts, well and good.
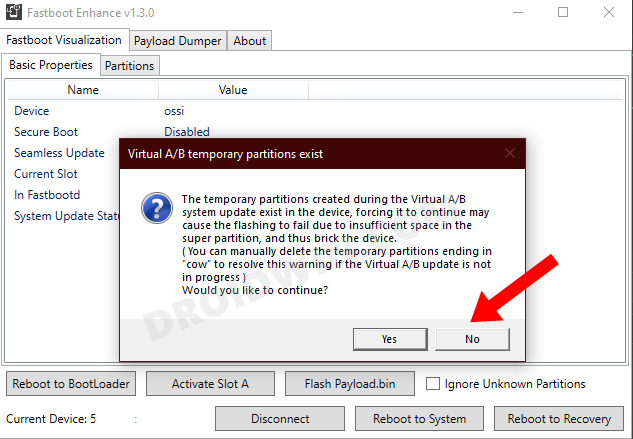
- However, if you get the ‘Virtual A/B temporary partitions exist’ popup, then click on No.
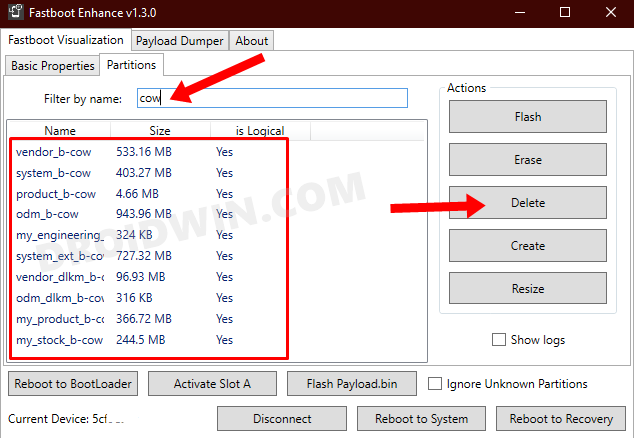
- After that, go to the Partitions tab and type in cow in the Filter by name box.
- Select all the partitions from the results that have cow in their name and hit the Delete button.
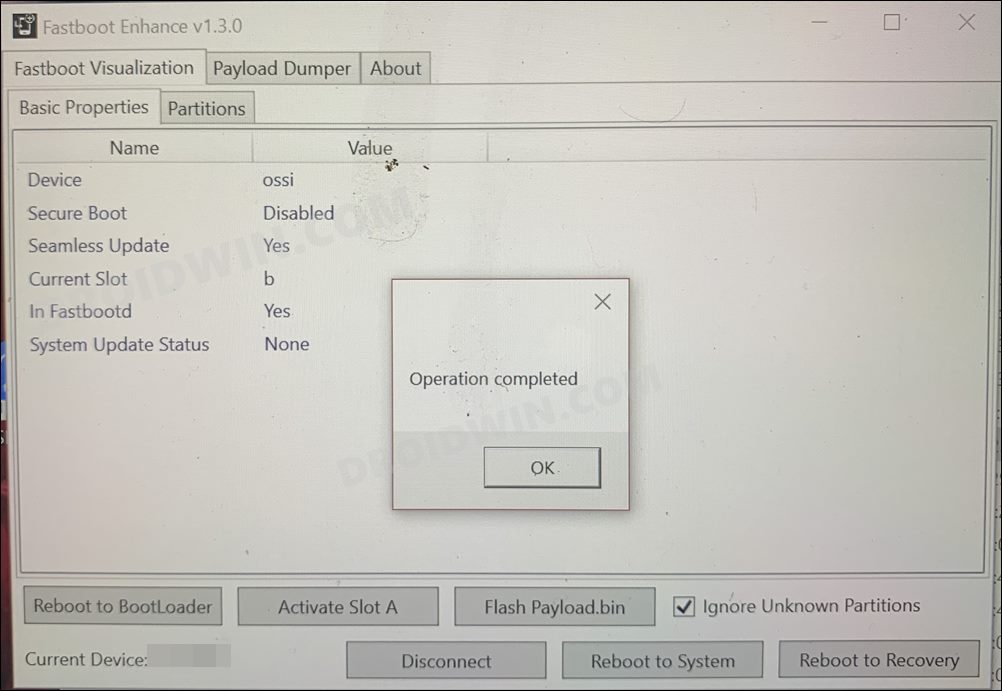
- Once done, click on Flash payload.bin. This time the flashing will start without any issues.
- Once complete, you will be notified of the same. You may now boot to the OS by clicking on Reboot to System.


That’s it. These were the steps to go back to ColorOS from OxygenOS on your OnePlus 10 Pro. If you have any queries concerning the aforementioned steps, do let us know in the comments. We will get back to you with a solution at the earliest.


MUSTAFA
i have secure boot disable , how to fix this
Achman
I keep on getting the error message ” The following partitions to flash may be unknown…” Please help me
Leo
why can’t i delete cow files
3m1l
you need to delete one by one