In this guide, we will show you the steps to install the latest Android 13 ROM onto the Moto G40 Fusion and G60 devices. Both these devices from Motorola behold an identical specs sheet, with the only difference in the camera department. However, they seem to be part of another unfortunate event- both of them were released with Android 11 out of the box, and as per the latest leaks, they wouldn’t be blessed with the thirteenth iteration of the OS.
But there is still light at the end of the tunnel. Thanks to some great work from the developers, you could now welcome the latest OS build onto your device, with help of an AOSP custom ROM. For the unaware, AOSP [Android Open Source Project] provides a clean stock Android experience with just the required number of feature sets. So without any further ado, let’s welcome the Android 13 onto your Moto G40 Fusion/G60 device right away.
Table of Contents
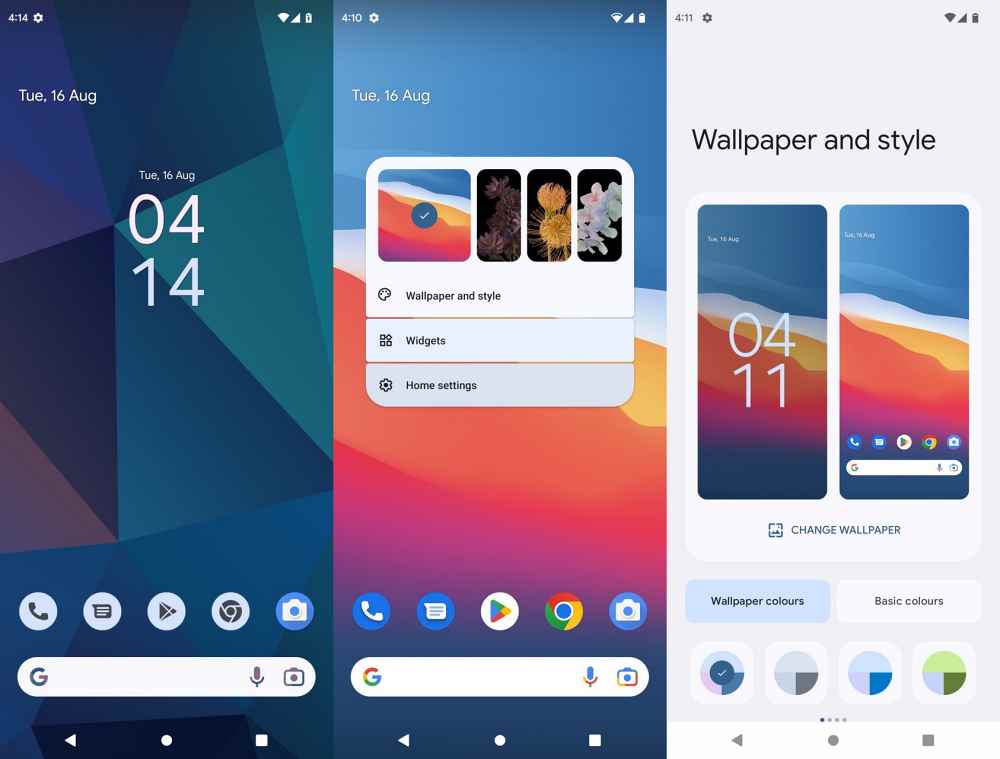
What’s New in Android 13
With Android 13, you get a slew of new and intriguing features. To begin with, there are now 16 themed icon sets, as opposed to 4 in its predecessor. Talking about which, you will now also be able to implement these themed icons on various third-party apps as well. Apart from that, there’s now the ability to interact and edit the contents that are copied on the clipboard.
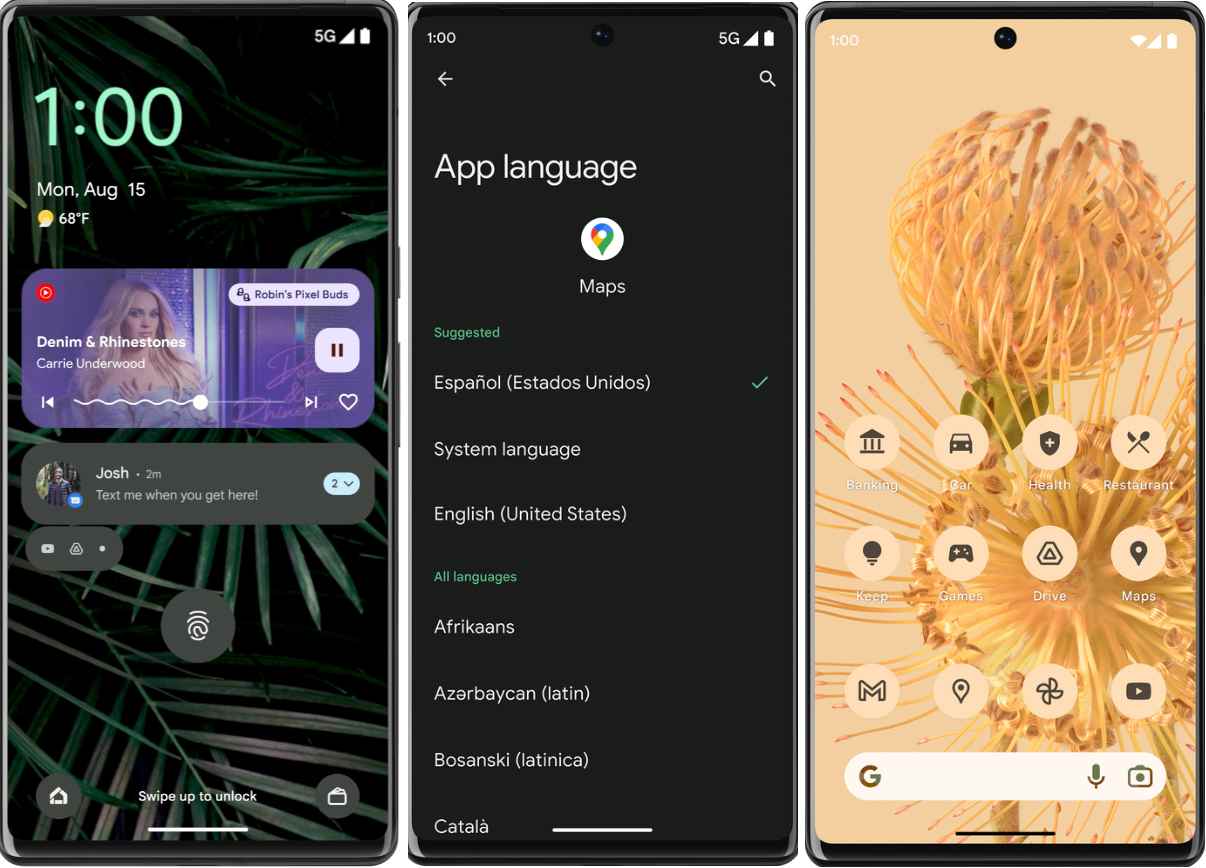
Then the addition of a QR Code scanner in the Quick Setting and the per-app language change [without affecting the overall system language] is also worthy of praise. Moreover, the latest OS build has done a great job in polishing the rough corners that were present in Android 12 and hence have made it even more stable and user-friendly. So on that note, let’s make you aware of the steps to install Android 13 onto your Moto G40 Fusion/G60 device right away.
How to Install Android 13 on Moto G40 Fusion/G60
The below instructions are listed under separate sections for ease of understanding. Make sure to follow the same sequence as mentioned. Droidwin and its members wouldn’t be held responsible in case of a thermonuclear war, your alarm doesn’t wake you up, or if anything happens to your device and data by performing the below steps.
STEP 1: Install Android SDK
First and foremost, you will have to install the Android SDK Platform Tools on your PC. This is the official ADB and Fastboot binary provided by Google and is the only recommended one. So download it and then extract it to any convenient location on your PC. Doing so will give you the platform-tools folder, which will be used throughout this guide.

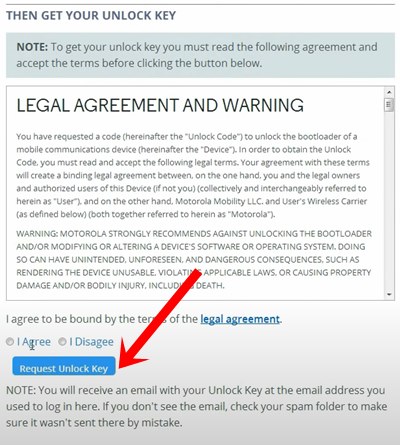
STEP 2: Unlock Bootloader
next up, you will have to unlock the bootloader on your device. Do keep in mind that doing so will wipe off all the data and might make the device’s warranty null and void as well. So if that’s well and good, then refer to our guide on How to Unlock the Bootloader on any Motorola Device.
STEP 3: Install TWRP on Moto G40/G60
You will also need to install the TWRP Recovery onto your Moto G40/60 as it will help you to flash the latest Android13 ROM. So refer to our guide on How to Install TWRP Recovery on Motorola Moto G40/G60. If you don’t want to permanently install TWRP, then just download the twrp.img from the linked guide and use the fastboot boot twrp.img command to boot your device to TWRP whenever required.
STEP 4: Download Moto G40/60 Android 13 Custom ROMs
- Next up, grab hold of the Android 13 ROM for your Motorola G40/G60 device from below.
AOSP [GApps included]
hanoip-ota-tp1a.220624.021-12.zip

Pixel Experience 13 [GApps included]
PixelExperience_hanoip-13.0-20221224-1709-UNOFFICIAL.zip

LineageOS 20 [Without GApps]
lineage-20.0-20220929-UNOFFICIAL-hanoip.zip
- Once you have downloaded the ROM, transfer it to the platform-tools folder on your PC.
- Likewise, rename it to rom, so that the complete name becomes rom.zip
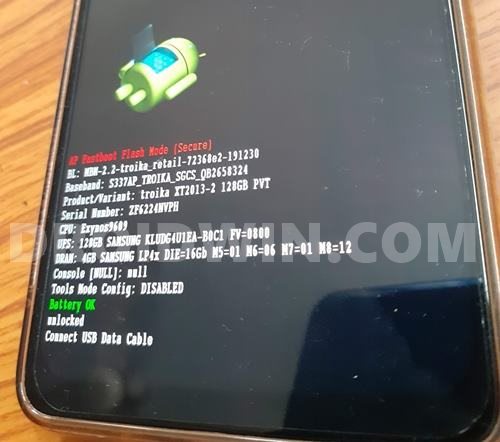
STEP 5: Boot Moto G40/60 Fastboot Mode
- Connect your device to the PC via a USB cable. Make sure USB Debugging is enabled.
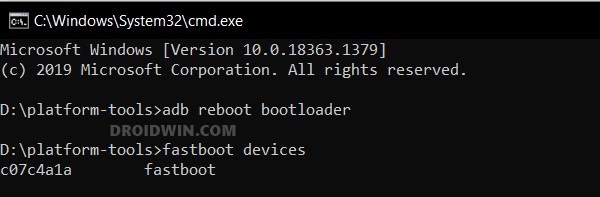
- Then head over to the platform-tools folder, type in CMD in the address bar, and hit Enter. This will launch the Command Prompt.

- After that, type in the following command in the CMD window to boot your device to Fastboot Mode
adb reboot bootloader

- To verify the Fastboot connection, type in the below command and you should get back the device ID.
fastboot devices
STEP 6: Factory Reset via Fastboot
The process we are about to do no will wipe off all the data from your device. So make sure that you have taken a complete device backup beforehand.
- Now execute the below command to reset your device
fastboot -w
- After that, execute the below command to erase the userdata partition
fastboot erase userdata
STEP 7: Transfer ROM to Device
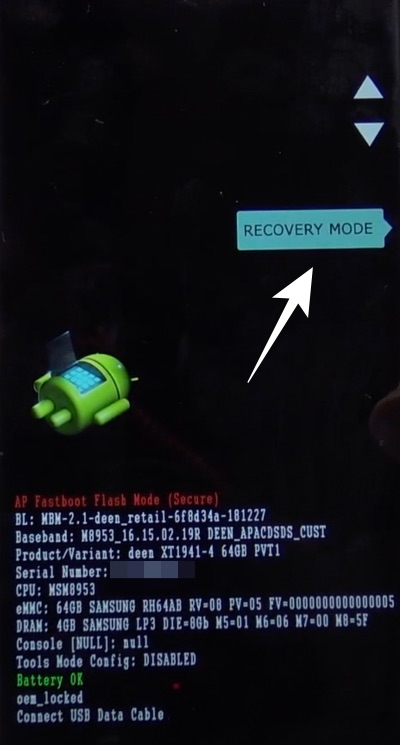
- As of now, your device will be booted to Fastboot Mode. You will now have to boot it to TWRP.
- So use the Volume keys to bring up the Recovery option on your screen and then hit the Power key to confirm it.
- Or you may also use the below command to boot your device to TWRP.
fastboot reboot recovery
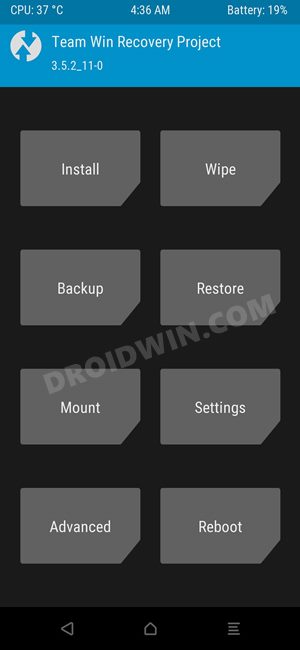
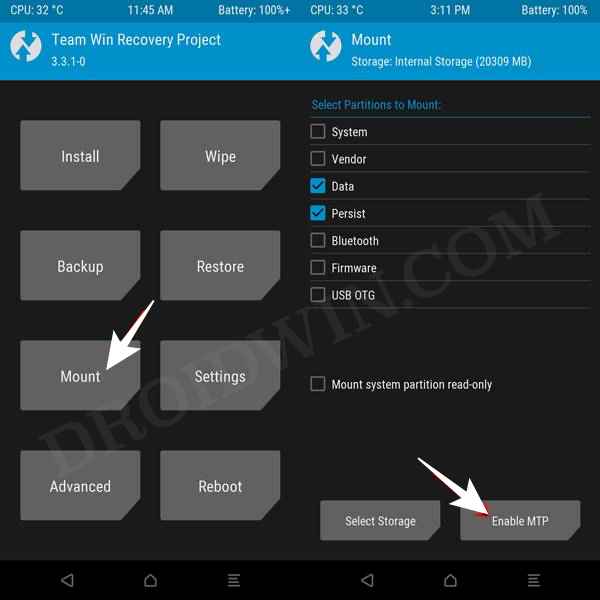
- Once booted to TWRP, go to Mount and tap on the Enable MTP button.
- Then open File Explorer on your PC. If your device is listed there, then transfer the ROM to your device.
- However, if it is not there, then execute the below command to transfer the ROM to your device [make sure you have carried out points 2 and 3 of STEP 4].
adb push rom.zip /sdcard
- Likewise, if your ROM doesn’t come with GApps and you want to flash it, then download it from here and transfer it to your device as well, as explained above.
STEP 8: Install Android 13 on Moto G40/60
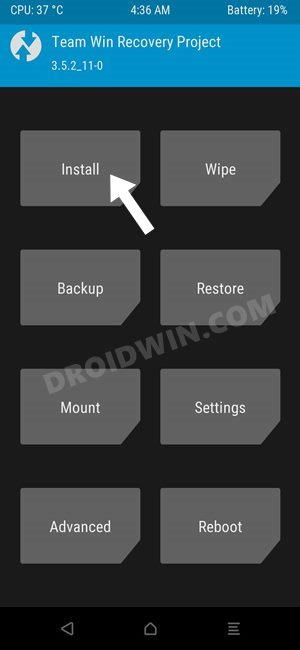
- Go to the Install section of TWRP, navigate to the rom.zip file, and select it.
- Then perform a right swipe to flash it and wait for the process to complete.
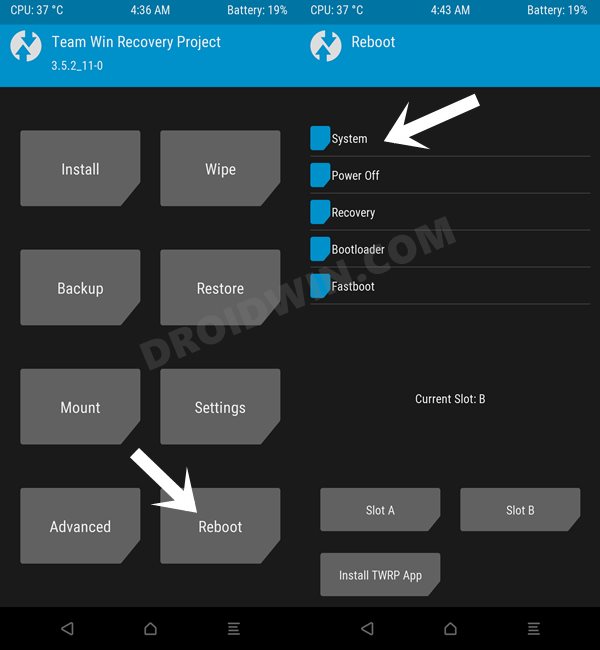
- If your ROM comes with GApps or you do not want to install GApps, then you may now reboot your device to the OS via Reboot > System.
- If you had simply booted to TWRP instead of permanently flashing it, then go to Reboot and select Bootloader. Your device will boot to Fastboot Mode. Then use the fastboot boot twrp.img command to again boot your device to TWRP.
- Once done, if you want to install GApps, then go to Install, select GApps.zip, and perform a right swipe to flash it.
- Once done, you may now reboot your device to the OS via Reboot > System.
That’s it. These were the steps to install Android 13 onto your Moto G40/G60 devices. If you have any queries concerning the aforementioned steps, do let us know in the comments. We will get back to you with a solution at the earliest.


shivam
Bluetooth on my motog60 is not working properly. It connects and disconnects right away.
who cares
do, factory reset