From this guide, you could install the latest released Android Q, or rather call it Android 10, on the Xiaomi Mi A2. Let us see how this could be done. Please follow the guide as mentioned, otherwise, there is a high chance of bricking your device. Also, make sure to follow all the requirements mentioned below.
Table of Contents
Prerequisites
- You need to have an unlocked bootloader. Just use the code fastboot oem unlock in the command prompt to unlock your device. We have also covered a detailed guide on how to unlock bootloader on any Android device. Do have a look.
- Make a complete backup of your Android device. Go to Settings > System > Advanced > Backup > Backup Now.
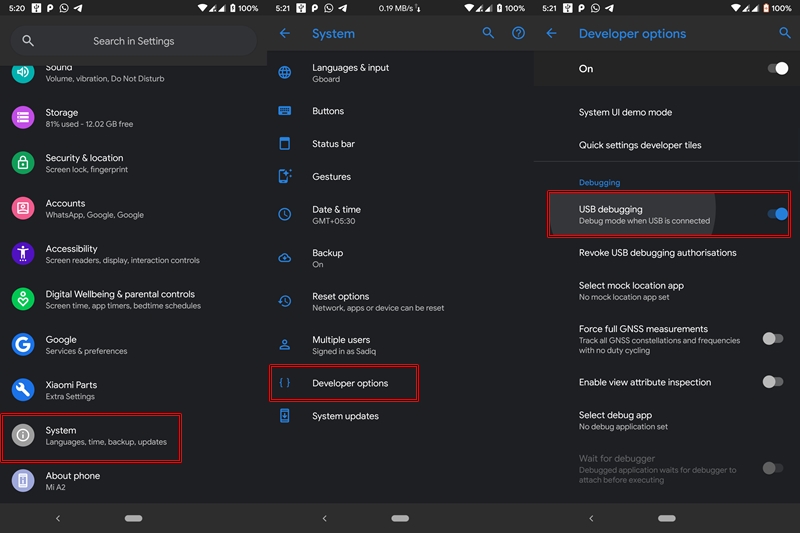
- Enable USB Debugging: Go to Settings > About Phone > Tap on Build Number 7 times > Go back to Settings > Developer Options > Toggle on the USB Debugging switch.

- Download and install the Android SDK Platform Tools.
- Download the following files to update your Mi A2 to Android 10 (all these files are specific to Mi A2 only, please don’t try it on any other device):
- Lineage OS 17: Android 10 ROM
- TWRP Recovery for Android 10
- GApps: Google Apps Package for Android 10
- Google Camera Port for Android 10 (optional, for those who don’t prefer the stock camera)
- Magisk 19.3 for Android 10 (optional, if you want root)
Bugs
If ever you need back to Android 9 Pie, your Wi-Fi signal will be lost. So before flashing the Android 10 on your Mi A2, make a backup of your Wi-Fi network. This is how it could be done:
Under TWRP, go to Backup and select Persist. Then perform a right swipe on swipe to backup. Persists contains the Wi-Fi signals for your device. If ever you want to go back to Android 9, restore this backup from TWRP, after flashing the desired Android 9 ROM.
Steps to Install Android 10/Android Q on Mi A2
Since the device has an A/B Partition scheme, flashing ROMs, Recoveries and Magisk take a slightly different approach. Do follow the points as mentioned in this guide, otherwise, you will brick your device. Also, transfer the Android 10 ROM (LineageOS 17), GApps, Google Camera and Magisk to the device’s internal storage. Again, it is worth emphasizing the point to make a complete backup before proceeding with the guide. In this guide, first, we would be booting the device to TWRP Recovery, then flashing the Android 10 ROM to the inactive slot, changing the slots and then flashing GApps, Magisk, etc. Let’s begin.
- Having issues understanding all these? Read our detailed guide about A/B Partition and how to flash files on A/B Partition Devices.
Boot Mi A2 to TWRP Recovery
- Move the TWRP Recovery to the platform-tools folder. It will be inside the Android SDK and Platform Tools folder. If you have chosen the default path while installing, then the location will be C:\adb\platform-tools.
- Rename that TWRP Recovery to twrp. The complete file name would therefore be twrp.img
- Inside the same folder (i.e. platform-tools), type cmd in the address bar. This will open a command prompt.
- Connect your device to PC via USB Cable. Make sure USB Debugging is enabled.
- In the command prompt, type the below code to boot your device to fastboot mode:
adb reboot bootloader
- Once in fastboot mode, type the below code to boot your device to TWRP Recovery:
fastboot boot twrp.img
That’s it. now follow the next set of instructions to install the Android 10 on your Xiaomi Mi A2.
Install Android 10 on Mi A2
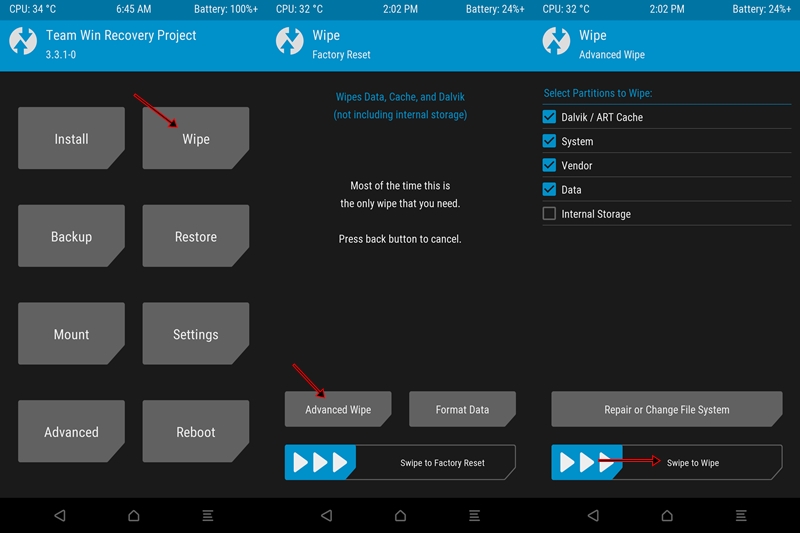
- Under TWRP go to Wipe and tap on Advanced Wipe.
- Select Dalvik Cache, System, Data and Vendor. Do not select Internal Storage.
- Perform a right swipe to wipe the selected partitions.
- Go to Install and navigate to the LineageOS 17 zip file and select it.
- Swipe right to flash the selected file.
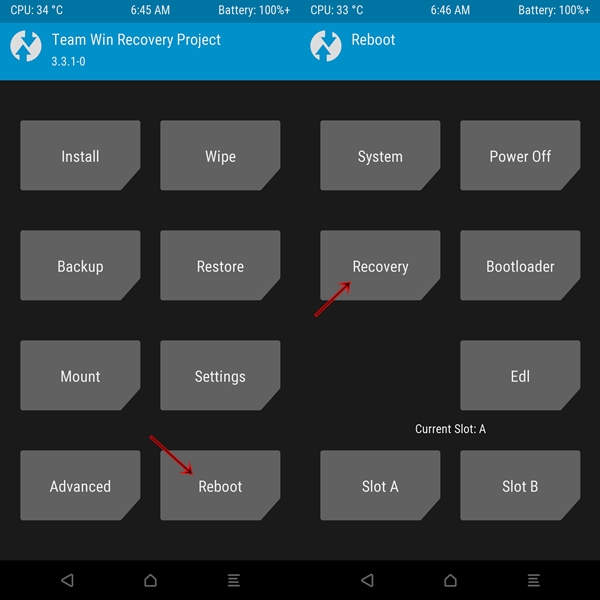
- Now go to Reboot and change your current slot. If your current slot is A, then tap on Slot B and vice versa.
But by just tapping on the slot, the current slot wouldn’t be changed. Although when you tap to change the slot, you will get the success message, but remember this Golden Rule: Until you reboot your device to recovery, the slot change doesn’t really take place.
- So under Reboot, now chose Recovery. You may (or rather should) get a message: No OS is installed. Do you want to proceed? This is because we have currently installed the Android 10 ROM on the inactive slot, while we are currently booting from the active slot. So just ignore this warning and proceed with the booting to the recovery process.
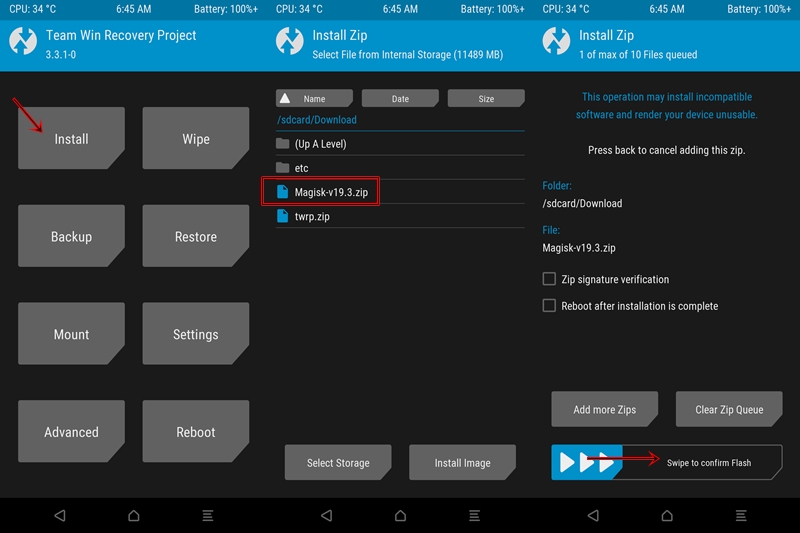
- Once you are booted to TWRP, go to Install. Select the Gapps file and flash it.
- Similarly, flash the Magisk-v19.3.zip file if you want to get root access. This is completely optional. If you don’t want a rooted device, then please don’t flash the Magisk file.
- Now go to Reboot and select System. Your device will now boot to the Android OS.
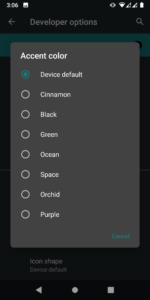
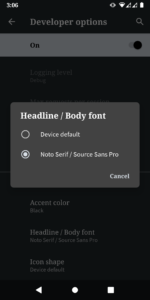
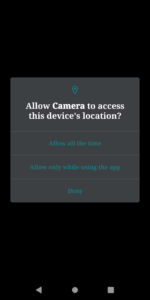
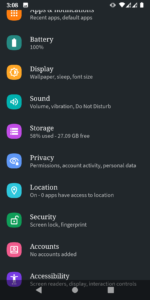
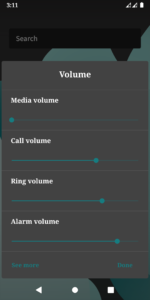
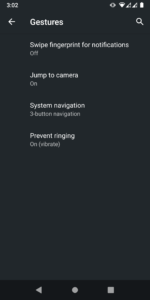
Screenshots of Android 10/Android Q on Mi A2


Final Thoughts
Congratulations! You have just installed the Android 10/Android Q on your Xiaomi Mi A2. Do note that the ROM is currently in the alpha stage, not even in the beta! So expect it to be less stable. And although I tried it on my device and didn’t found any bugs as such, yet the performance may vary from device to device. I wouldn’t recommend you to use it as a daily driver. Also, there may be compatibility issues with some of the less popular apps. This is because not all the apps have been made compatible with the latest API version.
With this, we come to the end of the guide on how to install Android 10/Android Q on Mi A2. If you have any queries, do let me know in the comments section below.


