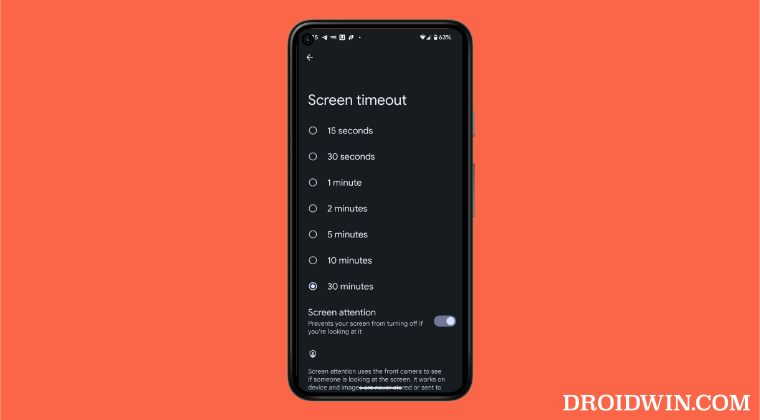
In this guide, we will show you the steps to increase the screen timeout duration beyond the 30 minutes time limit on your Android device. When it comes to screen time off, many OEMs provide time limits in the form of 15 seconds, 30 seconds, 1, 2, 5, 10, and 30 minutes. In most cases, these are enough to checkmark most of the prerequisites, including the maximum time of half an hour.
But I recently came across an instance wherein even this max time frame was not sufficient enough. And I guess, there might be a few others in my shoe who would like to have this time frame extended. So on that note, this guide will show you the steps to increase the screen timeout duration beyond the 30 minutes time limit on your Android device. Follow along.
Table of Contents
How to Increase Screen Timeout Duration Beyond 30 Minutes on Android
The below instructions are listed under separate sections for ease of understanding. Make sure to follow the same sequence as mentioned.
STEP 1: Install Android SDK

First and foremost, you will have to install the Android SDK Platform Tools on your PC. This is the official ADB and Fastboot binary provided by Google and is the only recommended one. So download it and then extract it to any convenient location on your PC. Doing so will give you the platform-tools folder, which will be used throughout this guide.
STEP 2: Enable USB Debugging
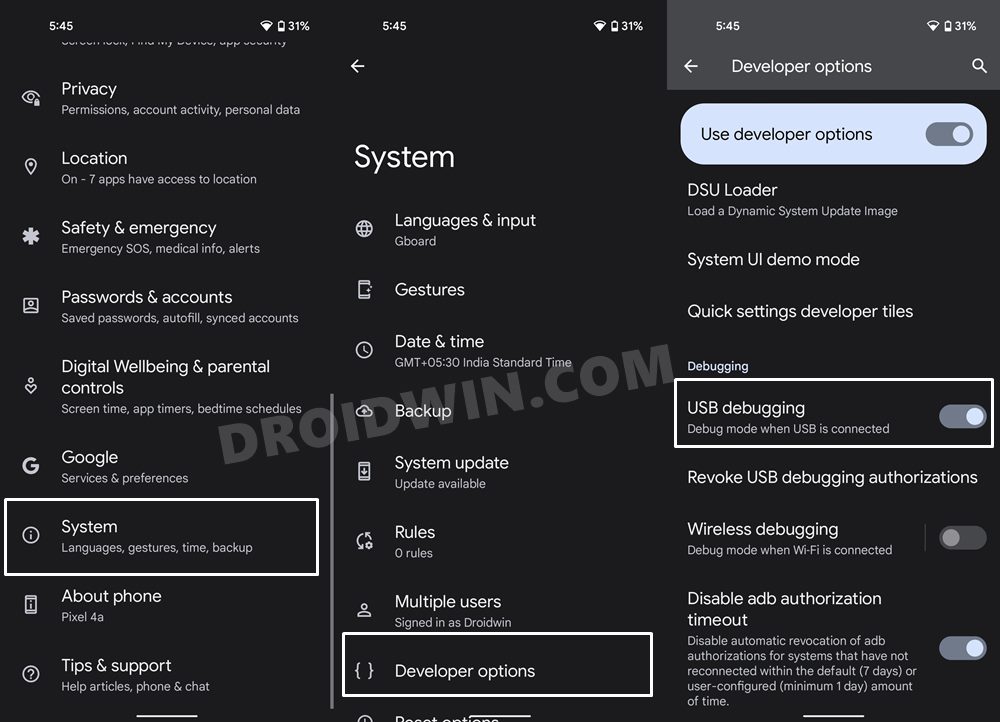
Next up, you will have to enable USB Debugging on your device so that it is recognizable by the PC in ADB mode. So head over to Settings > About Phone > Tap on Build Number 7 times > Go back to Settings > System > Advanced > Developer Options > Enable USB Debugging.
STEP 3: Establish ADB Shell Connection
- To begin with, connect your device to the PC via a USB cable. Make sure USB Debugging is enabled.
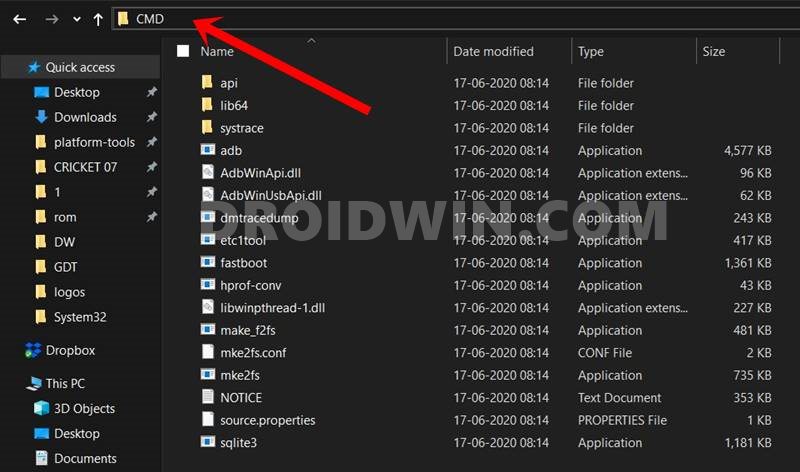
- Then head over to the platform-tools folder, type in CMD in the address bar, and hit Enter. This will launch the Command Prompt.

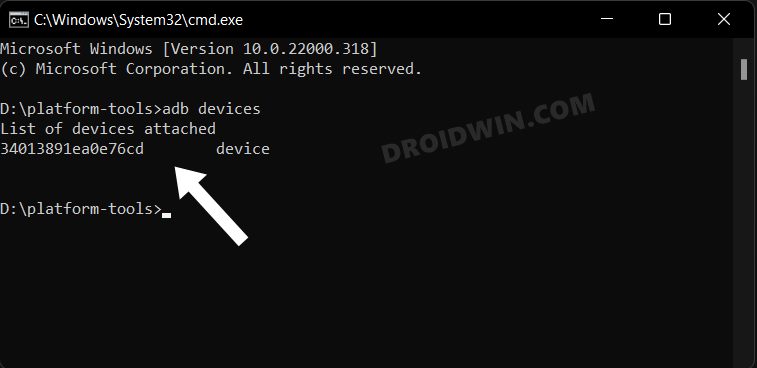
- Now in the following command in the CMD window to verify the ADB connection:
adb devices

- If you get the device ID, then the connection stands successful. Now type in the below command to open the Shell environment:
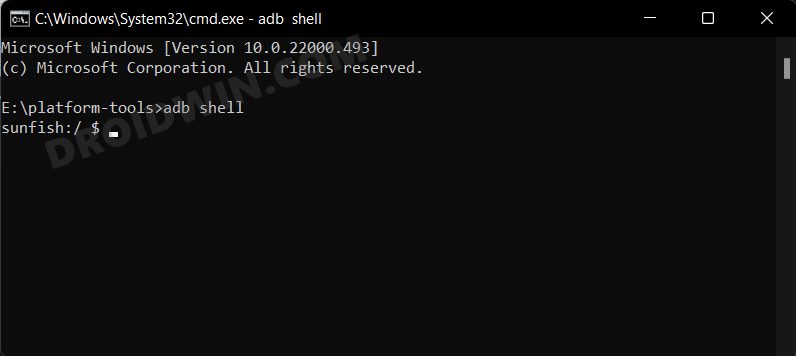
adb shell

- It will now list out your device codename/name, which means that the shell connection has been successfully established and you are good to go ahead.
STEP 4: Increase Screen Timeout Duration Beyond 30 Minutes
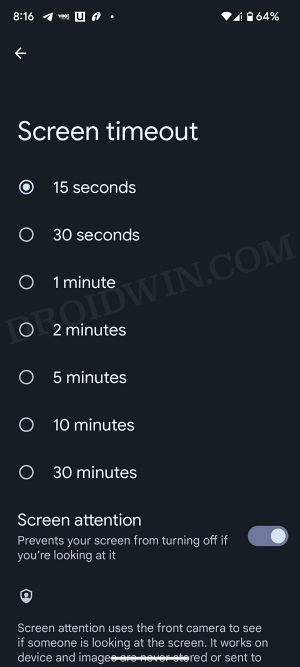
- First off, go to Settings > Display > Screen timeout and check out the current value. In my case, it is 15 seconds.

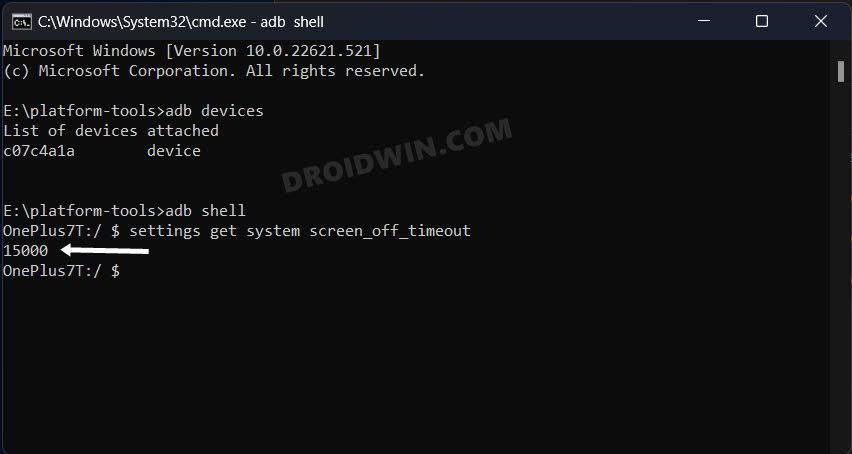
- Then execute the below command in the CMD window to get that current value again:
settings get system screen_off_timeout
- This time, CMD shows the value as 15000. This means that it is dealing in milliseconds. So you will have to input the value in milliseconds only.

- For that, just multiply the desired seconds value by 1000 or desired minute value by 60000 to convert it to milliseconds.
- Once you have got the desired value, execute the below command [replace the value of milliseconds accordingly]
settings put system screen_off_timeout milliseconds
- For example, if you want to add the screen time-out duration of 60 minutes [60 x 60,000= 3600000], then the above command will transform to:
settings put system screen_off_timeout 3600000
- Your device will now have the timeout limit set to 1 hour, although it will not be visible under Settings > Display > Screen timeout.
- Rather you will notice that none of the values from the list are selected, which signifies that a new value has been added and implemented, signifying that our task stands complete.
That’s it. These were the steps to increase the screen timeout duration beyond the 30 minutes time limit on your Android device. If you want to revert this change, then just head over to Settings > Display > Screen timeout and select the desired value from the list. Apart from that, if you have any queries concerning the aforementioned steps, do let us know in the comments. We will get back to you with a solution at the earliest.
