In this guide, we will show you how to put the F13-F19 keys to the best possible use on your Mac. If you have just purchased an iMac, then you would have got a Magic Keyboard along with it. However, you also have the option to shell out some additional bucks and get your hands on an extended keyboard, which, as you might expect, has a few additional keys as well.
Among them, the major talking point among users is the presence of F13 to F19 keys. Since all the major [and not so major] tasks of the macOS are already taken care of by the F1 to F12, what could these additional keys be used for? Let’s check it out.
How to use the F13-F19 Keys on Mac
The best use-case scenario for the F13 to F19 keys on your mac keyboard could be to assign a few custom shortcuts to them. In this regard, you could assign them LaunchPad/Dock, Display, Mission Control, Keyboard, Services/Scripts, Accessibility, and App Shortcuts. One major benefit of using these F13 to F19 keys is they don’t have any pre-defined tasks associated with themselves, so you don’t need to take the help of the Fn key for using a shortcut.
This is in stark contrast to say F1/F2 keys which have already been assigned to control the brightness or F10/11/12 for volume control, so you’ll have to additionally use the Fn keys along with your custom shortcut. With that said, to assign a shortcut to these keys, simply
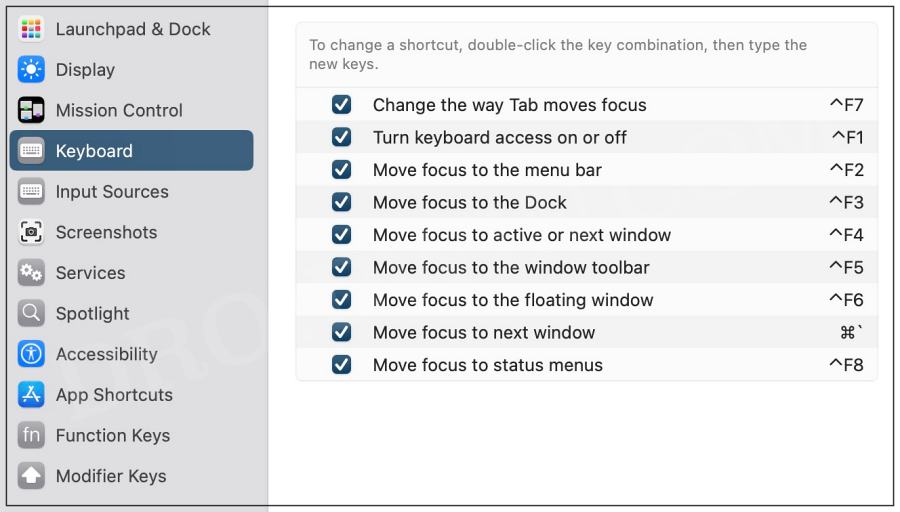
- Go to System Settings > Keyboard > Keyboard Shortcut
- Then select the desired task from the left-hand side.
- Now double-click on the desired shortcut and assign it the new keys via F13-F19.

So with this, you would have got a decent idea regarding some of the best use-case scenarios for the F13-F19 keys on your Mac. If you have any queries concerning the aforementioned steps or wish to share any additional tweaks that could be assigned to these keys, then do let us know in the comments section.


