In this guide, we will show you the steps to root your Palm mobile via Magisk. When we talk about screen size, more devices are slowly reaching the 7-inch mark, thereby adopting the phablet segment. As a result of which, the lines between the tablet and a smartphone are blurring out. And this might not be good news for everyone, as quite a few users are still inclined towards a compact phone, that easily fits in the ‘palms’ of their hands. Well, you might have got an idea as to where we are taking this.
Yes, we are talking about the 3.3-inch minimalistic device that has recently caught the attention of the masses. Considering the domain to which it belongs, it still manages to pack in a decent specs sheet. Alongside that, it is also proving to be quite an active player in custom development. In this regard, there’s no denying the fact that the ability to gain administrative privileges via Magisk is always the most preferred tweak for tech enthusiasts. And in this guide, we will show you how to do just that. So without further ado, let’s get started with the steps to root the Palm mobile via Magisk.
Table of Contents
Benefits and Risks of Rooting Palm Phone

Once you root your device by flashing the Magisk patched boot.img via Fastboot Commands, you will be in a position to try out a plethora of customizations on your device. These include the likes of flashing custom ROMs, installing a custom recovery like TWRP, or flashing a custom kernel. Along the same lines, you could also flash Magisk Modules, Xposed Framework, Substratum Themes, Viper4Android, and the likes. However, this is just one side of the story.
Carrying out this process also has its downsides. First off, the process requires an unlocked bootloader. Doing so will wipe off all the data and could nullify the device’s warranty as well. Likewise, WideVine L1 will be degraded to L3, resulting in the inability to stream Netflix in HD [FIXED]. Then the SafetyNet will be triggered, which might cause issues with banking apps [FIXED]. So if all that’s well and good, then let’s get started with the steps to root your Cubot device via Magisk.
How to Root Palm Phone via Magisk
The below process will wipe off all the data from your device, so please take a backup beforehand. Droidwin and its members wouldn’t be held responsible in case of a thermonuclear war, your alarm doesn’t wake you up, or if anything happens to your device and data by performing the below steps.
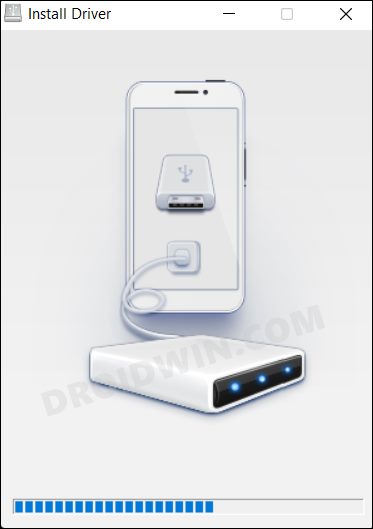
Install Palm USB Drivers
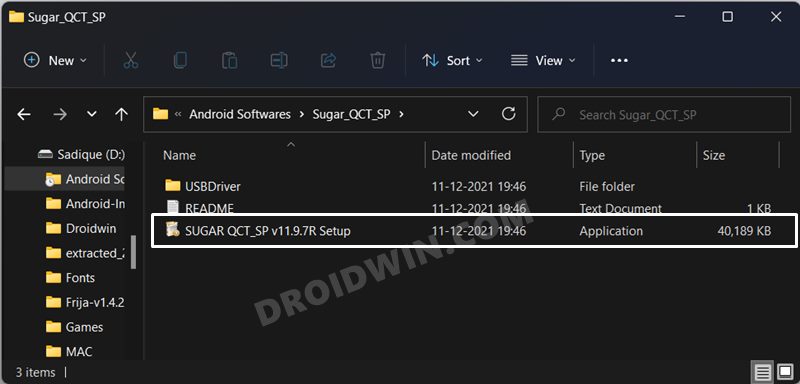
- To begin with, download the Sugar QCT Tool. [Credits: XDA Recognized Developer deadman96385].
- Then extract it to any convenient location on your PC.

- After that, go to the USB Driver > Drivers folder and launch the Setup file to install the drivers.

Reboot Palm to EDL Mode
- To boot the device to EDL, you will first have to boot it to the recovery mode.
- For that, power it off. Then press and hold the Power key until your device reboots 3-4 times.
- After that, it should automatically boot to the Recovery Mode.
- Now select the option to boot it to the Emergency Download Mode.
Flash Latest Firmware via Sugar Tool
- Head over to the folder where you had extracted the Sugar Tool.
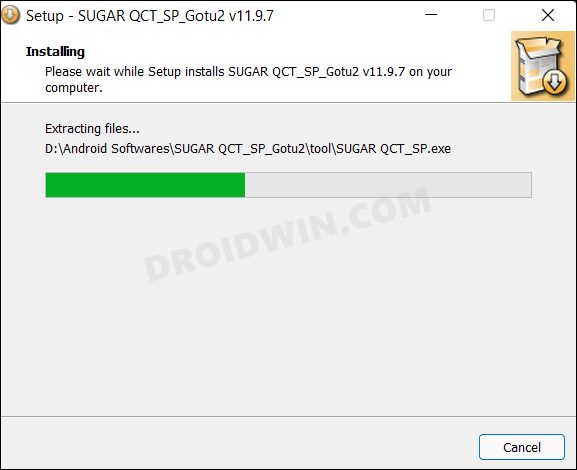
- There you will find a Readme file, open it and note down the username and password.
- Then double click on its EXE file to launch the setup.
- Now proceed with the on-screen instructions to install it.
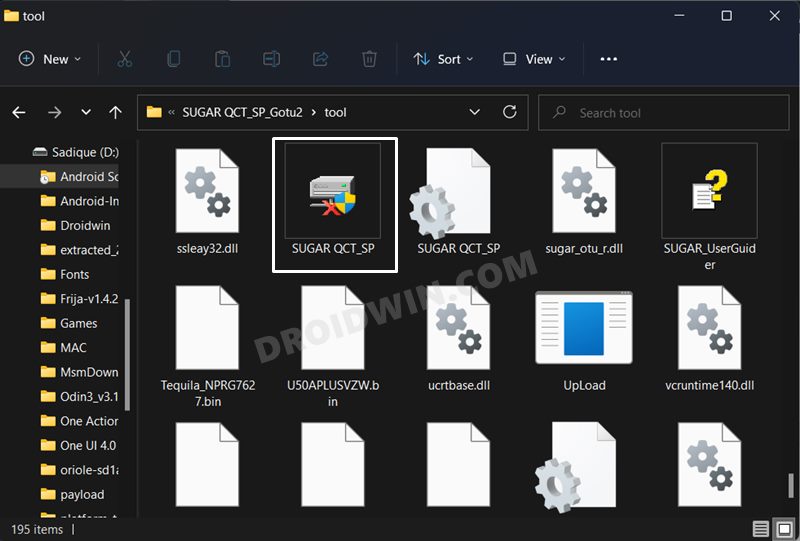
- Once done, double-click on the Sugar QCT SP file to launch the tool.
- Now select pepito/PVG100 (US) or pepito_vdf (Vodafone) from the list and hit the Upgrade button.
- The tool will now download the software and subsequently, flash it onto your device.
- Once done, unplug your device from the PC and press the Power key for around 3-4 minutes (yes, it’s way too long). It will now boot out of the EDL Mode.
Extract Palm Boot.img
- Now go to the directory where you have installed the Tool and head over to the BIN folder.
- There you should see the PVG100-xxxx folder (xxxx is the device’s serial number), copy that folder to some other location.
- Go inside that folder and there will be a file named B1AMD0D0CV00.mbn (or something similar to this, starting with B).
- Send that file to your device so that it could be patched via magisk and subsequently be used to root the Palm device.

Patch Palm Boot.img File
- First off, install the Magisk App onto your Cubot device so that we could patch the stock boot.img and hence root it without TWRP.
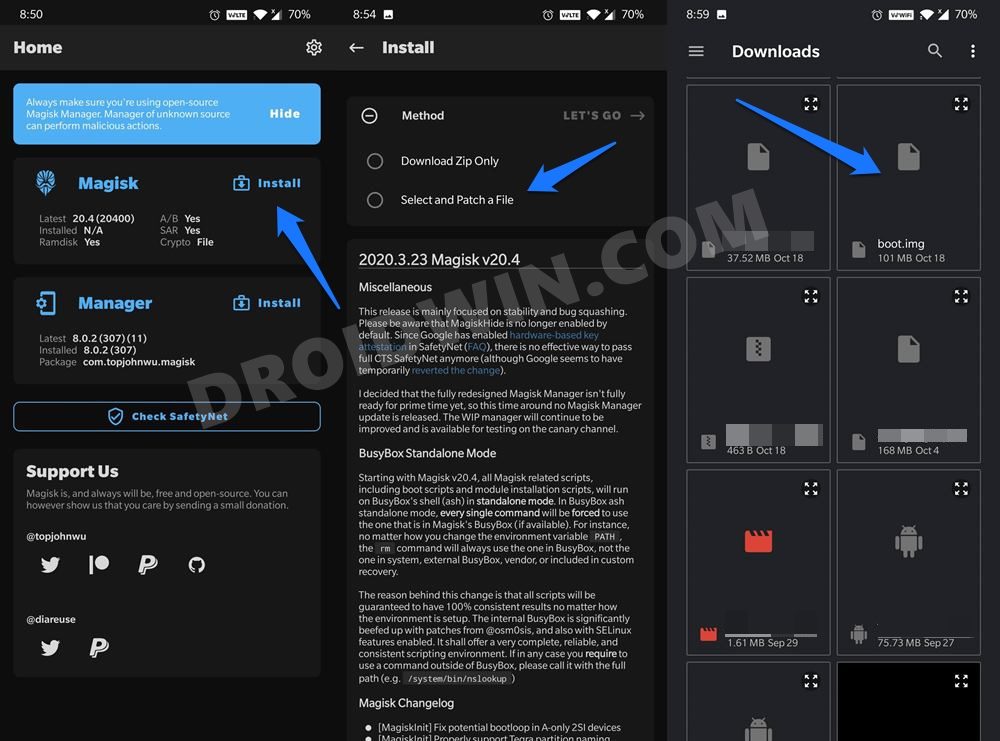
- Then tap on the Install button situated next to Magisk.
- From the Method section, choose Select and Patch a file.
- Browse to the extracted boot.img file and select it.
- Then tap on the Let’s Go option situated at the top right.
- Magisk will now load the boot.img file and will patch it accordingly.
- Once that is done, you would get the Download Complete message.
- The patched boot image file will be saved in Internal Storage > Downloads.

Root Palm via Magisk Patched boot.img
- Copy the patched boot.img and replace it with the B1AMD0D0CV00.mbn file present inside the PVG100-xxxx folder.
- Now boot your Palm device to EDL Mode (you may refer to the STEP that we have listed above).
- Then close and reopen the Sugar Tool. After that, copy the PVG100-xxxx folder and send it to the BIN folder.
- Select the model number, pepito/PVG100 (US) or pepito_vdf (Vodafone) from the list and hit the Upgrade button.
- The firmware with the patched boot.img file will now be flashed onto your device.
- Once the flashing is complete, press and hold the Power key to bring your device out of EDL Mode.
- Now set up your device and install the Magisk app, (if not already installed). Then launch it and that’s it, your device stands rooted.
So with this, we round off the guide on how you could root your Palm device via Magisk. If you have any queries concerning the aforementioned steps, do let us know in the comments. We will get back to you with a solution at the earliest.