In this guide, we will show you the steps to repair IMEI, MEID, TEE data, and Google certificates on Umidigi devices. While the likes of Samsung, Google, and OnePlus are currently ruling the smartphone domain, there are a few underrated names that are slowly but surely catching up as well. In this regard, the devices from Umidigi are right there at the top. Two of its most popular offerings- the BISON and A series have managed to encapsulate a major chunk of the userbase.
Not only for the general users, but it has also raised the stakes in custom development as well. Be it for flashing custom binaries, installing custom ROMs and recoveries, or rooting your device via Magisk, there are a plethora of tweaks to try out. However, performing these tweaks could bring in a few risks as well. There’s always a possibility of a device partition getting corrupted.
When that happens with the NVRAM/EFS/QCN partition, then it could corrupt the IMEI number and its associated data. While this issue is definitely quite concerning, but there do exist a few workarounds through which you could easily rectify this issue. And this guide shall help you with just that. So without further ado, let’s get started with the steps to repair IMEI, MEID, TEE data, and Google certificates on Umidigi devices.
Table of Contents
How to Repair IMEI, MEID, TEE Data and Google certificate on Umidigi Devices
The below instructions are listed under separate sections for ease of understanding. Make sure to follow in the exact same sequence as mentioned. Droidwin and its members wouldn’t be held responsible in case of a thermonuclear war, your alarm doesn’t wake you up, or if anything happens to your device and data by performing the below steps.
STEP 1: Download SN Writer TEE Tool
To begin with, get hold of the SN Writer Tool corresponding to your device from the below link:
- A7 (global): SNWriter_1924-4.2.1-up-1.2.1-vturkey_A7.rar
- A7.E (EEA): SNWriter_1924-4.2.1-up-1.2.1-vturkey_A7_eea.rar
- A7S: SNWriter_1924-4.2.1-up-1.2.1-vturkey_A7S.rar
- A7 Pro: SNWriter_1924-4.2.1-up-1.2.1-vturkey_A7Pro.rar
- A9: SN_Writer_Tool_exe_v1.2020.0.0-4362_A9.rar
- A9 Pro 2020/2021 4/64GB: SNWriter_1924-4.2.1-up-1.2.1-vturkey_A9Pro64.rar
- A9 Pro 2020/2021 6/128GB: SNWriter_1924-4.2.1-up-1.2.1-vturkey_A9Pro128.rar
- A9 Pro 2021 8/128GB: SN_Writer_Tool_exe_v1.2020.0.0-4362_A9Pro2021.rar
- A11: SN_Writer_Tool_exe_v1.2020.0.0-4362_A11.rar
- Power 5: SN_Writer_Tool_exe_v1.2020.0.0-4362_Power5.rar
- BISON 2020: SNWriter_1924-4.2.1-up-1.2.1-vturkey_BISON.rar
- BISON 2021 6GB: SN_Writer_Tool_exe_v1.2020.0.0-4362_BISON2021_6GB.rar
- BISON 2021 8GB: SN_Writer_Tool_exe_v1.2020.0.0-4362_BISON2021_8GB.rar
- BISON Pro: SN_Writer_Tool_exe_v1.2020.0.0-4362_BISON_Pro.rar
STEP 2: Modify the Hosts File
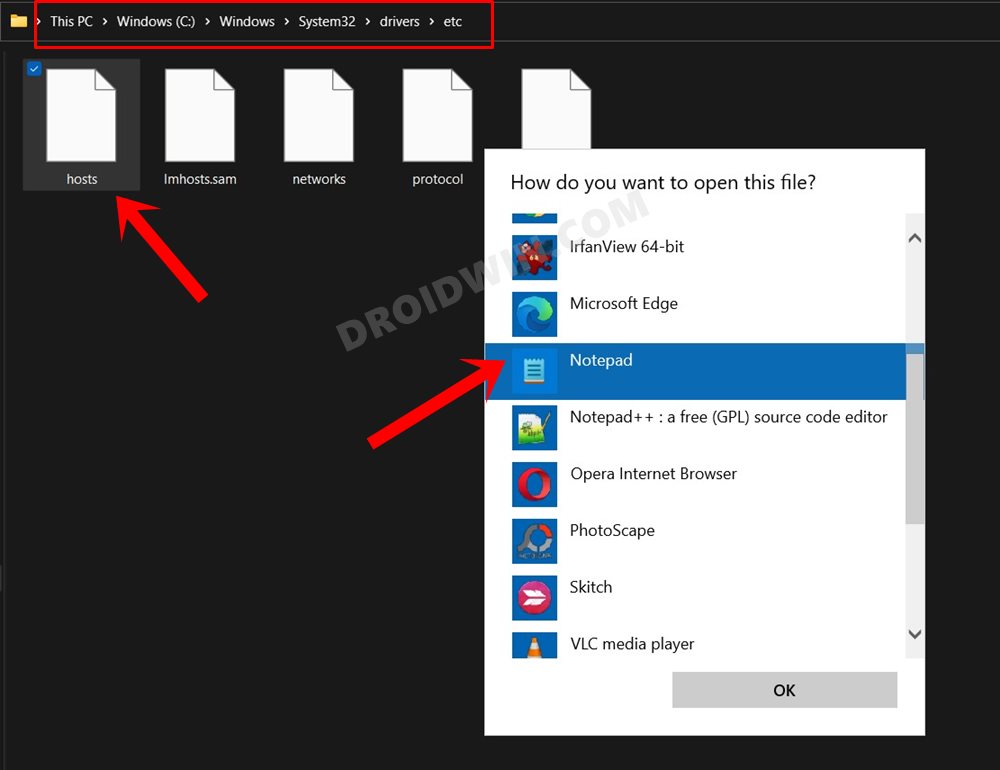
- To begin with, launch the File Explorer via the Windows+E shortcut keys.
- Then copy-paste the below location in the address bar and hit Enter:
C:\Windows\System32\drivers\etc
- Now open the host file and select Notepad from the list of apps.

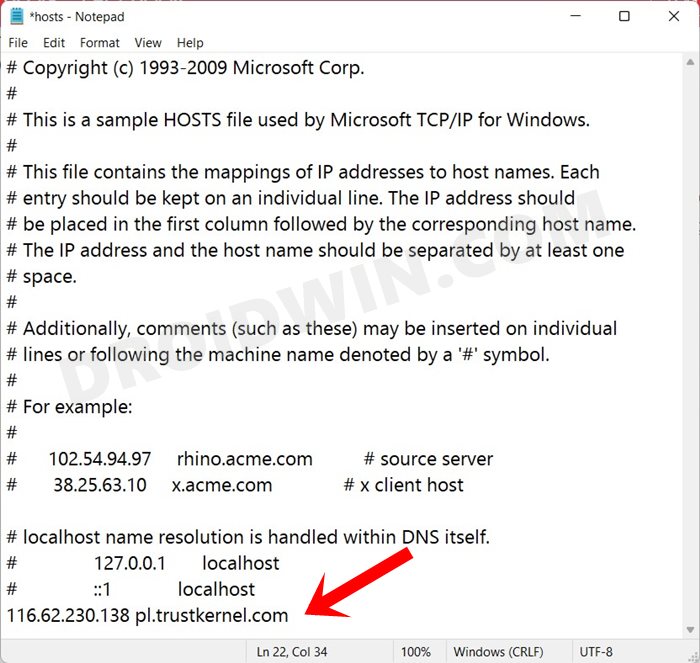
- After that, copy-paste the following line at the end of the host file:
116.62.230.138 pl.trustkernel.com
- Finally, save the changes via the Ctrl+S shortcut keys.
STEP 3: Configure SNWriter Tool
- Start off by downloading the SNWriter Tool on your PC.
- Then extract it to any convinient location on your PC.
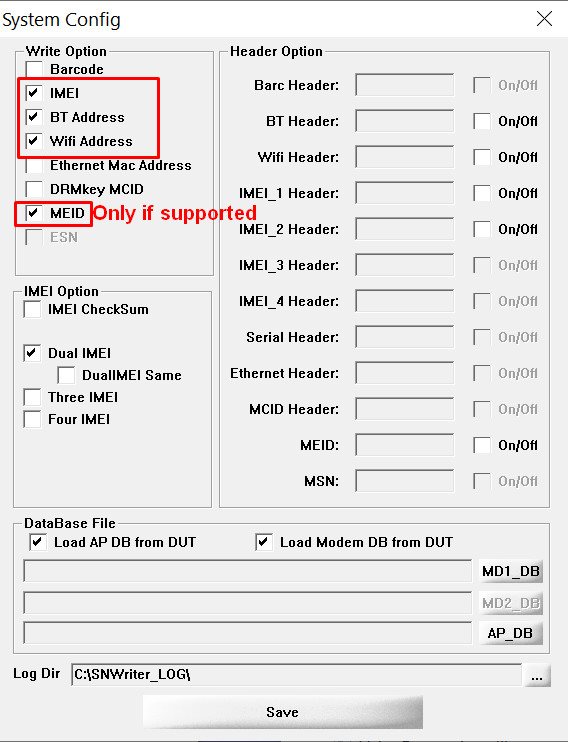
- Now launch the tool via its EXE file and click on the System Config button.
- Checkmark IMEI, BT Address, WiFi Address, and MEID (if supported) and hit Save.
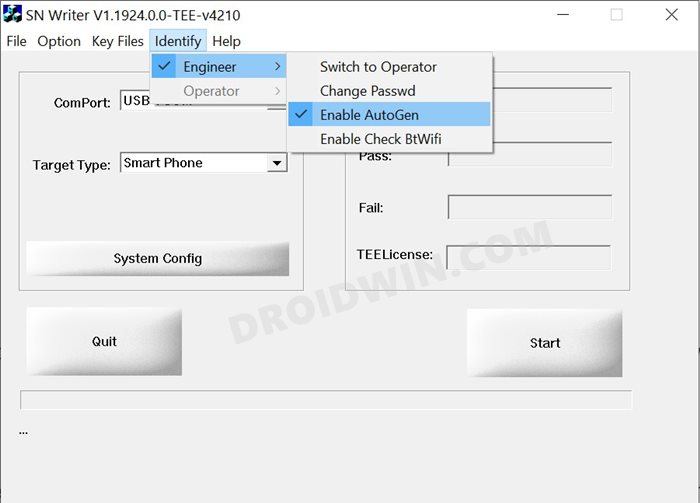
- Now go to the Identify tab > Engineer > Enable Auto Gen.
- Enable the BT Address and WiFi Address in the dialog box that appears and click OK (your WiFi and Bluetooth Address will be auto-generated).
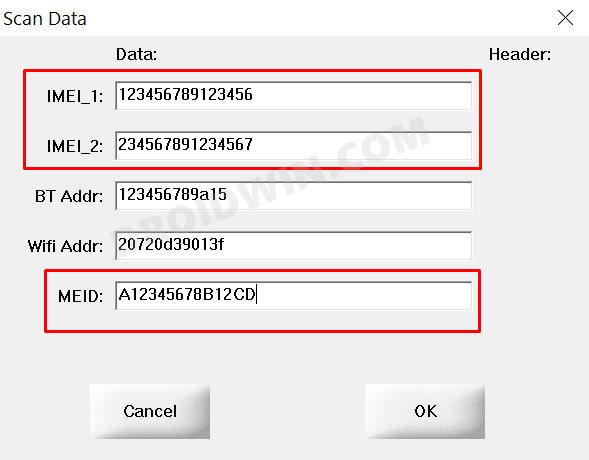
- Type in your original IMEI as well as the MEID (if you have it) in the space provided and click OK.
STEP 4: Write IMEI on MediaTek via SNWriter Tool
- Now connect your device to the PC via USB cable.
- As soon as the connection is established, your device will boot to the Meta Mode.
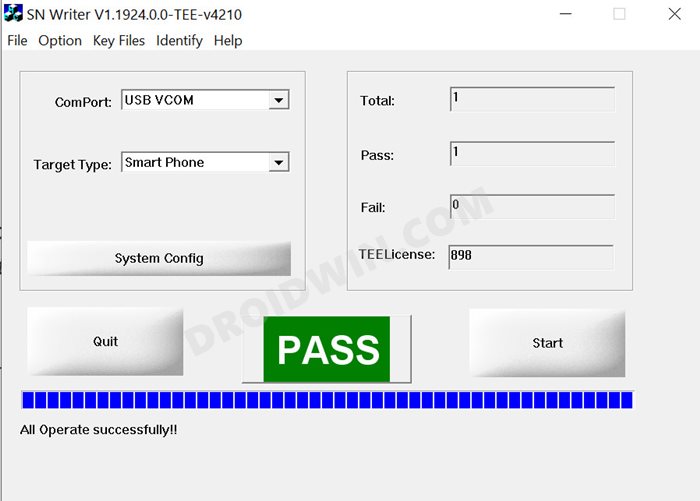
- The IMEI number will now be written onto your device.
- Once done, you shall get the Pass message.
That’s it. These were the steps to repair IMEI, MEID, TEE data, and Google certificates on Umidigi devices. If you have any queries concerning the aforementioned steps, do let us know in the comments. We will get back to you with a solution at the earliest.


Nil
Hi Hassan,
this process is clear and seems to be easy to follow. I still have two questions:
– is there any specific version of the SN-Writer for the model A3 Pro?
– can you suggest a solution to recover/regenerate the unique identifier of the fingerprint scanner (placed on the tee partition)? This had also lost after a full flash format.
Thanks!
Nil
Hi Hassan,
this process is clear and seems easy to follow. I still have two questions:
– is there any specific version of the SN-Writer for the model A3 Pro?
– can you suggest a solution to recover/regenerate the unique identifier of the fingerprint scanner (placed on the tee partition)? This had also lost after a full flash format.
Thanks!
Robert André
I urgently need the file for A5 Pro.
I have already fixed the IMEI.
How can I repair TEE data and Google certificates?
Robert André
Hello Sadique, please help to repair my Umidigi A5 pro.
Can you give me the SN Write Tool for Umidigi A5 pro EEA please?
Thanks in advance.
Robert André