In this guide, we will show you three methods to remove the Not Verify message from your MediaTek device. MediaTek devices are surely catching up in custom development, with the likes of bootloader unlocking, rooting, and flashing a custom recovery is slowly but surely adopted by numerous tech enthusiasts. However, carrying out these tweaks comes with its fair share of caveats as well.
One among them is the fact that your device might show a persistent red colored No Verify message at the top right of your screen. It goes without saying that this prompt causes a great deal of inconvenience in the day-to-day usage of your device. As far as the plausible reason for the same is concerned, it is usually attributed to flashing firmware using format all + download mode in SP Flash Tool.
With that said, there does exist a couple of nifty workarounds through which you could easily remove the Not Verify message from your MediaTek device. So without further ado, let’s check them out.
Table of Contents
How to Remove Not Verify message on MediaTek Device

It is recommended that you try out each of the below-mentioned workarounds and then see which one spells out success for you. So with that in mind, let’s get started. Droidwin and its members wouldn’t be held responsible in case of a thermonuclear war, your alarm doesn’t wake you up, or if anything happens to your device and data by performing the below steps.
FIX 1: Edit Build Prop
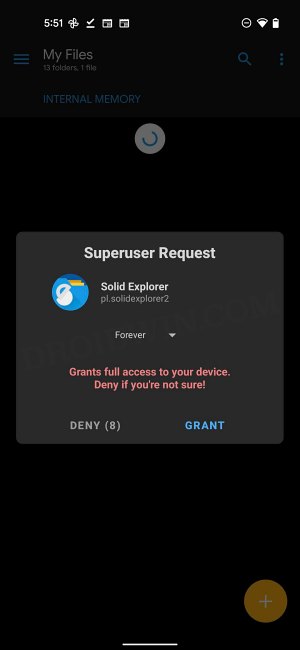
- Download a root-supported file explorer such as Solid File Manager.
- Then launch it, grant it Magisk permission and go to root > system.

- Now open the build.prop file there and search the following two lines:
ro.mtk_trustkernel_tee_support=1
ro.tee_support=1
- Modify their values to 0, so that the commands now look like this:
ro.mtk_trustkernel_tee_support=0
ro.tee_support=0
- Finally, save the changes and restart your device.
- This will remove the Not Verify message from your MediaTek device.
FIX 2: Using Magisk Module
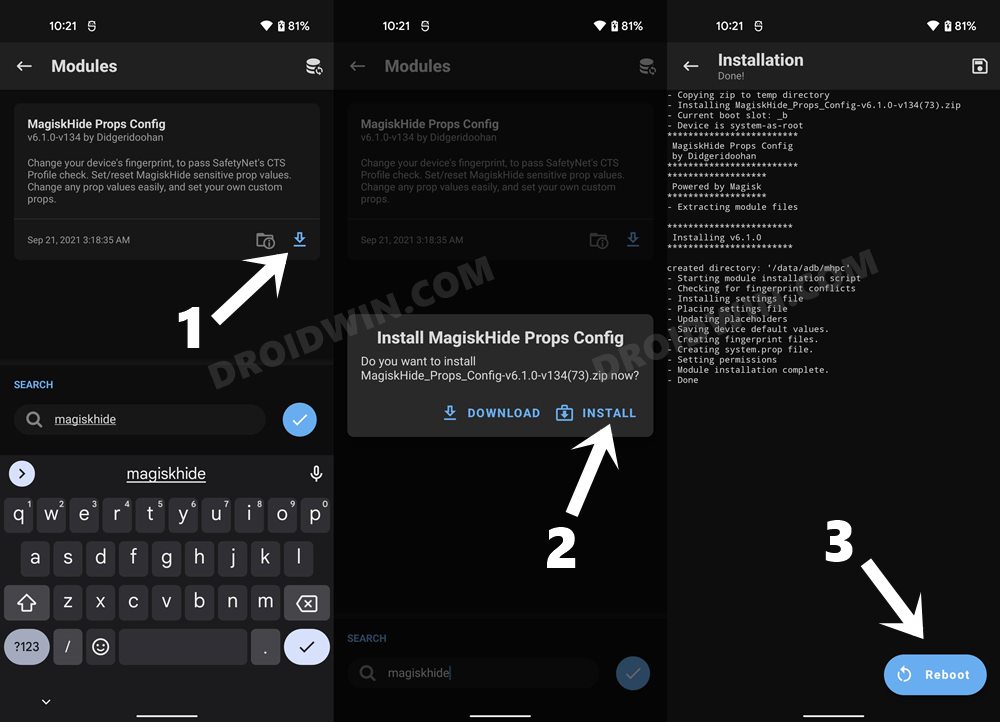
- To begin with, download the Magisk Hide Props Config module.
- Then launch Magisk, go to Modules, and tap on Install from Storage.
- Now select the module and it will be flashed. Once done, hit Reboot.
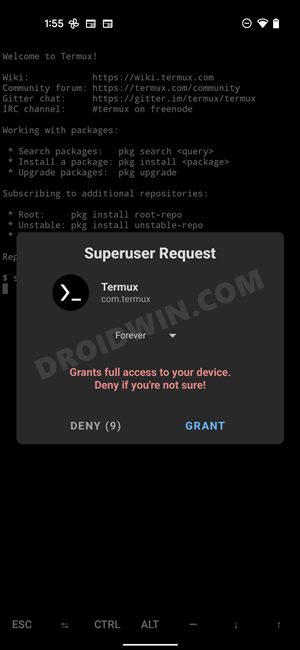
- Then install Termux and launch it. Now type in su and hit Enter.
- This will bring up the Magisk prompt, tap on Grant.
- Now execute the below command in Termux and restart your device:
props ro.mtk_tee_check_support 0
- It will remove the Not Verify message from your MediaTek device.
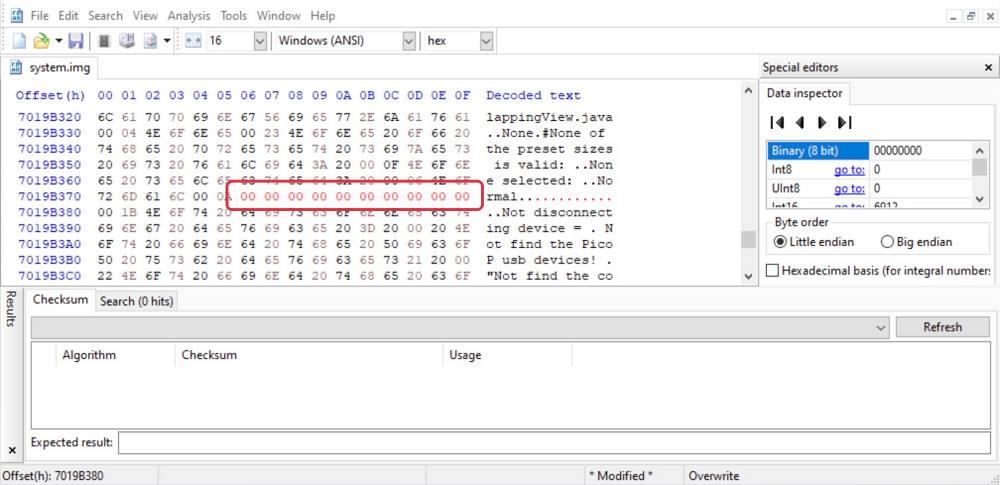
FIX 3: Using Hex Editor
- Download the stock firmware for your device and extract the system.img file
- Then download and install the HxD Hex Editor on your PC.
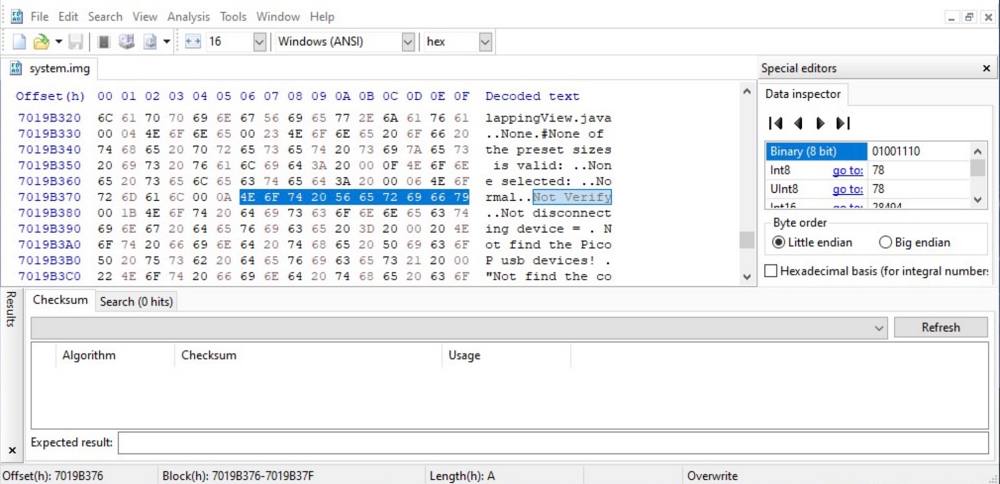
- Now drag and drop the system.img file to the Hex Editor.
- Press A to highlight All, Control F to Find, Search direction (All), and Type “Not Verify”.
- Now delete the corresponding numbers that get highlighted corresponding to “Not Verify”.
- Finally, save the changes and flash this ‘new’ system.img’ via SP Flash Tool onto your device.
That’s it. These were the three different methods that should help you remove the Not Verify message from your MediaTek device. If you have any queries concerning the aforementioned steps, do let us know in the comments. We will get back to you with a solution at the earliest.


mia
hi is still here with dhex..and new flash, so it must be a script on android10go
any solution,thanx