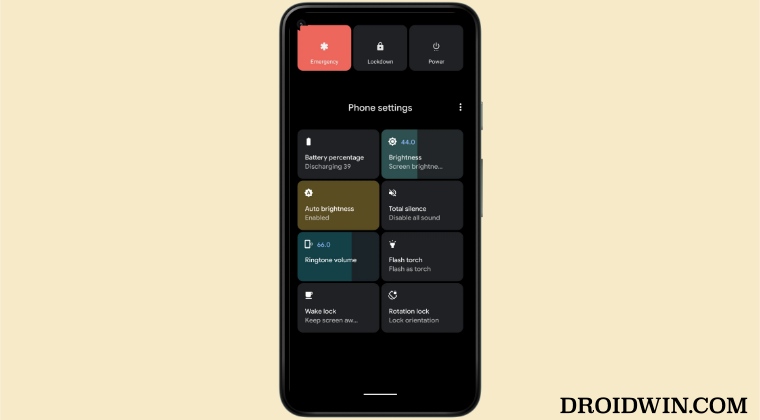
In this guide, we will show you the steps to remove Google Pay from the Power Menu on your Android device. With Android 11, one of the biggest talking points was the incorporation of Smart controls and Google Pay directly in the Power menu. if we talk about the latter one, then it made it extremely easy to carry out the contactless payment- all that was needed was a single tap.
But as you might be aware good things don’t last for long in the Google ecosystem and with Android 12, the search engine giant decided to bid adieu to this feature once and for all. However, a few OEMs such as OnePlus still decided to retain this feature [though it’s not present in older OnePlus devices]. With that said there does exist a minority set of users who don’t use Google Pay.
For them, the addition of this feature in the Power menu doesn’t add any value to it, rather it only makes it all the more complicated. And hence, they want Google Pay to be removed from the Power menu on their Android device. if you also echo the same thought process, then this guide shall help you out. Follow along for the instructions.
Table of Contents
How to Remove Google Pay from Power Menu on Android
The below instructions are listed under separate sections for ease of understanding. Make sure to follow the same sequence as mentioned.
STEP 1: Install Android SDK

First and foremost, you will have to install the Android SDK Platform Tools on your PC. This is the official ADB and Fastboot binary provided by Google and is the only recommended one. So download it and then extract it to any convenient location on your PC. Doing so will give you the platform-tools folder, which will be used throughout this guide.
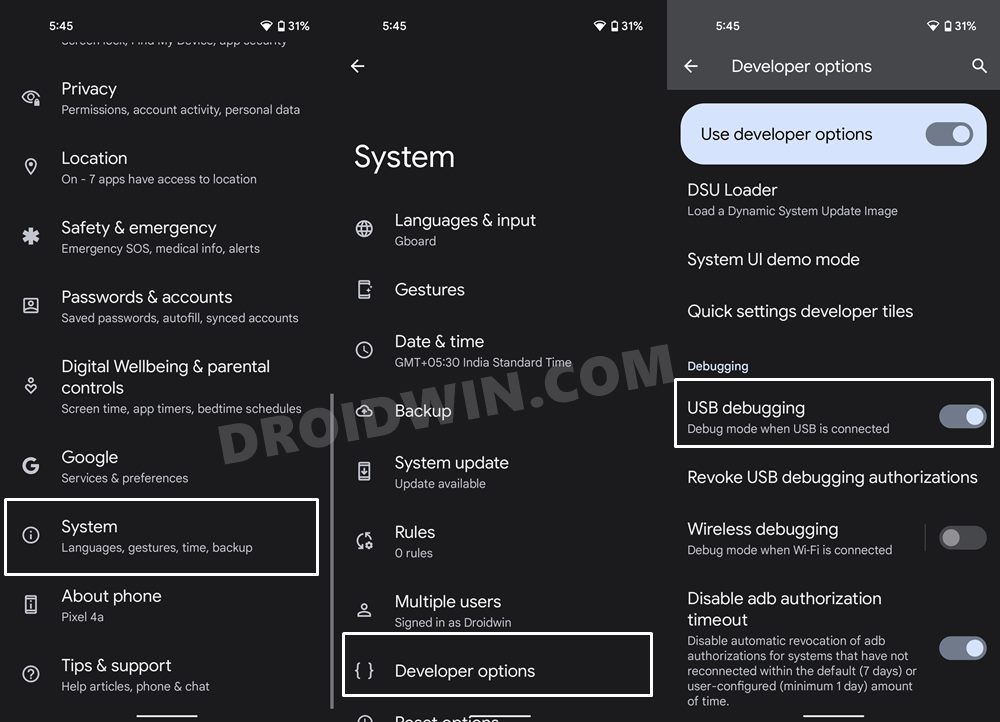
STEP 2: Enable USB Debugging
Next up, you will have to enable USB Debugging on your device so that it is recognizable by the PC in ADB mode. So head over to Settings > About Phone > Tap on Build Number 7 times > Go back to Settings > System > Advanced > Developer Options > Enable USB Debugging.
STEP 3: Establish ADB Shell Connection
- To begin with, connect your device to the PC via USB cable. Make sure USB Debugging is enabled.
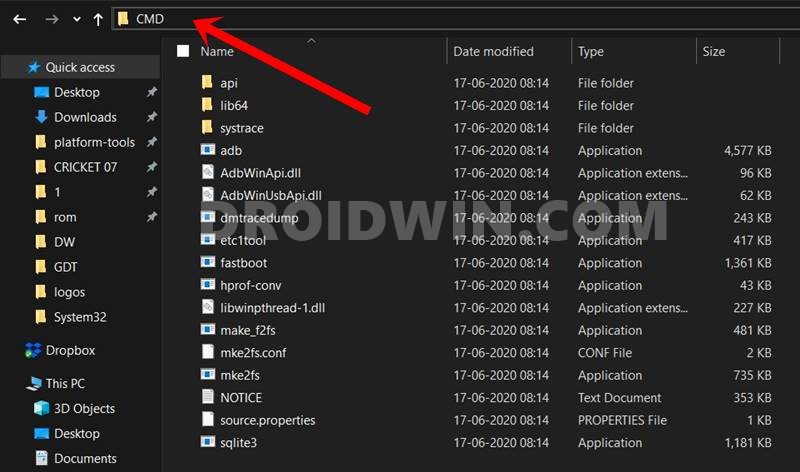
- Then head over to the platform-tools folder, type in CMD in the address bar, and hit Enter. This will launch the Command Prompt.

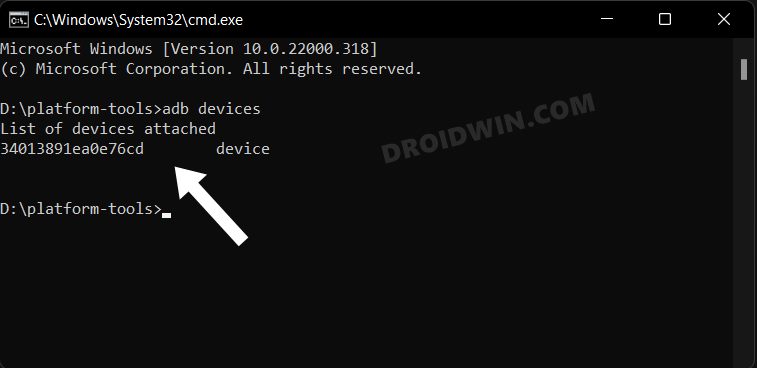
- Now in the following command in the CMD window to verify the ADB connection:
adb devices
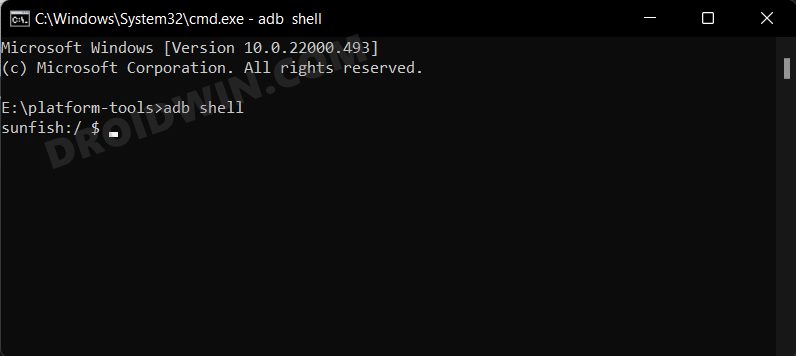
- If you get the device ID, then the connection stands successful. Now type in the below command to open the Shell environment:
adb shell
- It will now list out your device codename/name, which means that the shell connection has been successfully established and you are good to go ahead.
STEP 4: Remove Google Pay from Power Menu
Finally, execute the below command and your task stands complete.
pm uninstall --user 0 com.android.systemui.plugin.globalactions.wallet
That’s it. These were the steps to remove Google Pay from the Power Menu on your Android device using ADB Commands. If you have any queries concerning the aforementioned steps, do let us know in the comments. We will get back to you with a solution at the earliest.


