In this guide, we will show you the steps to install the Windows 11 built-in graphics tool as well as how to generate a graphics report. In the latest edition of OS, Microsoft has baked in quite a few handy tools. From graphics to networking and system-related, there is a plethora of useful nifty software that you could make full use of. But since they aren’t used on a large scale basis, these tools aren’t installed on their PC, rather, Microsoft has added a one-click setup file for each of these tools.
And one of them is the DirectX Graphics Tools. Using this tool, you could generate a report about all the DirectX components and drivers installed on your system. Along with that, you could also use it to perform graphics-related diagnostics. Likewise, you could also keep a tab on apps and games that are currently using the Direct3D technology. Then the fact that you could also track real-time GPU usage proves to be a handy addition to this list.
It allows you to trace when any of your apps or games are making use of Direct3D technology. Moreover, even the developers use its 3D-related functionalities to create DirectX debug devices. All in all, it is definitely a boon for enthusiasts, gamers, and developers alike. So keeping all these perks in mind, this guide will show you the steps to install the Windows 11 built-in graphics tool as well as the instructions to generate a graphics report. Follow along.
Table of Contents
How to Install Windows 11 Built-In Graphics Tool

- To begin with, head over to the Settings menu on your device.
- Then go to the Apps Section and select Optional Features.
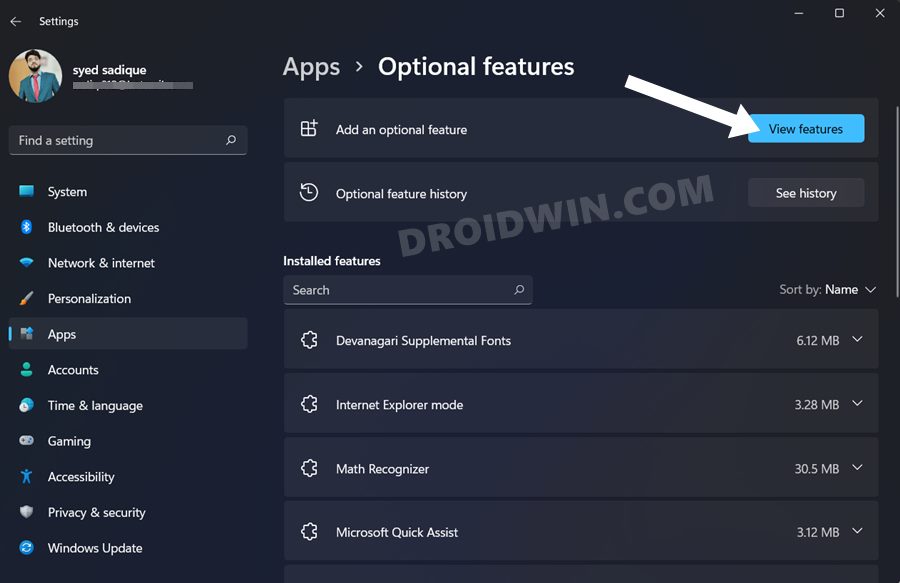
- After that, click on View Features next to Add an optional feature.

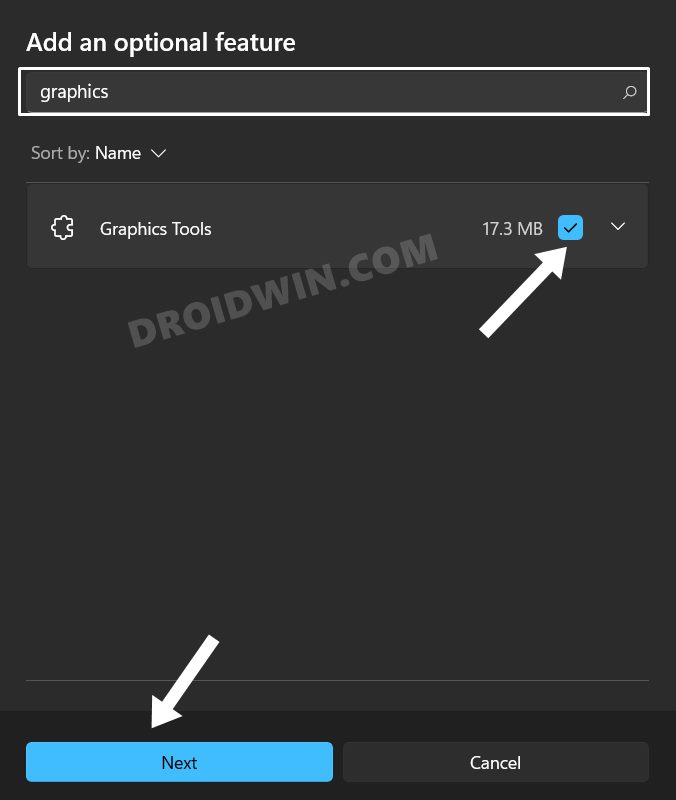
- Now type in Graphics in the space provided, select Graphics Tool from the search result, and click Next.
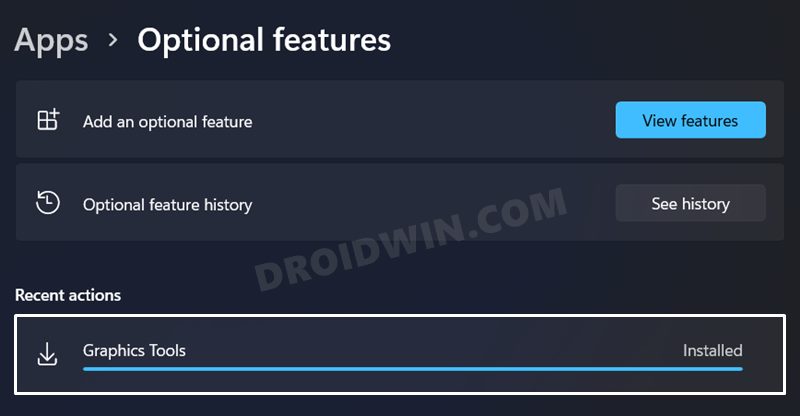
- That’s it. The Graphics Tool will now subsequently be installed on your Windows 11 PC.
How to Use Windows 11 Graphics Tool
- Bring up the Run dialog box via Windows+R shortcut keys.
- Then type in the below command and hit Enter:
dxdiag
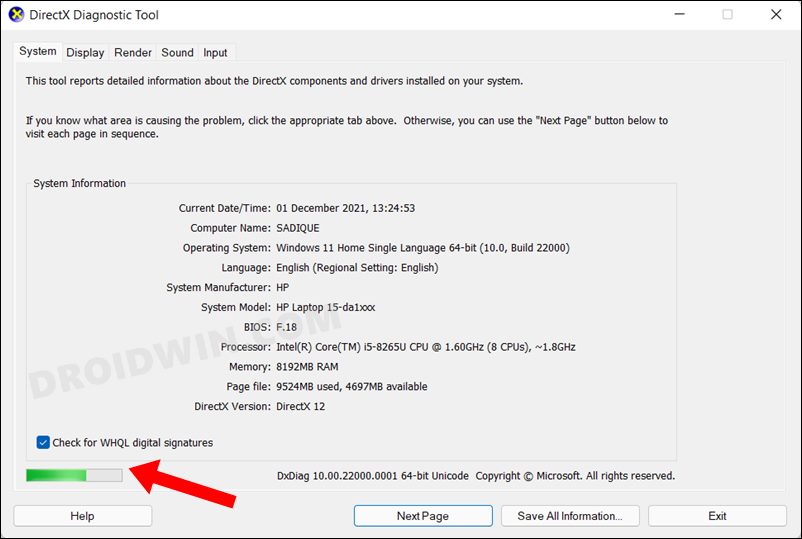
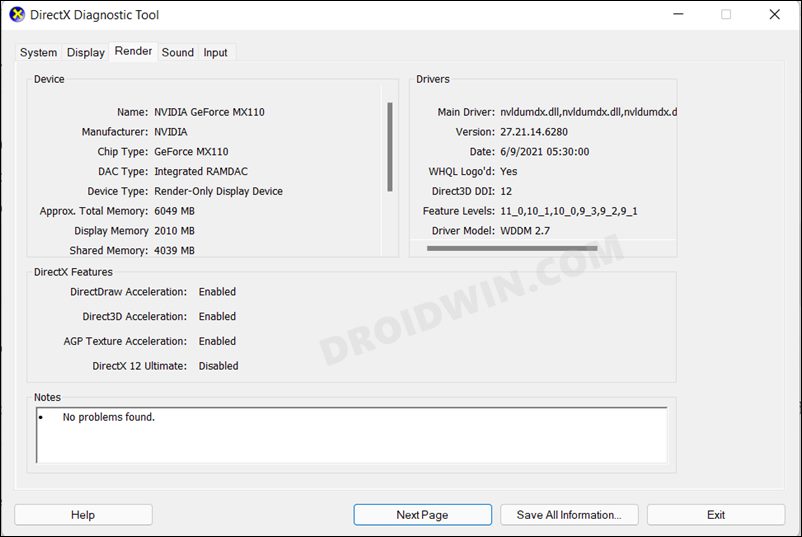
- It will now load the DirectX Diagnostic Report. You may track the progress from the bottom left.
- Once loaded, you may click on the Next page or use the tabs situated at the top to go through the System, Display, Render, Sound, Input information.
- If you wish to save all this report, then just click on the Save Information button.
How to Uninstall Windows 11 Graphics Tool
While the tool doesn’t consume much system resources, but if you are done using it and wish to permanently bid it adieu then here’s what you need to do:
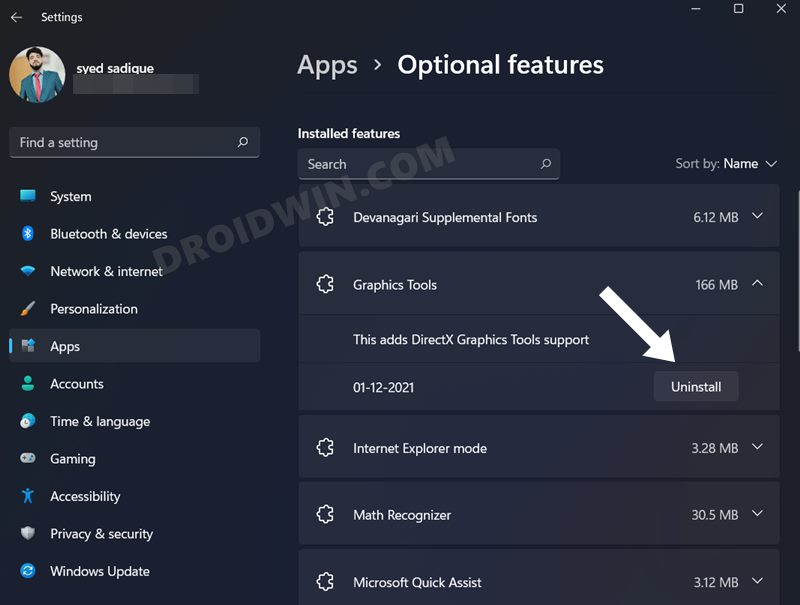
- To begin with, open the Settings menu and go to Apps.
- Then head over to the Optional Features section.
- Now scroll to Graphics Tool, expand this section, and hit Uninstall.
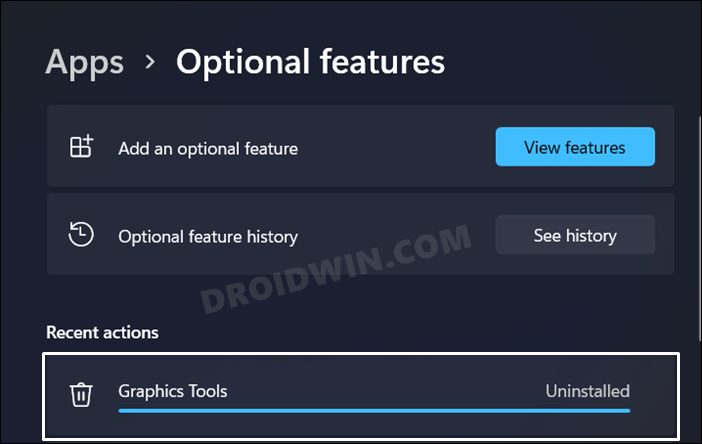
- That’s it. The tool will now be uninstalled within a few seconds.
So these were the steps to install the Windows 11 built-in graphics tool. Likewise, we have also listed out the steps to generate its report. If you have any queries concerning the aforementioned steps, do let us know in the comments. We will get back to you with a solution at the earliest.


