In this guide, we will show you the steps to install the TWRP Recovery on Samsung Galaxy S9/S9+ devices. There are some devices that have managed to create a cult following and their names would forever be itched in the list of the most popular devices (no, it’s not the nostalgia talking but rather plain straight facts). And don’t be surprised you find a couple of Galaxy S series devices in this list. In this regard, the ninth iteration had already managed to catch the attention of the masses right when it was launched. And the hype mill is yet to settle down, even though it has been four long years.
The reason for the same is the active custom development for these devices that have made them the talk of the town. Well, it has just received the latest One UI 4.1 Android update, courtesy of a custom ROM. Apart from that, there exists a slew of other customized firmware, mods, and tweaks that you could flash onto your device. However, for flashing any of these binaries- your Galaxy S9/S9+ needs to have the TWRP Recovery installed. And in this guide, we will help you with just that. So without any further ado, let’s get started.
Table of Contents
How to Install TWRP Recovery on Samsung Galaxy S9/S9+

The below instructions are listed under separate sections for ease of understanding. Make sure to follow in the same sequence as mentioned. Droidwin and its members wouldn’t be held responsible in case of a thermonuclear war, your alarm doesn’t wake you up, or if anything happens to your device and data by performing the below steps.
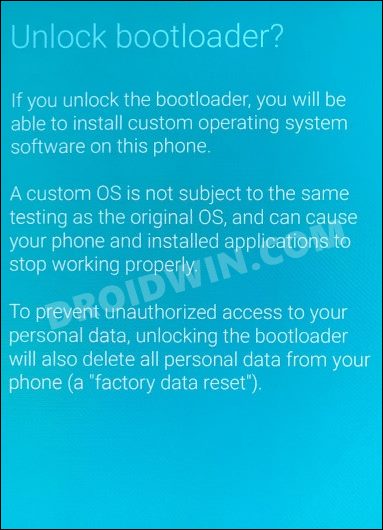
STEP 1: Unlock Bootloader on Galaxy S9/S9+
First and foremost, you will have to unlock the bootloader on your device. Do note that doing so will wipe off all the data from your device and could nullify its warranty as well. So if that’s well and good, then refer to our guide on How to Unlock Bootloader on Samsung Galaxy S9/S9+.
STEP 2: Download TWRP for Galaxy S9/S9+
Next up, download the official TWRP TAR file [and not IMG] for your device from below:
- TWRP for Galaxy S9 (Exynos): Download Link
- TWRP for Galaxy S9+ (Exynos): Download Link
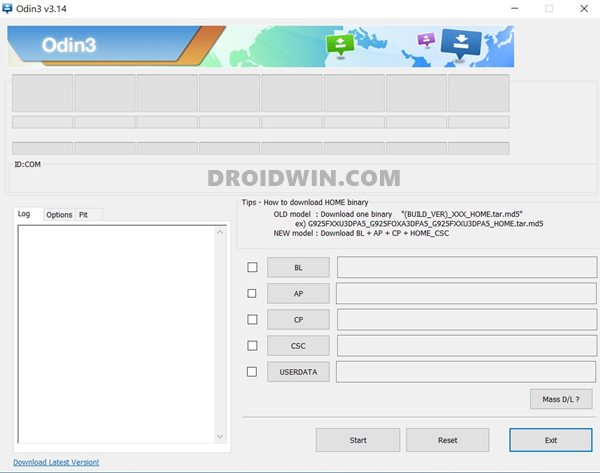
STEP 3: Download Odin
After that, you will have to get hold of Odin so as to flash the TWRP TAR file to your Galaxy S9/S9+ device. So download it and then extract it to any convenient location on your PC.
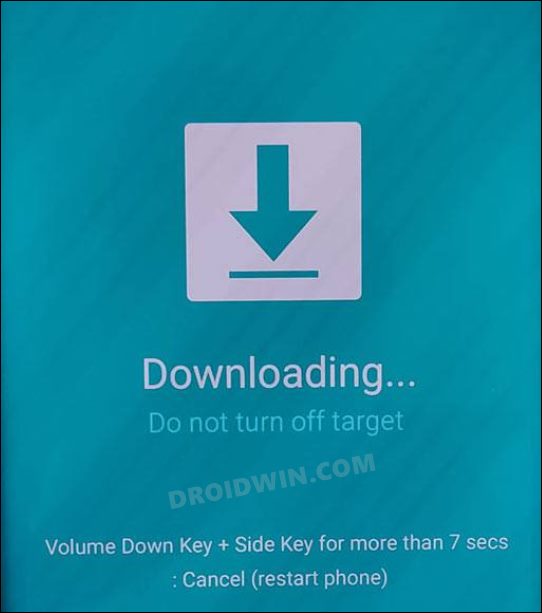
STEP 4: Boot Galaxy S9/S9+ Download Mode
- To begin with, power off your device.
- Then press and hold Vol Down + Bixby + Power keys together for 15 seconds.

- As soon as you see the Warning message on your device, release the pressed keys.
- Finally, press the Volume Up key once and your device will be booted to Download Mode.
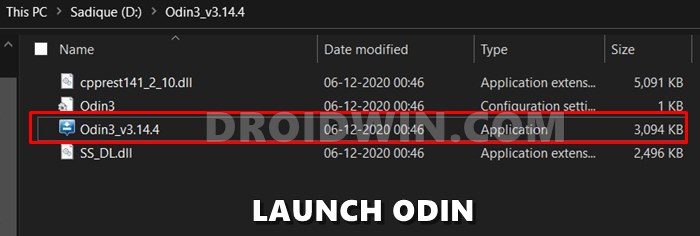
STEP 5: Flash TWRP on Galaxy S9/S9+
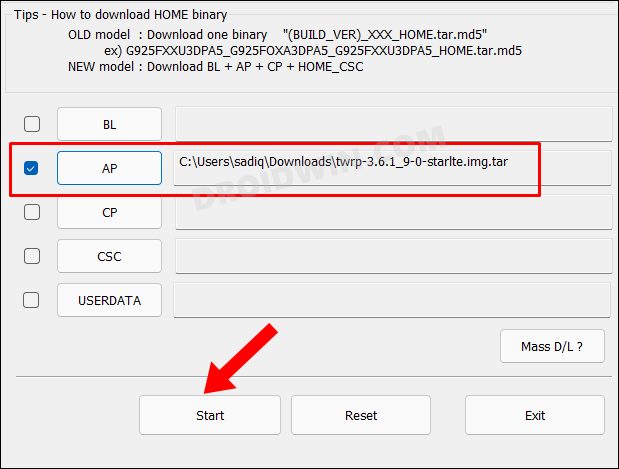
- Double click on the Odin3_v3.14.4.exe file to launch the tool.
- Then click on AP and load the TWRP TAR file for your device.
- Now press and hold the Power, Volume Up, and Bixby keys together and click Start in Odin.
- The flashing will now begin. Once done, your device will boot to TWRP and you may now leave the pressed keys.

STEP 6: Initialize TWRP on Galaxy S9/S9+
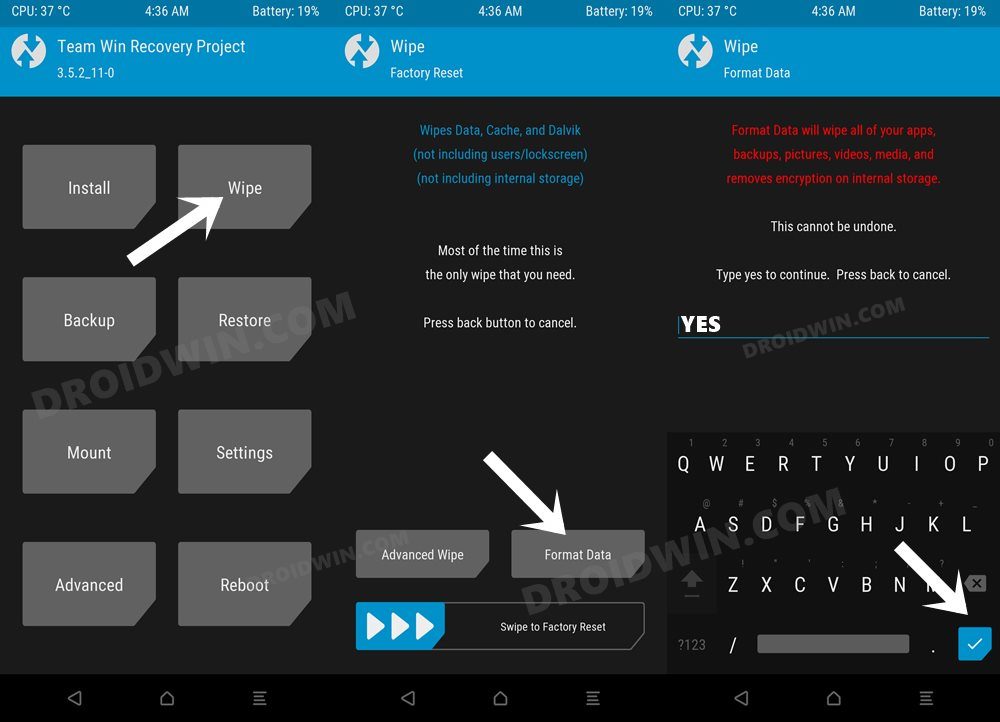
- TWRP will ask if you want to allow system modifications, select “Keep /system RO”.
- After that, go to Wipe and tap on Format Data.
- Then type in YES in the space provided and hit Enter. Your device will undergo a format.
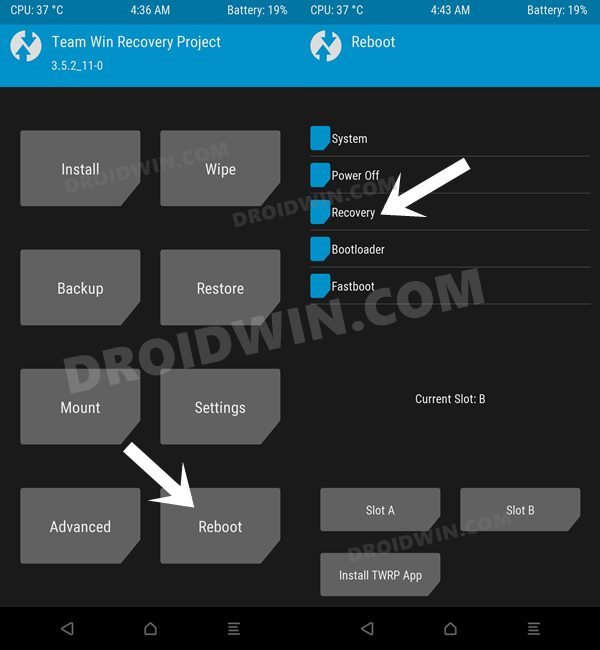
- Once done, go to Reboot and select Recovery. Your device will reboot to TWRP.
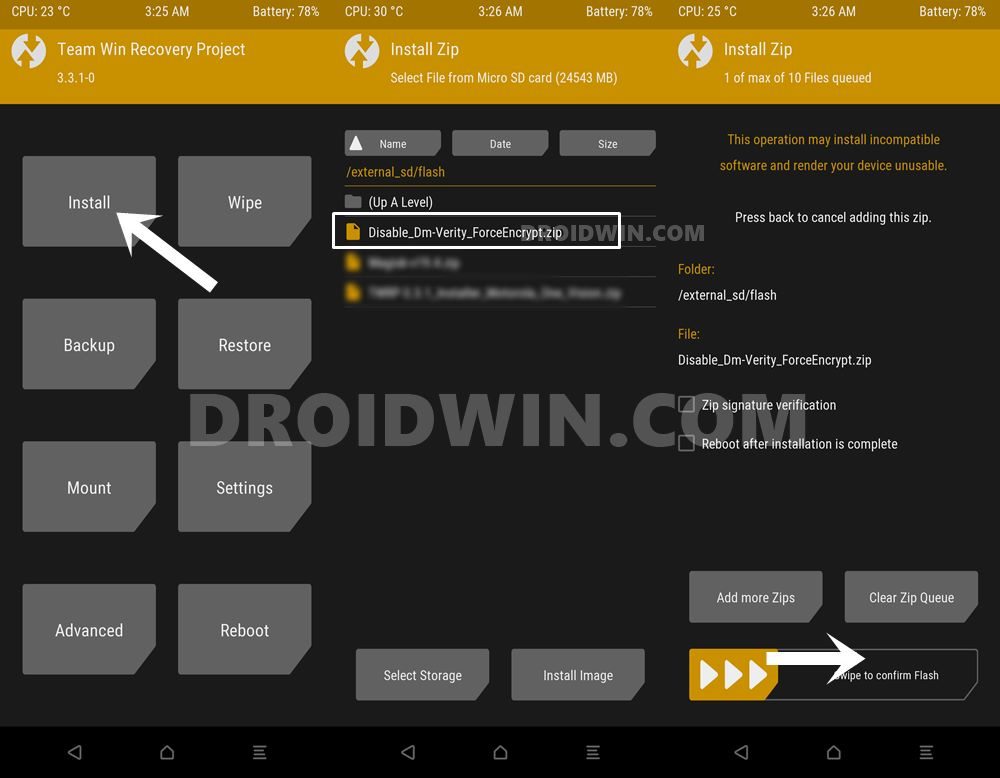
- Now download the dm-verity and force encryption disabler zip on your PC.
- Then transfer it to your device via MTP or any other method of your choice.
- Go to Install, select the DM verity ZIP and perform a right swipe to flash it.
- That’s it. You may now reboot the device to OS via Reboot > System.
So these were the steps to install the TWRP Recovery onto the Samsung Galaxy S9/S9+ devices. If you have any queries concerning the aforementioned steps, do let us know in the comments. We will get back to you with a solution at the earliest.