In this guide, we will show you the steps to install the LineageOS ROM onto your Redmi Note 12/Pro. The Note series from Redmi has always been the go-to choice for the masses, thanks to its USP of providing feature-rich devices without being too heavy on your pockets. Along the same lines, these devices have a lot to offer in the developing community as well.
Among them is the ability to flash custom ROMs that have been the go-to choice for the tech enthusiast. When you are getting the opportunity to break free from the shackles of the bloated MUI ecosystem and welcome abode a clean stock OS experience, then who wouldn’t want to welcome abode these customized firmwares?
However, at the time of writing, the device is still at quite an early stage. As a result of this, there aren’t any custom ROMs that you could look forward to. But fret not. Since the Redmi Note 12 Pro is Project Treble compatible, you could easily install the LineageOS GSI ROM onto your device. And in this guide, we will show you how to do just that. Follow along.
Table of Contents
Install LineageOS on Redmi Note 12/Pro via Fastboot Commands
The below process will wipe off all the data from your device, so please take a complete device backup beforehand. Droidwin and its members wouldn’t be held responsible in case of a thermonuclear war, your alarm doesn’t wake you up, or if anything happens to your device and data by performing the below steps.
STEP 1: Install Android SDK

First and foremost, you will have to install the Android SDK Platform Tools on your PC. This is the official ADB and Fastboot binary provided by Google and is the only recommended one. So download it and then extract it to any convenient location on your PC. Doing so will give you the platform-tools folder, which will be used throughout this guide.
STEP 2: Enable USB Debugging and OEM Unlocking
Next up, you will also have to enable USB Debugging and OEM Unlocking on your device. The former will make your device recognizable by the PC in ADB mode. This will then allow you to boot your device to Fastboot Mode. On the other hand, OEM Unlocking is required to carry out the bootloader unlocking.
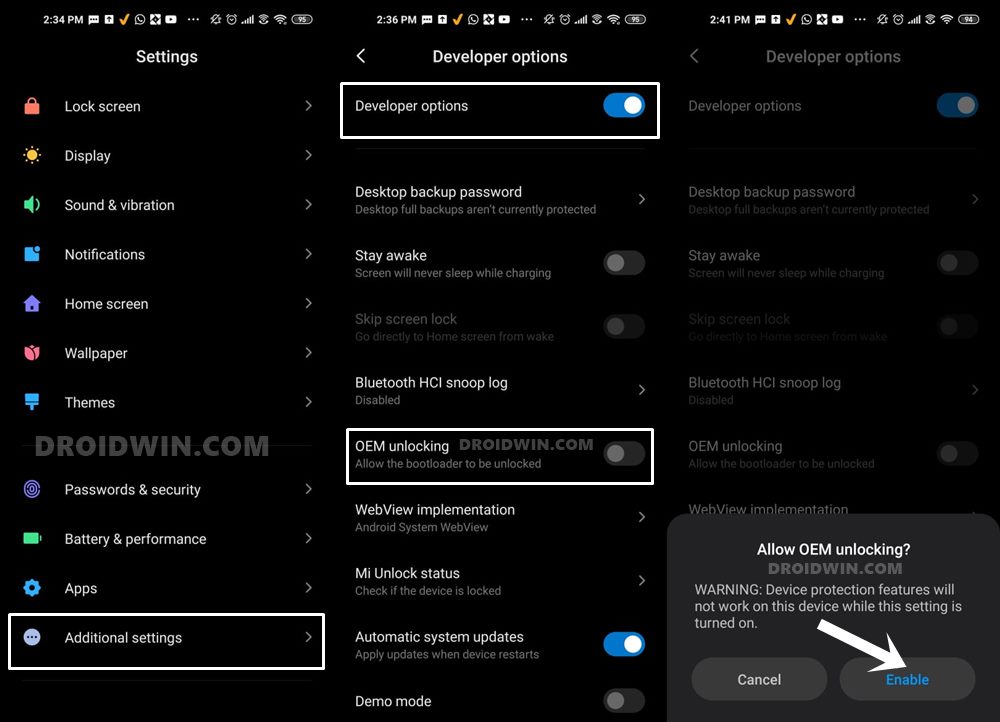
So head over to Settings > About Phone > Tap on Build Number 7 times > Go back to Settings > System > Advanced > Developer Options > Enable USB Debugging and OEM Unlocking.
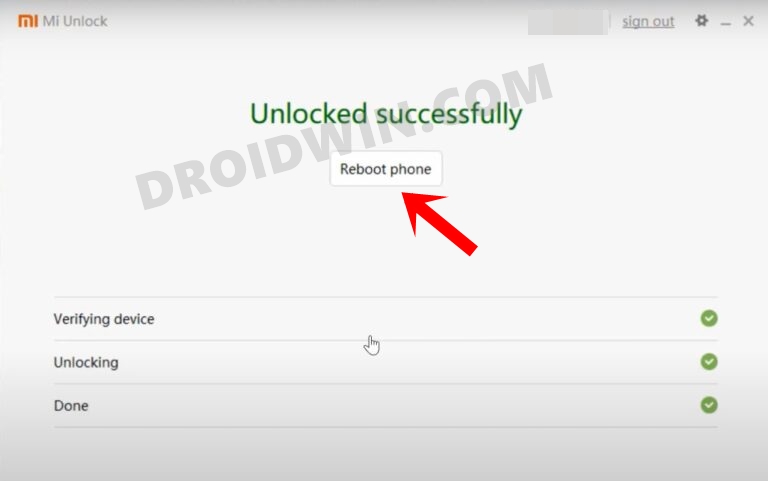
STEP 3: Unlock Bootloader on Redmi Note 12 Pro
Next up, you will also have to unlock the device’s bootloader. Do keep in mind that doing so will wipe off all the data from your device and could nullify its warranty as well. So if that’s all well and good, then please refer to our detailed guide on How to Unlock Bootloader on any Xiaomi Device.
STEP 4: Download LineageOS for Redmi Note 12/Pro
- Grab hold of the LineageOS for your Redmi Note 12 Pro from below.
LineageOS TD-based | LineageOS Light
- Then extract the GSI ROM so that you get the system.img file.
- Now, transfer this system.img file to the platform-tools folder.
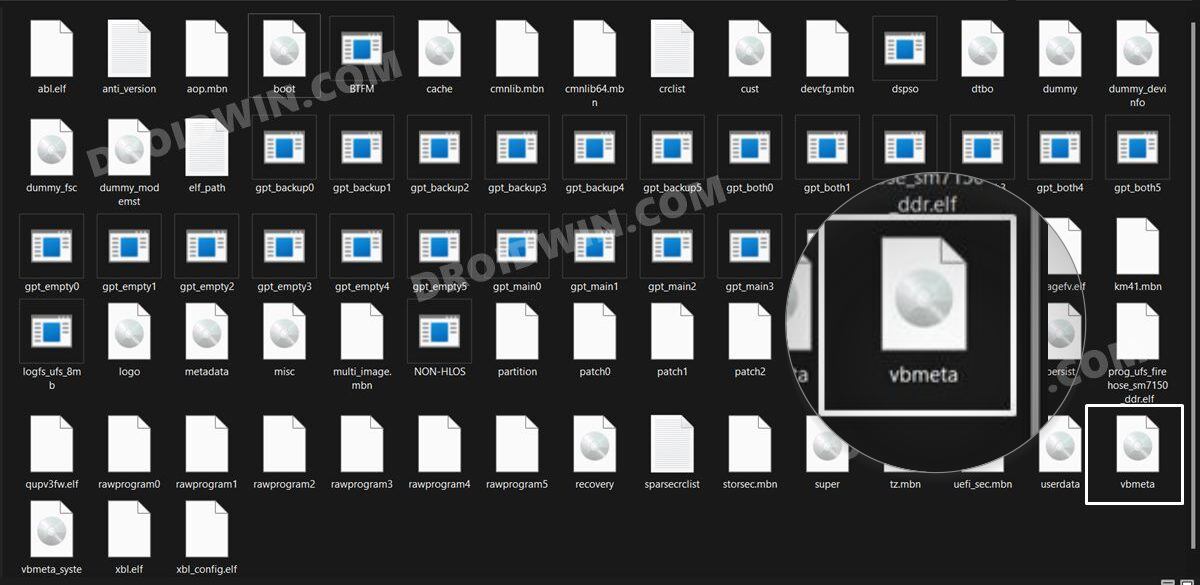
STEP 5: Extract vbmeta from Firmware
- First off, download the stock firmware for your device.
- Make sure to download the same firmware which is currently installed on your device. You could verify the same from the Build Number.

- Then extract the firmware. In the case of Xiaomi, you can extract the TGZ and TAR via 7ZIP.
- Once extracted, copy the vbmeta.img and transfer it to the platform-tools folder on your PC.
STEP 6: Boot Device to Fastboot Mode
- First off, connect your device to the PC via a USB cable. Make sure USB Debugging is enabled.
- Then head over to the platform-tools folder, type in CMD in the address bar, and hit Enter. This will launch the Command Prompt.

- Type in the following command in the CMD window to boot your device to Fastboot Mode
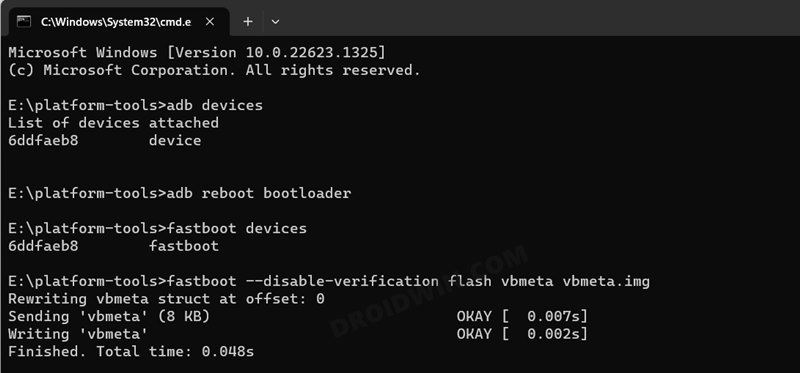
adb reboot bootloader
- To verify the Fastboot connection, type in the below command and you should get back the device ID.
fastboot devices

- If you are not getting any serial ID, then please install the Fastboot Drivers on your PC.
STEP 7: Disable Verity Check
Type in the below command to flash the vbmeta and hence disable the verification check on your device
fastboot --disable-verification flash vbmeta vbmeta.img
STEP 8: Flash LineageOS ROM on Redmi Note 12 Pro
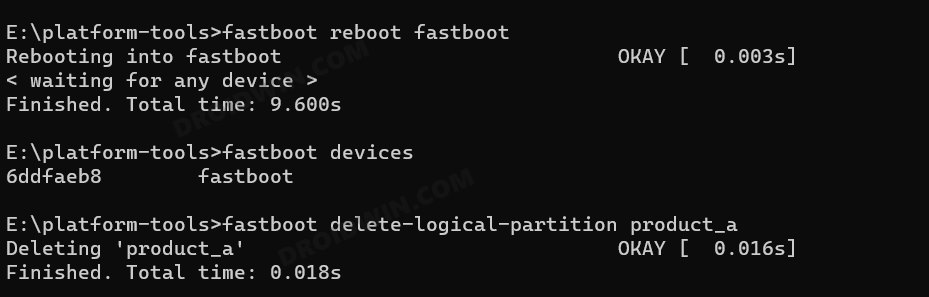
- As of now, your device will be in the Fastboot Mode. So type in the below command to boot to FastbootD Mode
fastboot reboot fastboot
- Now delete the logical partition to free up some space on your device:
fastboot delete-logical-partition product_a
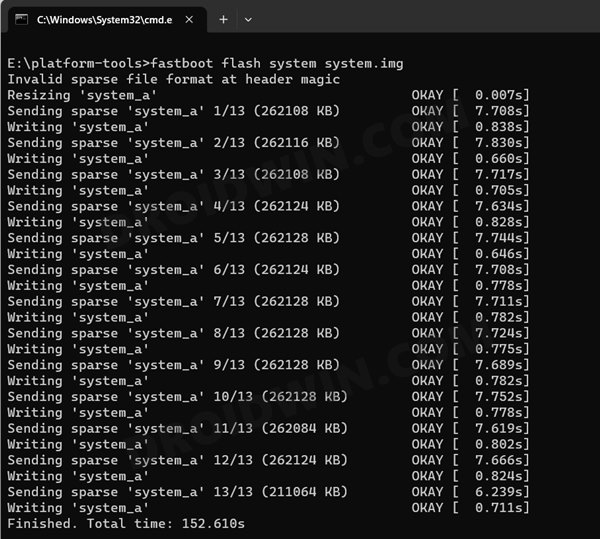
- You may now flash the GSI ROM via the below command [system.img is the name of the GSI ROM]
fastboot flash system system.img
- NOTE: Make sure that the system.img is being flashed in the same partition whose product partition is deleted. In our case, product_a is deleted, so system.img is being flashed to the system_a partition. If that is not the case with you, then you’ll get a not enough space to resize partition error. In such cases, either delete the other product partition [b] and then flash system.img there [b] or flash the system.img to the partition [a] whose product is deleted [a].
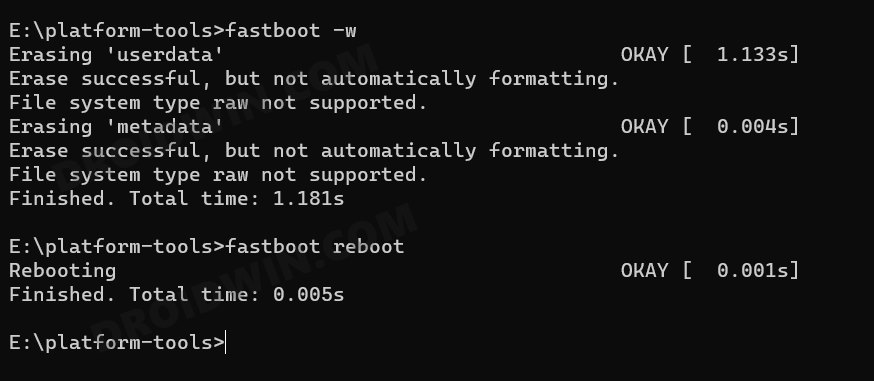
- Once the GSI is flashed, you’ll have to do a format data, so use the below command
fastboot -w
- Finally, reboot your device to the newly installed OS via the below command
fastboot reboot
Install LineageOS on Redmi Note 12/Pro via DSU Sideloader
If you don’t want to get into the technicalities of FastbootD Mode, then you could take the help of the DSU Sideloader app which will flash the GSI ROM onto your device without even the need for a PC. To test it out, do check out our below-linked guide:
That’s it. These were the two different methods through which you could install the LineageOS ROM onto your Redmi Note 12/Pro. If you have any queries concerning the aforementioned steps, do let us know in the comments. We will get back to you with a solution at the earliest.


Mohammadmehdi
Is custom rom lineage os for redmi note 12 pro 4g?
xioami
Warning: This is a low-quality copy-pasted article that leaves the user without necessary files.
Sadique Hassan
Whoops. That wasn’t the comment we were looking for. As far as copy-paste is concerned, yes, the steps 1 to 5 are same across all Xiaomi phones, so you might see some similarity. But the part from where the actual flashing begins, it’s completely different for each device. Anyways, let me know where you got stuck and I’ll be more than happy to sort out that issue.
Christiaan
Where do I get all the files mentioned? Like vbmeta.img