In this guide, we will show you the steps to install Bliss ROM based on Android 12 onto your Pixel 4A device. The devices from the Silicon Valley giant are known to provide a clean and stock OS experience. But if you reached a level of saturation and wish to add a few tweaks to it, then they have it covered as well. These devices are quite active in custom development as well. And the Pixel 4A is no different either. Be it for flashing custom ROMs or installing a custom recovery like TWRP, there’s a lot to try out.
Along the same lines, you could also gain access to the system partition by rooting your device via Magisk. But let’s keep all that aside and strengthen our focus on customized firmware. At the time of writing, there aren’t many custom ROMs for this device. So upon getting notified that it has been blessed with a popular ROM, we decided to test it right away. And in this guide, we will help you to welcome it onto your device as well. Given here are the detailed steps to install Bliss ROM based on Android 12 onto your Pixel 4A. Follow along.
Table of Contents
Bliss ROM for Pixel 4A: Features | Bugs | Screenshots
![]()
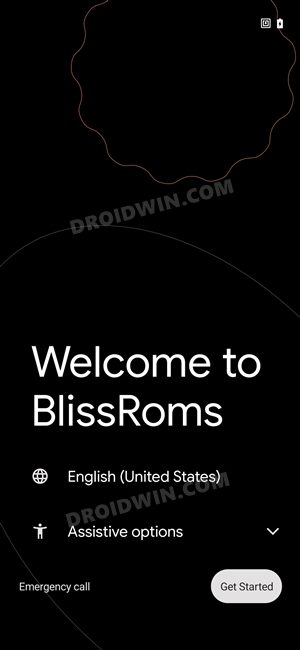
Bliss ROM is a popular name in custom development that has managed to maintain a fine equilibrium between the overall feature set and the device stability. So on one hand, you will be welcoming a plethora of new and intriguing features onto your device, but at the same time, there wouldn’t be any dent in the performance domain. So a ROM baked in with interesting features and still not being the bloated OS, well, we couldn’t have asked for more.
Features
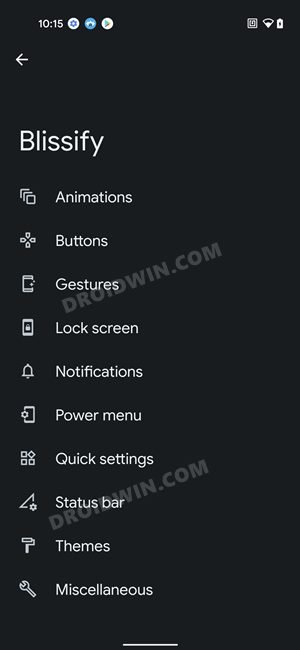
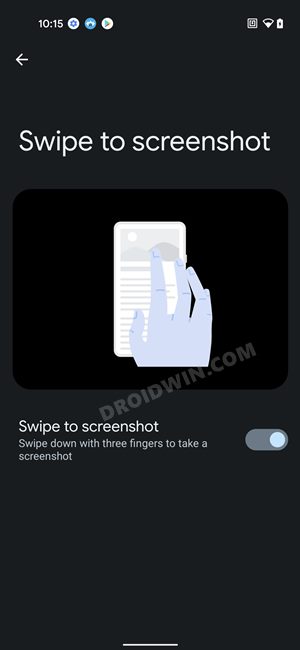
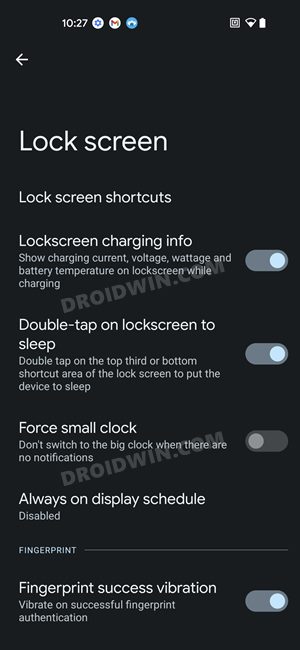
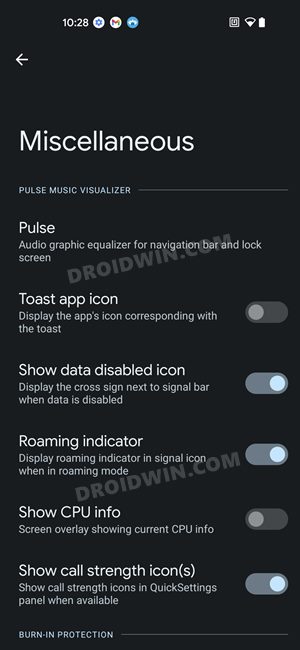
As far as the Pixel 4A is concerned, I got to test it only for a couple of minutes, but I did manage to grab hold of some nifty functionalities. These includes:
- Three-finger swipe for screenshot
- Remove on-screen navigation bar pill
- Two-button navigation
- Double-tap to sleep
- Screen Lock Animations
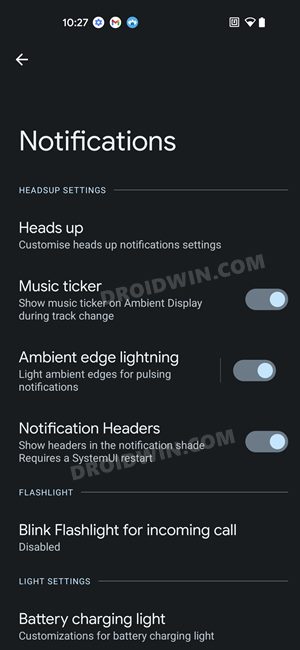
- Ambient Edge Lightning
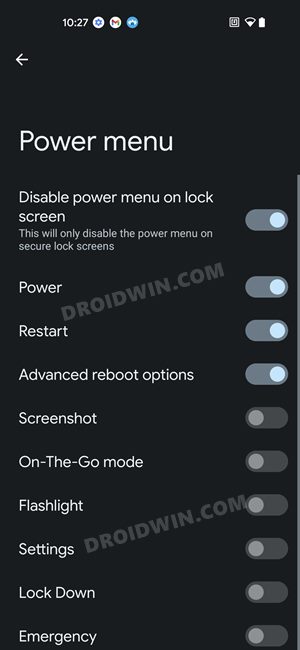
- Advanced Power Menu
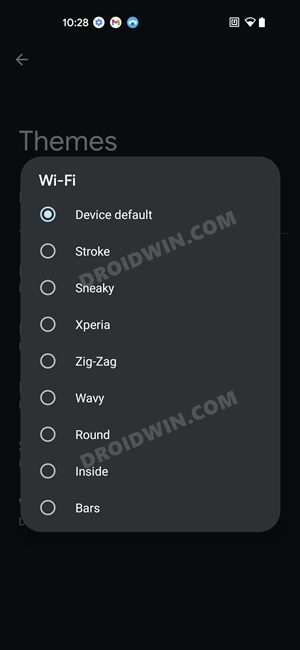
- A plethora of Battery Styles, Icon Shapes, Signal, and WiFi Network styles.
Screenshots
Bugs
While the developers haven’t listed out any bugs as such, I had faced a couple of issues. These included the device crashing when enabling Extreme Battery Saver Mode or when trying out WiFi Calling and the Advanced Reboot option missing from Power Menu, If you come across any such issues, then it is recommended to take a log and report it directly to the developers either at XDA or GitHub.
How to Install Bliss ROM (Android 12) on Pixel 4A
The flashing process will wipe off all the data from your device, so take a complete device backup beforehand. Droidwin and its members wouldn’t be held responsible in case of a thermonuclear war, your alarm doesn’t wake you up, or if anything happens to your device and data by performing the below steps.
STEP 1: Install Android SDK
First and foremost, you will have to install the Android SDK Platform Tools on your PC. This is the official ADB and Fastboot binary provided by Google and is the only recommended one. So download it and then extract it to any convenient location on your PC. Doing so will give you the platform-tools folder, which will be used throughout this guide.

STEP 2: Download Bliss ROM for Pixel 4A
Next up, download the Bliss ROM for your Pixel 4A device from the below link. Once downloaded, extract it inside the platform-tools folder using WinRAR. [Credits: XDA Recognized Developer jackeagle]
Download Link
![]()
STEP 3: Enable USB Debugging and OEM Unlocking
Next up, you will have to enable USB Debugging and OEM Unlocking on your device. The former will make your device recognizable by the PC in ADB mode. This will then allow you to boot your device to Fastboot Mode. On the other hand, OEM Unlocking is required to carry out the bootloader unlocking process.
![]()
So head over to Settings > About Phone > Tap on Build Number 7 times > Go back to Settings > System > Advanced > Developer Options > Enable USB Debugging and OEM Unlocking.
STEP 4: Unlock Bootloader on Pixel 4A
Next up, you will also have to unlock the device’s bootloader. Do keep in mind that doing so will wipe off all the data from your device and could nullify its warranty as well. So if that’s all well and good, then please refer to our detailed guide on How to Unlock Bootloader on Google Pixel 4A.
![]()
STEP 5: Boot Pixel 4A to Fastboot Mode
- Connect your device to the PC via USB cable. Make sure USB Debugging is enabled.
- Then head over to the platform-tools folder, type in CMD in the address bar, and hit Enter. This will launch the Command Prompt.
- After that, type in the following command in the CMD window to boot your device to Fastboot Mode
adb reboot bootloader

- To verify the Fastboot connection, type in the below command and you should get back the device ID.
fastboot devices
STEP 6: Install Bliss ROM on Pixel 4A
- Head over to the platform-tools folder where the extracted ROM is present.
- Then double click on the flash-all.bat file to start the installation.

- The flashing process will now start and could take a couple of minutes.

- During the process, your device will boot to the FastbootD Mode as well.

- Once the flashing is complete, you will be notified of the same.

- Likewise, your device will automatically boot to the newly installed OS.
That’s it. These were the steps to install the Bliss ROM based on Android 12 onto your Pixel 4A. Do share your usage experience with us in the comments section. Likewise, all your queries regarding the flashing steps are welcomed in the comments below.
