In this guide, we will show you the steps to install the Android 12 AOSP Custom ROM onto your Redmi Note 10 Pro device. The tenth iteration of the Note series from the Chinese OEM has managed to grab the attention of a major chunk of the userbase. The reason for the same is no hidden secret either. When you are getting a power-packed device at an affordable price, then there’s not much left to ask. Along the same lines, these devices are quite active in custom development as well.
Be it for flashing custom ROMs or installing a custom recovery like TWRP, the possibilities stand endless. Along the same lines, you could also root your device by flashing the Magisk ZIP or via the patched boot.img. But as of now, it’s the twelfth iteration of the Android that has taken all the limelight. And you could now welcome it onto your device as well. Given here are the detailed instructions steps to install the Android 12 AOSP ROM onto your Redmi Note 10 Pro device. Follow along.
Table of Contents
What’s New in Android 12?
Just to recap, the Silicon Valley giants have introduced a plethora of new and interesting features in the twelfth iteration of the OS. These include the massive UI revamp thanks to the Material You design. Likewise, there’s a Wallpaper-based UX Theming that will pick up the major color from the wallpaper and theme it across various device components (such as the Notifications panel and Settings menu). Then there is an addition of the Privacy Dashboard as well.

This will tell you the date and time when an app asked for the location, camera, and microphone permissions. Moreover, there are some new accessibility features as well. These include the likes of Camera Switch that allows you to take full control of your device via your facial gestures. And you could now welcome all these features onto your device. Given here are the detailed instructions to install Android 12 on the Redmi Note 10 Pro.
How to Install Android 12 AOSP ROM on Redmi Note 10 Pro

Before proceeding with the below steps, make sure to take a backup of all the data on your device. Droidwin and its members wouldn’t be held responsible in case of a thermonuclear war, your alarm doesn’t wake you up, or if anything happens to your device and data by performing the below steps.
STEP 1: Install Android SDK

First and foremost, you will have to install the Android SDK Platform Tools on your PC. This is the official ADB and Fastboot binary provided by Google and is the only recommended one. So download it and then extract it to any convenient location on your PC. Doing so will give you the platform-tools folder, which will be used throughout this guide.
STEP 2: Enable USB Debugging and OEM Unlocking
Next up, you will also have to enable USB Debugging and OEM Unlocking on your device. The former will make your device recognizable by the PC in ADB mode. This will then allow you to boot your device to Fastboot Mode. On the other hand, OEM Unlocking is required to carry out the bootloader unlocking process.
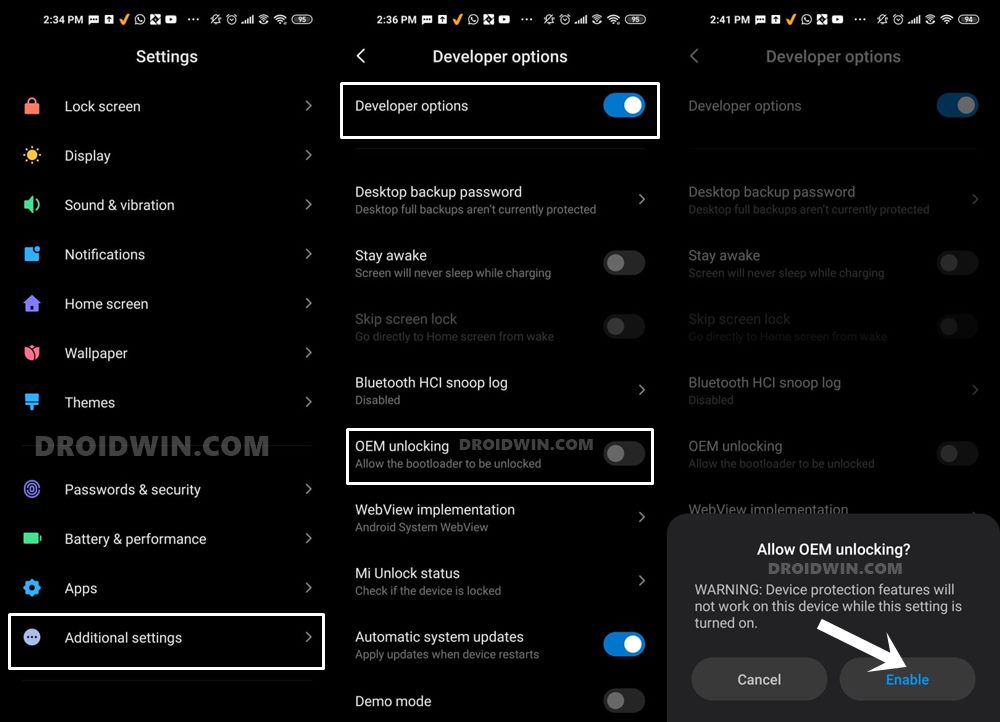
So head over to Settings > About Phone > Tap on Build Number 7 times > Go back to Settings > System > Advanced > Developer Options > Enable USB Debugging and OEM Unlocking.
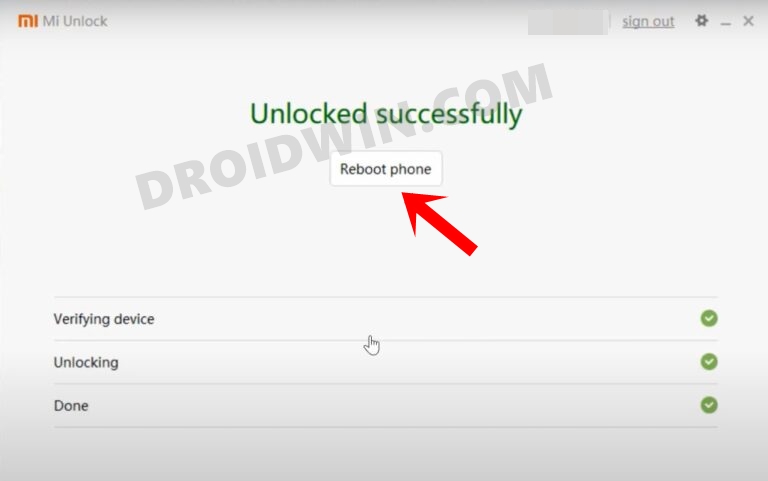
STEP 3: Unlock Bootloader of Redmi Note 10 Pro
Next up, you will also have to unlock the device’s bootloader. Do keep in mind that doing so will wipe off all the data from your device and could nullify its warranty as well. So if that’s all well and good, then please refer to our detailed guide on How to Unlock Bootloader on any Xiaomi Device.
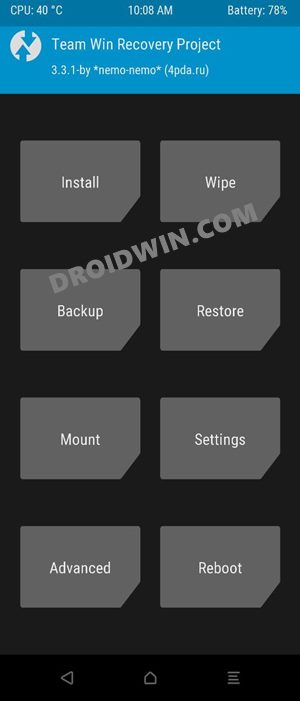
STEP 4: Install TWRP Recovery on Redmi Note 10 Pro
In order to flash the Android 12 AOSP Custom ROM onto your Redmi Note 10 Pro, you will have to install the TWRP Recovery. So refer to our guide on How to Install TWRP Recovery on Redmi Note 10 Pro.
STEP 5: Download Android 12 ROM, Firmware, Vendor
First off, let’s make you aware of all the features that are working and the ones that aren’t. Go through them and make your decision accordingly.
What’s Working
- Boots
- RIL (Calls, SMS, Data)
- Fingerprint
- Wi-Fi
- Bluetooth
- Camera
- Camcorder
- Video Playback
- Audio
- Sensors
- Flash
- GPS
- 120hz
- VOLTE
- SELinux Enforcing
Bugs
- WFD
Download ROM
You may now grab hold of the latest Android 12 ROM for your device from the below link [Credits: XDA Senior Member grewal09]. GApps is already included so you don’t need to download or flash it manually.
- Android 12 AOSP ROM for Redmi Note 10 Pro: Download Link
Download Firmware and Vendor
You will also have to flash the firmware+vendor onto your device [compulsory if you are coming from custom ROM, recommended for stock MIUI users]. So download the one corresponding to your region from the below site:
- Flashable Firmware + Vendor ZIPs for Redmi Note 10 Pro: Download Link
Moreover, once you have downloaded the ROM and the Firmware+Vendor file, transfer them to your device.
STEP 6: Boot to TWRP Recovery
- Connect your device to the PC via USB cable. Make sure USB Debugging is enabled.
- Then head over to the platform-tools folder, type in CMD in the address bar, and hit Enter. This will launch the Command Prompt.

- Type in the following command in the CMD window:
adb reboot recovery
- Your device will now boot to the TWRP Recovery

STEP 7: Flash Android 12 ROM on Redmi Note 10 Pro
- To begin with, head over to the Install section of TWRP.
- Then select the Firmware+Vendor ZIP file and perform a right swipe to flash it.
- Once done, go to the Install section and this time select the ROM ZIP file.
- Then perform a right swipe to flash it as well. It might take a minute or two.
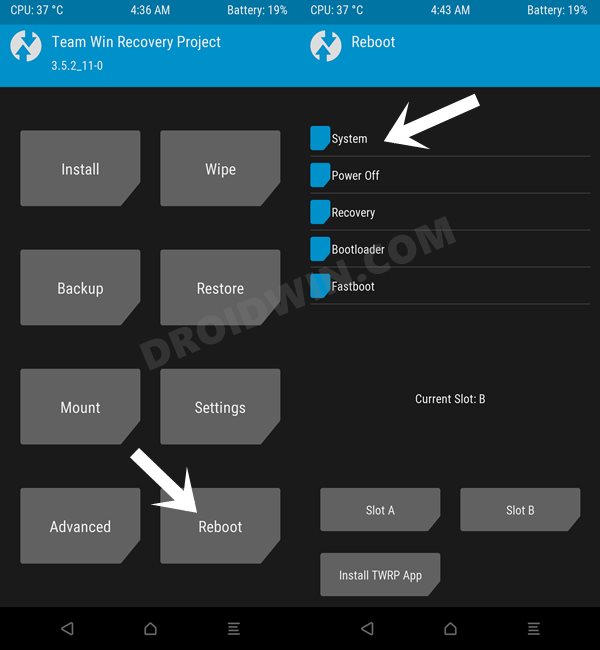
- Once done, you may now reboot your device to the newly installed OS via Reboot > System.
That’s it. These were the steps to install the Android 12 AOSP Custom ROM onto your Redmi Note 10 Pro device. If you have any queries concerning the aforementioned steps, do let us know in the comments. We will get back to you with a solution at the earliest.