In this guide, we will show you the steps to install and run Android apps on your Windows 11 PC. The latest iteration of the OS has bought in a plethora of new features and some UI tweaks. Be it the changes to the taskbar, revamped Start and Settings Menu, changes to the Context Menu, there’s a lot to look forward to. However, it was the announcement regarding the ability to run Android apps on your PC that caught everyone’s attention back in June.
But when the OS rolled out in Developer, Beta, and finally to the stable build a few weeks back, this feature was nowhere to be found. Fortunately, the wait time is now over and you could now finally get hold of your preferred apps directly on your desktop. So without further ado, let’s check out the steps to install and run Android apps on your Windows 11 PC.
Table of Contents
How to Install and Run Android Apps on Windows 11
Before starting with the instructions, there are a few requirements that you need to checkmark off the list. In this regard, STEP 1 to STEP 5 are the prerequisites, make sure that your PC qualifies all of them. If that is not the case, then refer to their associated instructions to make your PC successfully pass these requirements.
STEP 1: Be on Windows 11 Beta Channel
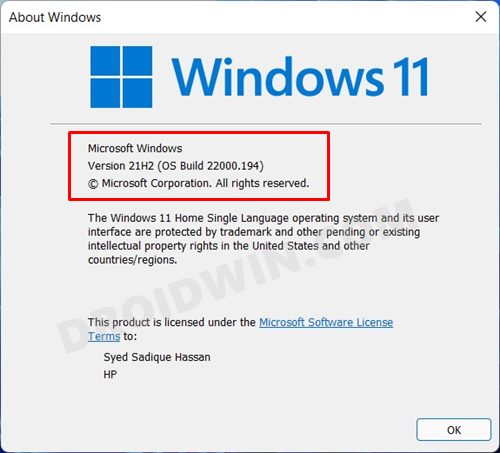
This came out as a surprise to a lot of Developer Preview build users as they had enrolled in this build just to be first in line to get hold of the latest features. However, the Silicon Valley giants played their own cards and decided to roll out this feature to the Beta users first. So make sure that you are currently on the Beta Channel and is having the OS version 22000.xxx. Here’s how to check your current Windows 11 Build Number:
- To begin with, use the Windows+R shortcut keys to launch the Run dialog box.
- Then type in the below command and hit Enter:
winver

- Now refer to the OS Build Number and verify that it is along the lines of 22000.xxx
- if that is not the case, then open the Settings menu via Windows+I shortcut keys.
- Then select Windows Update from the left menu bar and download and install the pending updates, if available.
STEP 2: Enable Virtualization
Next up in this guide to install and run Android apps on Windows 11, you will have to verify that the Virtualization support has been enabled for your PC. Here’s how you could check the same, and enable it, if it stands disabled:
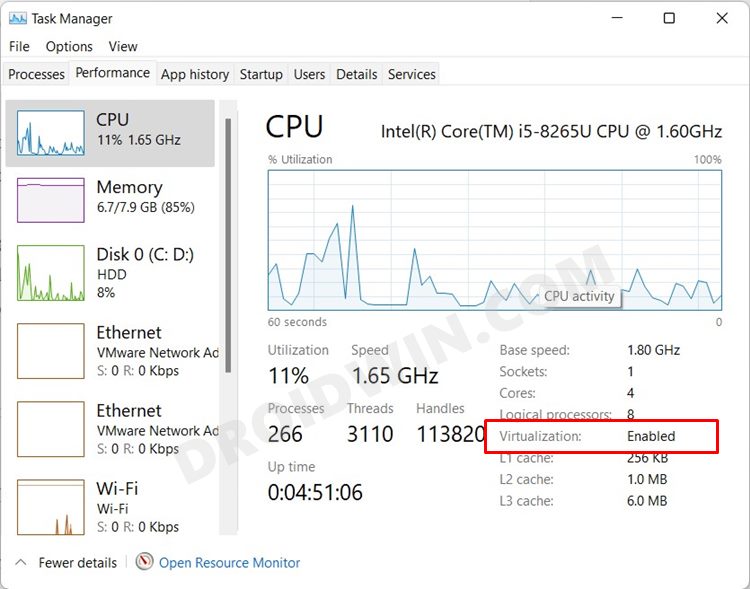
- Launch Task Manager via Ctrl+Shift+Esc shortcut keys.
- Now go to the Performance Tab and check the status of Virtualization.
- If it is set to Enabled, well and good, otherwise you will have to boot your PC to the BIOS/UEFI menu.
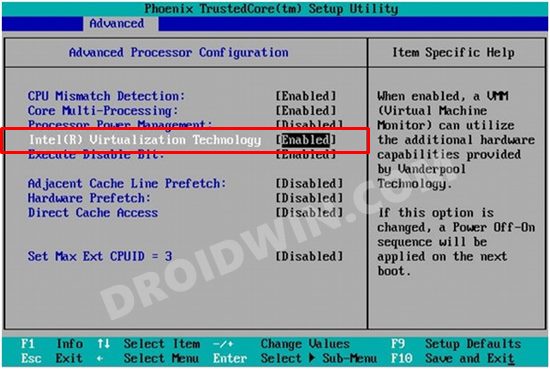
- To do so, power off your PC and then power it on. When it is booting up, keep on pressing the Esc key.
- This shall take you to the Startup Menu. Refer to the key mentioned next to BIOS and press it.
- Once booted to BIOS, go to the System Configuration tab and enable the Virtualization Technology.
STEP 3: Check Microsoft Store Version
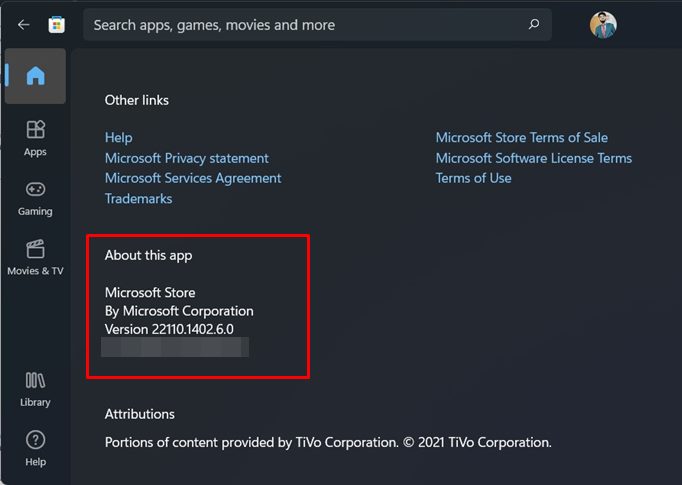
In order to install and run Android apps on Windows 11, you will have to verify that you are running the Microsoft Store version 22110.1402.6.0 or its higher build. Here’s how it could be done:
- Launch the Microsoft Store app, click on your profile picture and select App Settings from the menu that appeared.
- Scroll to the About this app section and check out the App version.
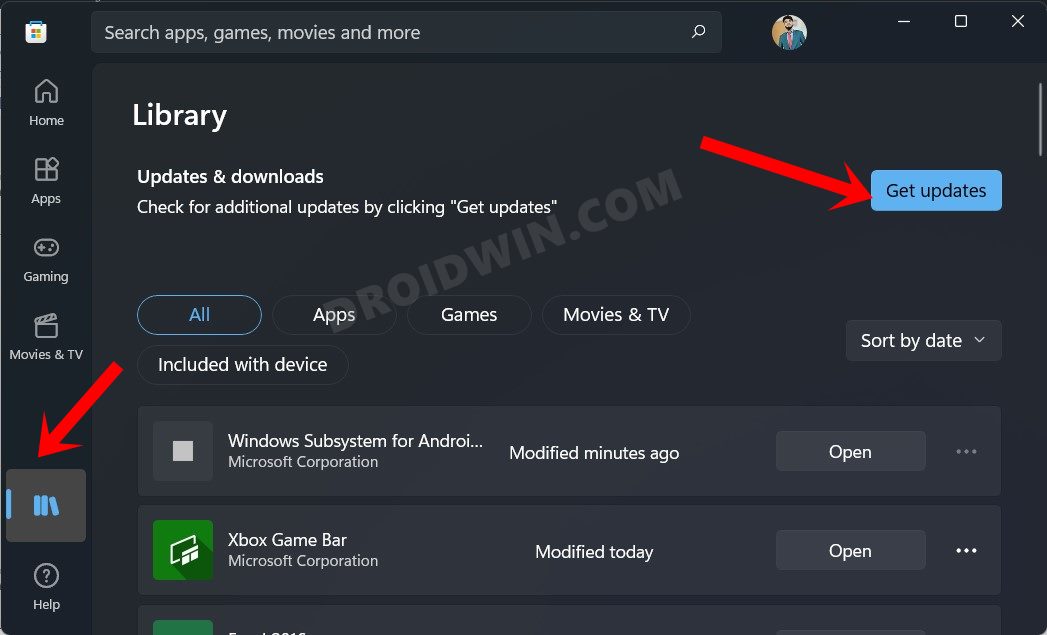
- If you are running an older build, then go to the Library section from the left menu bar.
- Then click on the Get Updates button and it shall then download and install the pending updates.
STEP 4: Set Region to the US
As of now, this feature has only been rolled out to US users. So if you belong to any other region, then you should manually set your PC’s region to the US. Here’s how:
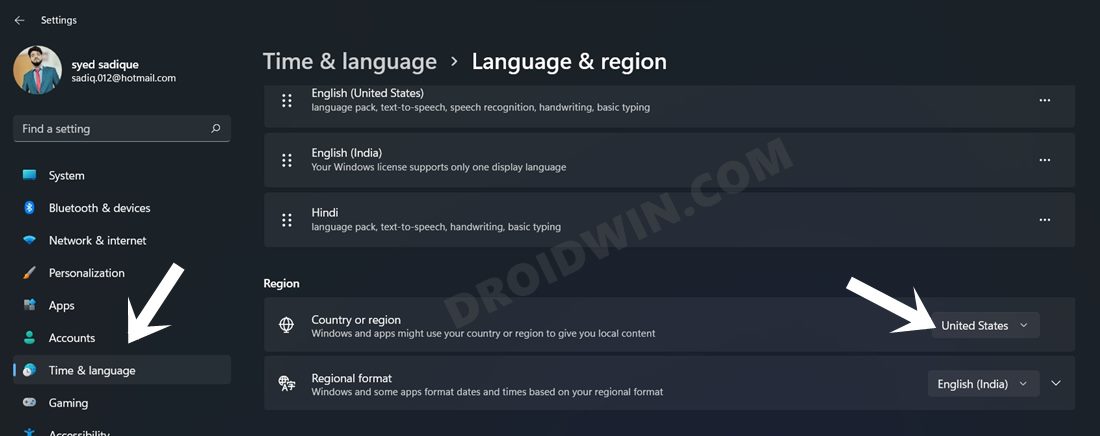
- Open the Settings Menu via Windows+I shortcut keys.
- Then select Time & language from the left menu bar and go to the Language & region.
- After that, click on the drop-down menu next to Country or region and select the United States.
STEP 5: Have a US-Based Amazon Account
UPDATE 1: This requirement is only needed if you are planning to take the official route- i.e. download and install apps from Amazon App Store. If you wish to download apps from other third-party websites, then your PC doesn’t need to qualify for this requirement. Read more here: How to Sideload Android Apps on Windows 11 [Without Amazon App Store].
As you might be aware, Microsoft has partnered with Amazon for its App Store to allow users to download and install and run Android Apps on their Windows 11 PC. So you will need to have an Amazon account, which as of now should be US-based as well. This is because this feature is limited only to US users for the time being.
STEP 6: Install Windows Subsystem for Android
- To begin with, launch the Microsoft Store, search for Windows Subsystem for Android and install it. Or you may also use this direct link for the same. However, if you still cannot download/install it, then check out our guide to
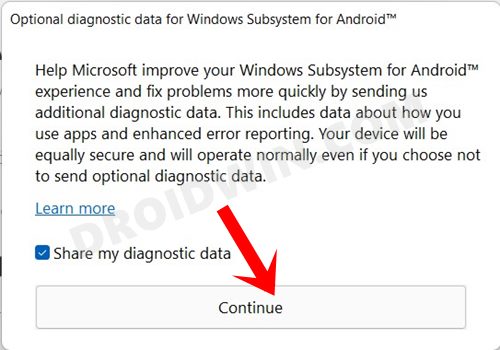
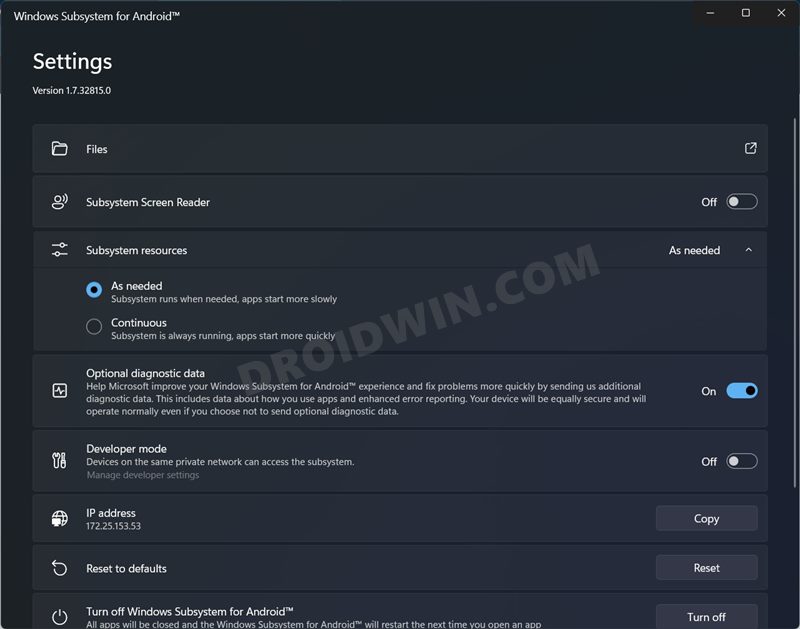
- Once downloaded, launch the app and click Continue in the prompt that appears.
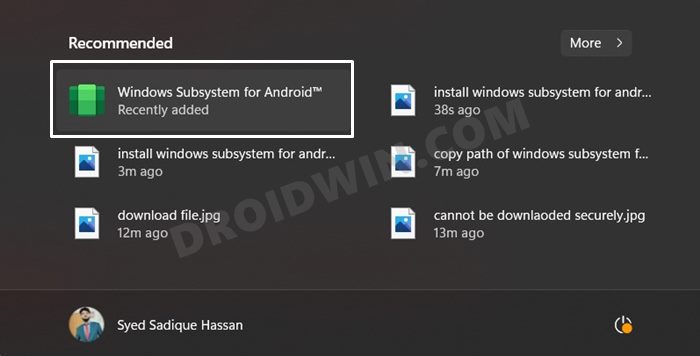
- It shall now launch the Windows Subsystem for Android onto your PC.
- Or you may also open this subsystem from the Start Menu.
STEP 7: Install Amazon AppStore
- Moving on, let’s now install the Amazon AppStore using which you will be able to install and run Android apps on Windows 11.
- So launch the Microsoft Store, search Amazon AppStore, and hit the Install button. Or you may also use this direct link to install the Amazon App Store.
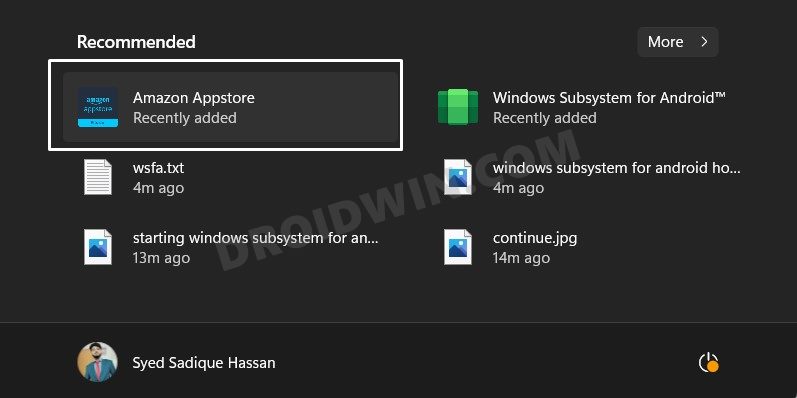
- Once downloaded, hit the Open button to launch it.
- Or you may also head over to the Start Menu and open it from there.
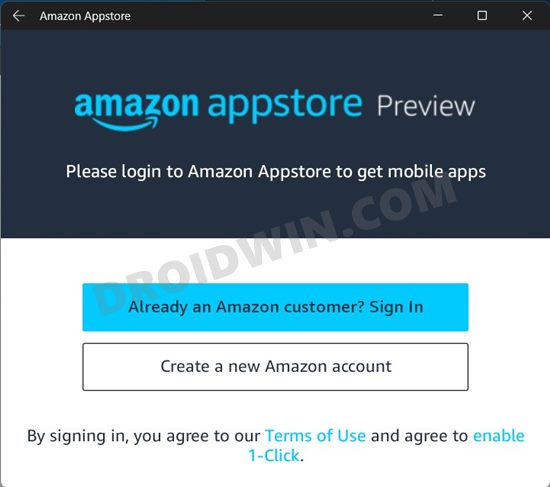
- Finally, log in with your account (which should be US-based as of now). That’s it. You may now be easily able to install the app of your choice.

With this, we round off the guide on how you could install and run Android apps on your Windows 11 PC. If you have any queries concerning the aforementioned steps, do let us know in the comments. We will get back to you with a solution at the earliest.


