In this guide, we will show you the steps to install and then enable Hyper-V on your Windows 11 PC. Developed by Microsoft, Hyper-V is a hardware-based hypervisor that gives you a platform for running multiple instances of different operating systems on your PC. This process of testing out OS in a virtual environment has existed for a long time, thanks to third-party apps like VMWare and Virtual machine. And truth be told, they all perform quite decent. So why is there a need to get inclined towards the offering from Redmond giants?
Well, since Hyper-V is baked into the system, it gives you a much more optimized and efficient platform to test out the guest OS. Regarding which, you could run Windows, Ubuntu, and a bunch of other Linux distros in its ecosystem. However, by default, Hyper-V is only available for the Pro, Education, and Enterprise edition of Windows and isn’t included in the Home edition of Windows. But fret not. In this guide, we will show you a nifty method to install and enable Hyper-V on the Windows 11 Home edition as well. So without any further ado, let’s get started.
Table of Contents
How to Install Hyper-V in Windows 11
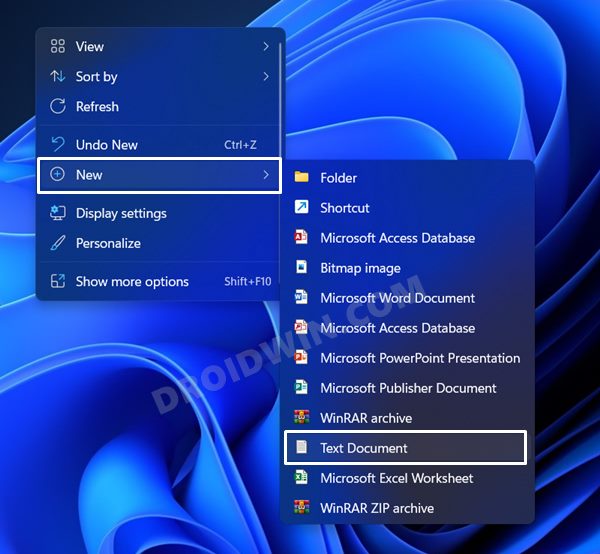
- Right-click on your Desktop and select New > Text Document.

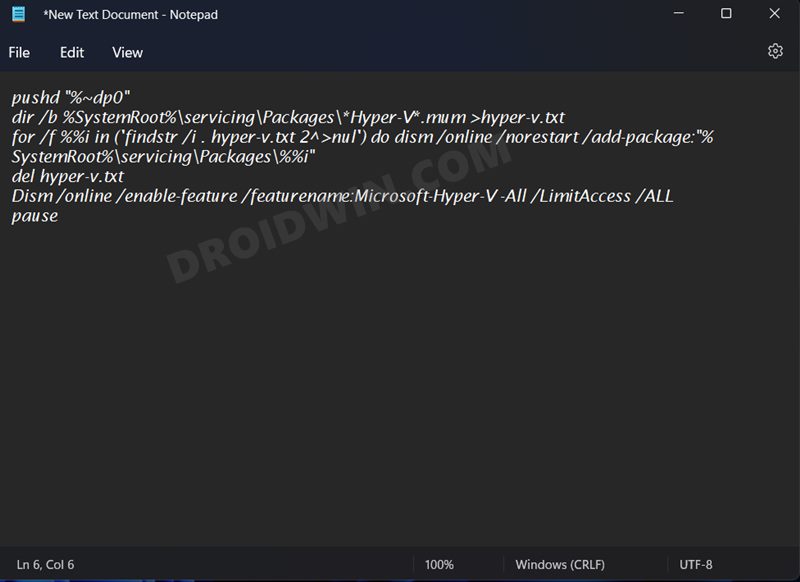
- Then double-click to open it and copy-paste the below command into it:
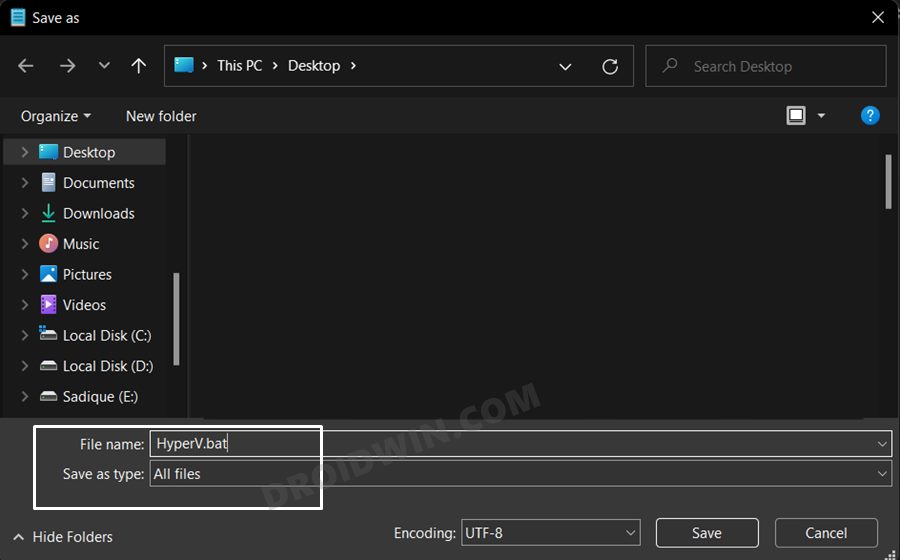
pushd "%~dp0" dir /b %SystemRoot%\servicing\Packages\*Hyper-V*.mum >hyper-v.txt for /f %%i in ('findstr /i . hyper-v.txt 2^>nul') do dism /online /norestart /add-package:"%SystemRoot%\servicing\Packages\%%i" del hyper-v.txt Dism /online /enable-feature /featurename:Microsoft-Hyper-V -All /LimitAccess /ALL pause - Now go to File > Save As and change the Save As Type to All Files.
- Then type in HyperV.bat in the file name section and hit Save (you could give it any name, just make sure to have the .bat extension at the end).
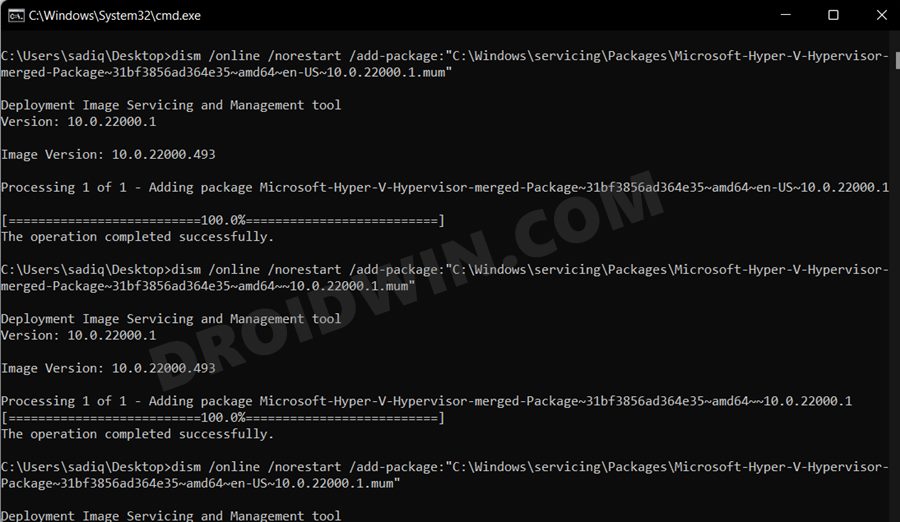
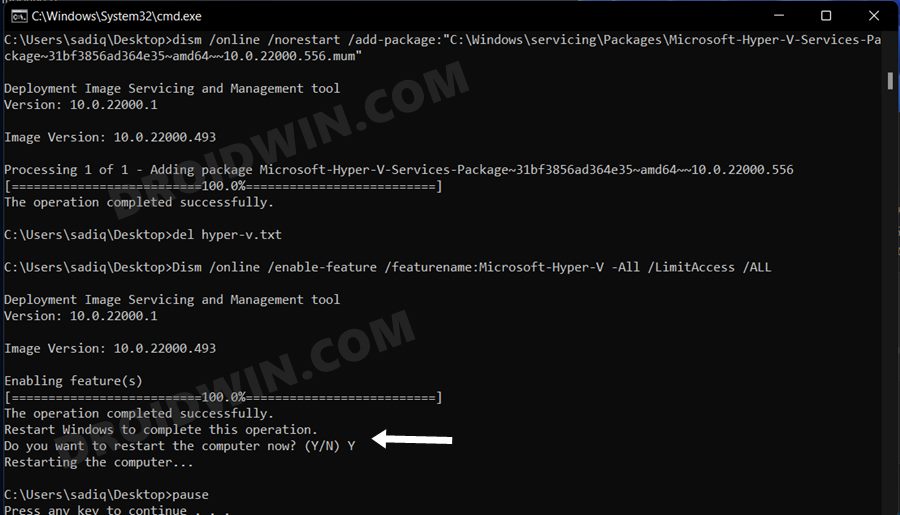
- Now right-click on this batch file and select Run as administrator. The CMD window will now launch and it will install the necessary dependencies.
- Once the download is complete, restart your PC. And with that, the Hyper-V is now installed on your Windows 11 PC.
How to Enable Hyper-V in Windows 11
- Bring up the Run dialog box via Windows+R shortcut keys.
- Then type in the below command and hit Enter to open Windows Features:
optionalfeatures.exe
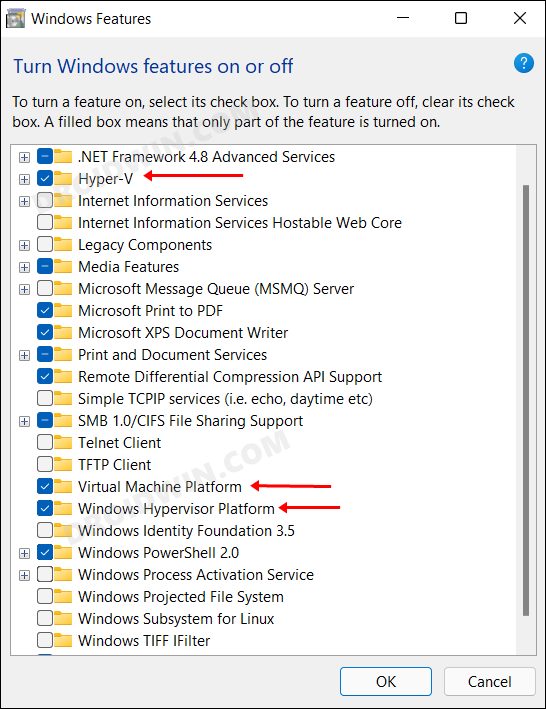
- Now, checkmark Hyper-V, Virtual Machine Platform, and Windows Hypervisor Platform and click OK.
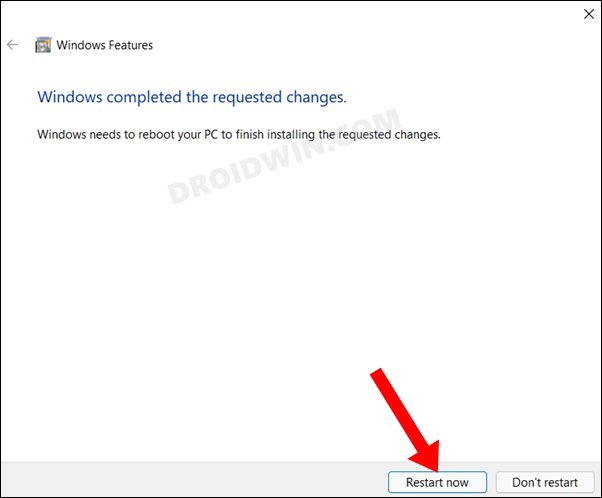
- It will install the necessary dependencies. Once done, restart your PC for the changes to take place.
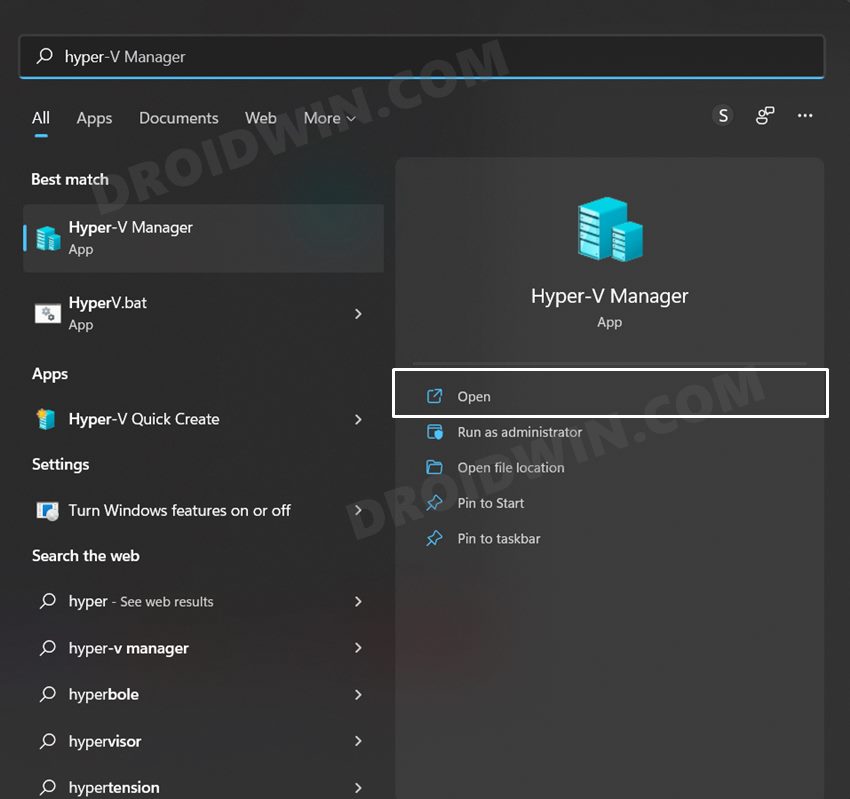
- To access it, just head over to the Start Menu, search Hyper-V Manager, and open it. Or you could also type in virtmgmt.msc in the Run dialog box to open it.
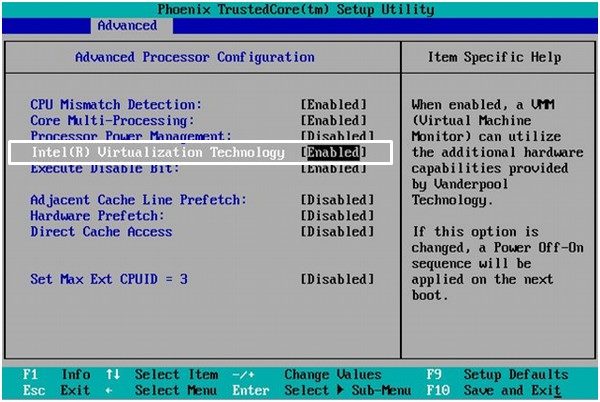
- Moving on, you will now have to enable the Virtualization Technology from the BIOS as well. So power off your PC. Then power it on and as soon as it starts booting up, continuously press the designated shortcut keys to boot your PC to BIOS:
Acer: F2
Asus: Delete
Dell: F12
HP: F9
Intel: F2
Lenovo: F12
Toshiba: F2 or F12
Other OEMs: Esc Key or any Function Keys
- Now go to the System Configuration or Advanced tab and enable Virtualization Technology.
- Then save the changes, exit the BIOS and boot your PC to the OS. That’s it. Hyper-V has now been enabled on your Windows 11 PC.
How to Create Virtual Machine using Hyper-V in Windows 11
- To begin with, download your preferred operating system’s ISO file.
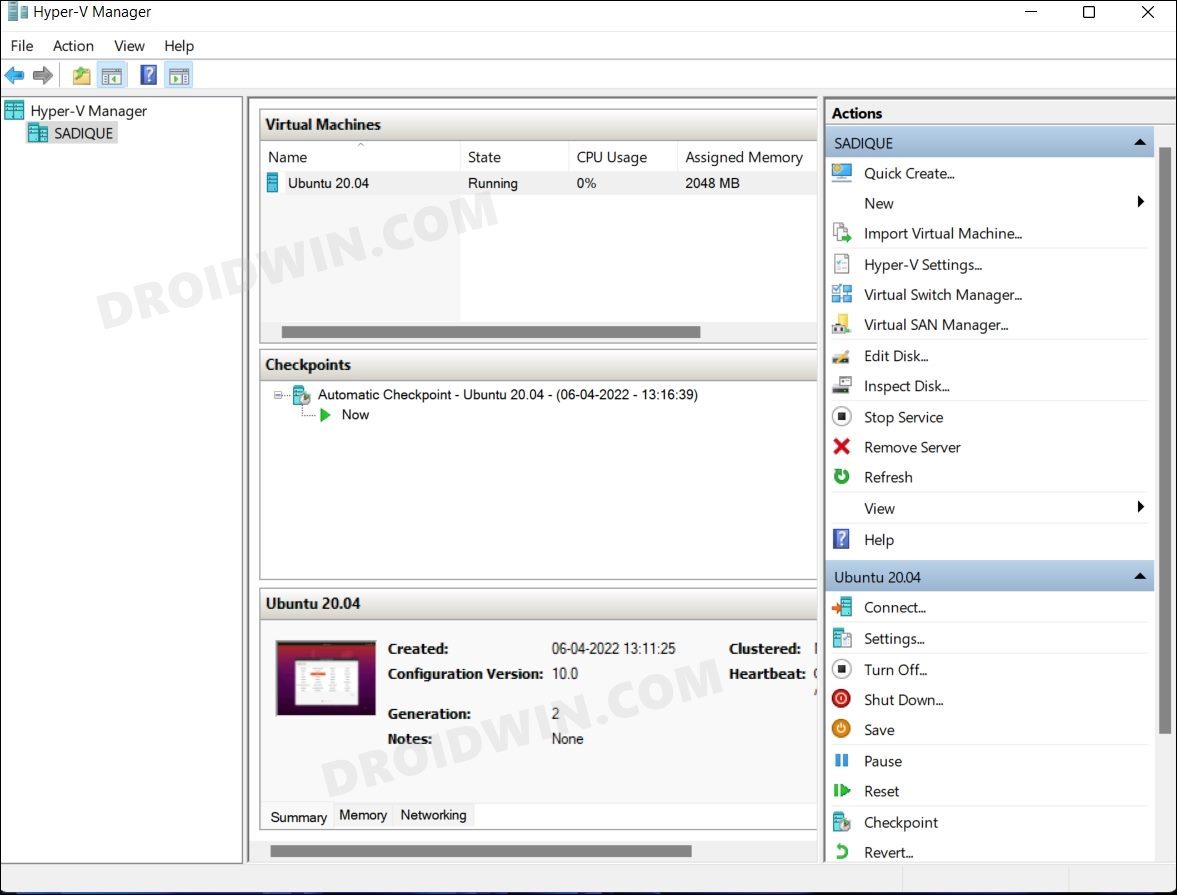
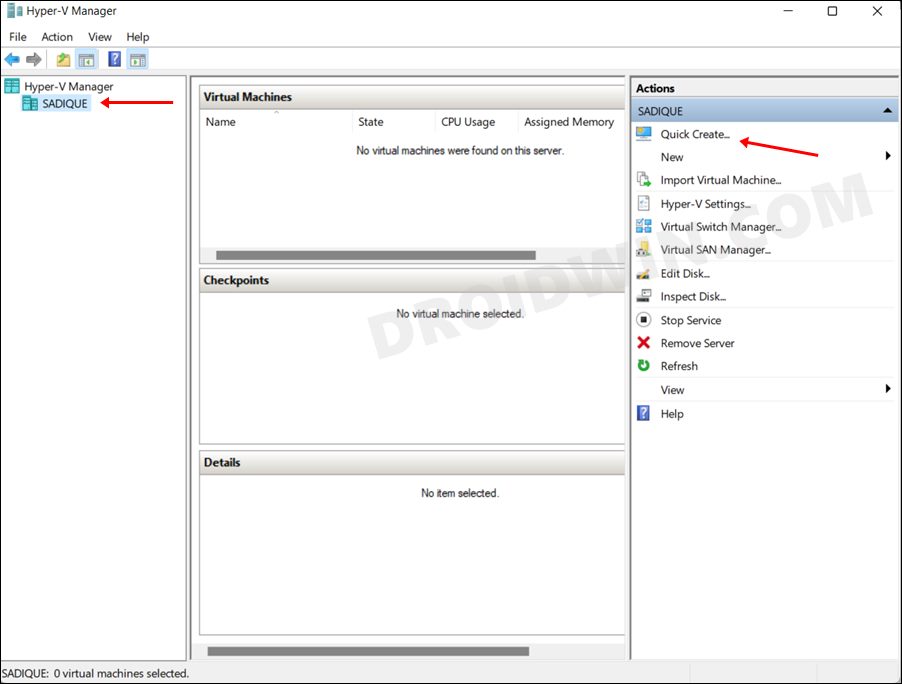
- Then head over to the Start Menu, search Hyper-V Manager, and open it.
- After that, select your name from the left side and click on Quick Create present on the right side.
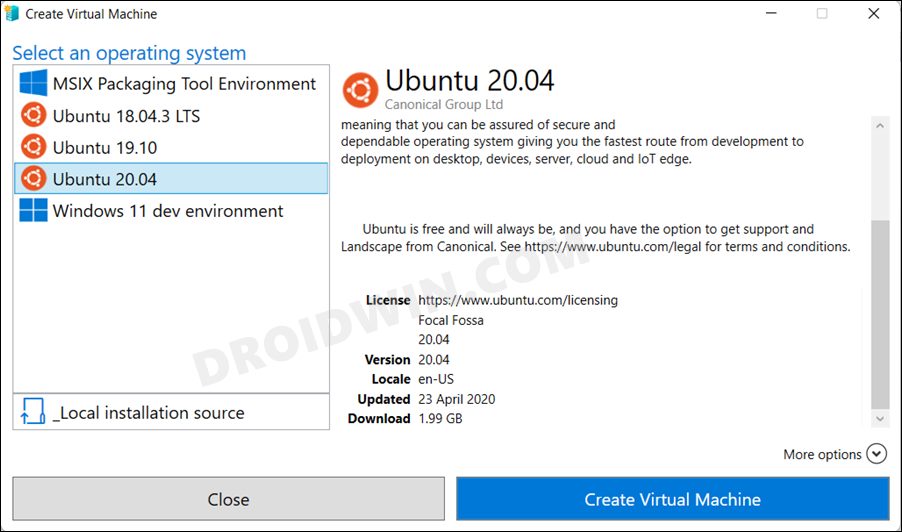
- Now click on the Local Installation Source button load the downloaded ISO to Hyper-V. Or you could also select a one that is provided by the Hyper-V itself.
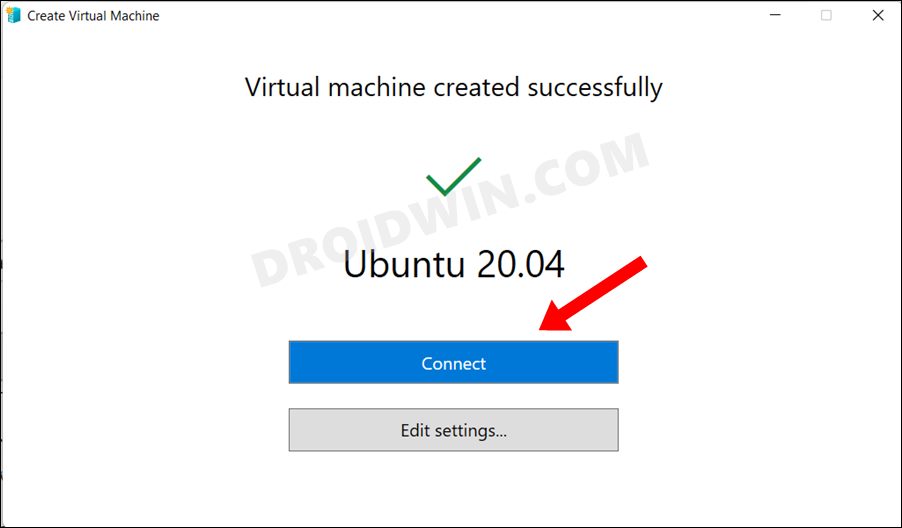
- Then hit the Create Virtual Machine button and wait for the process to complete. Once done, click on Connect.
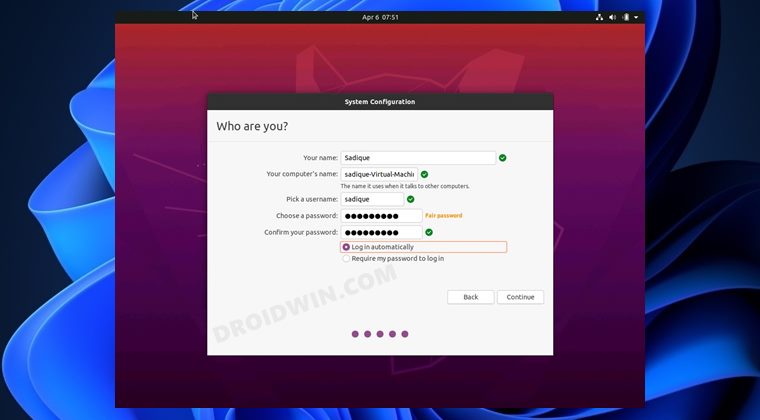
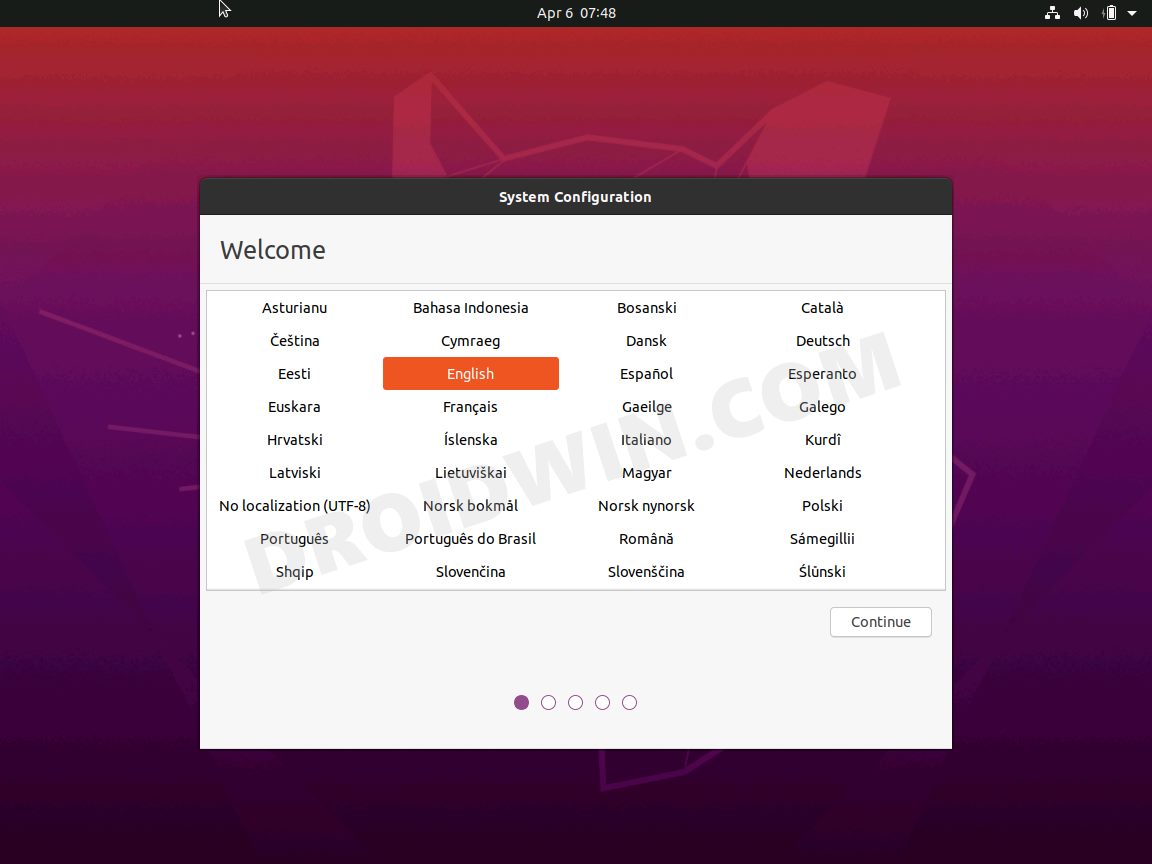
- The OS will now be loaded to the Hyper-V and you may proceed with the rest of the installation.
That’s it. These were the steps to install and enable Hyper-V in Windows 11. Likewise, we have also listed the steps to create a virtual machine using it. If you have any queries concerning the aforementioned steps, do let us know in the comments. We will get back to you with a solution at the earliest.