In this tutorial, we will show you the steps to go from the least stable Windows 11 Developer Preview to the slightly more stable Beta builds. But first, let’s address the elephant in the room: why there’s a need to make this switch? The Developer updates aren’t tied to any specific future Windows release. Whatever changes are currently happening in the Dev build may or may not make it to the stable builds once it is released.
On the other hand, most of the beta features are expected to make it to the end of the day. In the initial phase, Dev was the only build available, so whatever features it was being blessed with were the only ones tied to a specific release. But now that the Beta builds are live, Microsoft will soon start delivering prerelease (standalone developer) builds again. And once your PC starts receiving these pre-release builds, then it would be quite a challenging task in moving over to the Beta version.
This is because, at that point in time, you would be on a higher version of Windows (the pre-release Dev build) and would be then trying to move over to the lower version (Beta). This is tagged as performing a downgrade and hence would call for a clean install- aka factory resetting your PC. But as of now, only the first Beta build is released, and hence it is in line with the latest Dev build.
In other words, the current Dev and Beta build both are having the same build number. So going from Windows 11 Developer Preview to Windows 11 Beta wouldn’t be called a downgrade. But this window is only available till the first beta build or until the pre-release builds are released. So let’s make full use of this window and hop onto the more stable Windows release right away. Follow along for the detailed steps.
How to Go from Windows 11 Developer Preview to Windows 11 Beta
- Bring up the Settings page via the Windows+I shortcut keys.
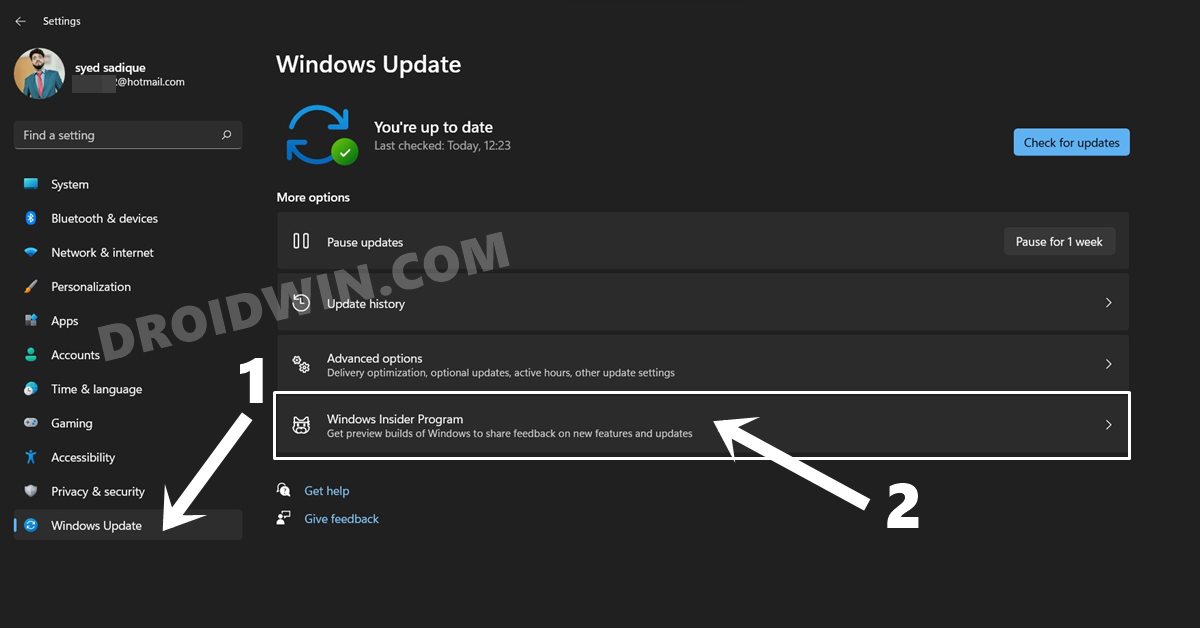
- Then go to the Windows Update section from the left menu bar.
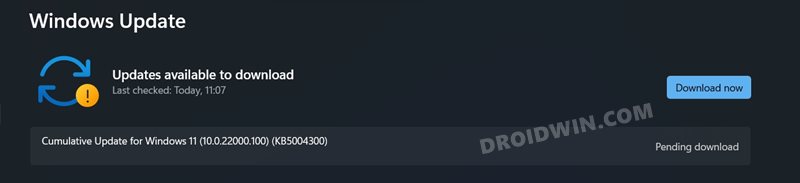
- If you see any pending updates, it is recommended to download and install them right away.

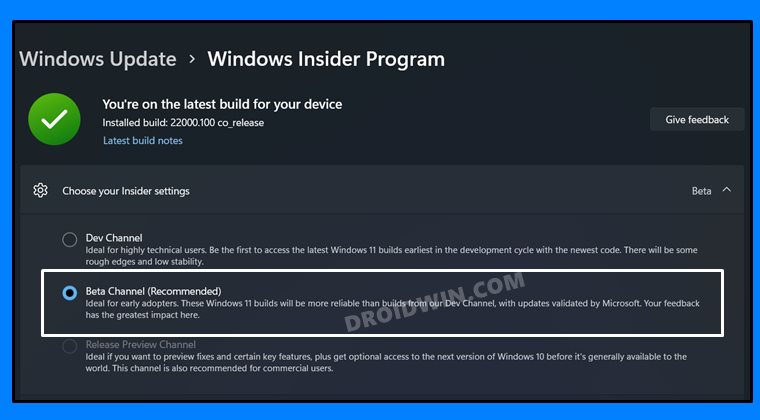
- Once done, go to the Windows Insider Program section.
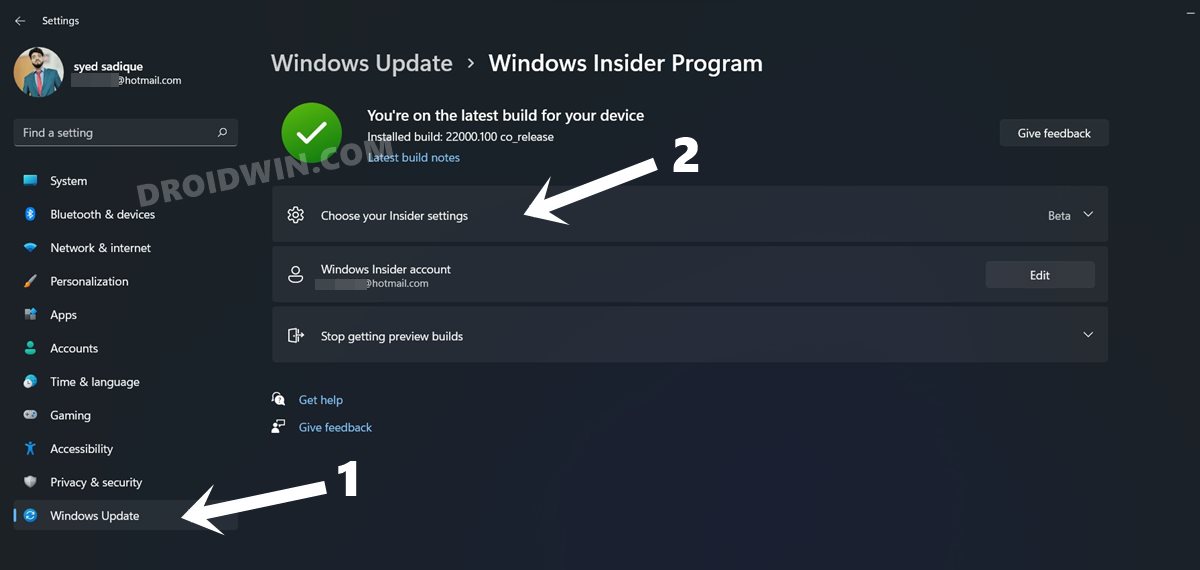
- Then click on Choose your Insider Setting to expand it.
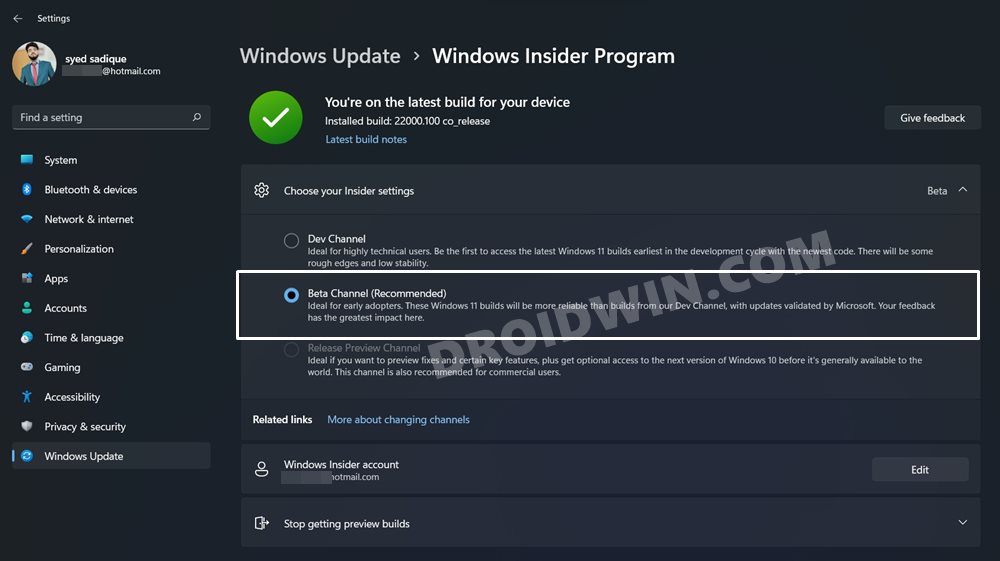
- Select Beta Channel (Recommended) and restart your PC once.
- That’s it. From now on, you would continue to receive only the Beta updates.
These were the steps to go from Windows 11 Developer Preview to Windows 11 Beta build. As of now, it is best to switch over to the Beta build since the Developer builds will always be more unstable than its counterpart.
Moreover, if you find any impressive feature in the Dev build that you definitely want to try out, then there’s always an option of going from Beta to Dev without any data loss (as it would be an upgrade!). So on that note, we round off this guide. If you have any queries, do let us know in the comments section. We will get back to you with a solution at the earliest.
- Drag and Drop for Taskbar in Windows 11: Officially Removed?!
- How to Extend 10 Day Windows 11 RollBack/Downgrade Period
- How to Find My Windows 11 Product Key or License Key
- Where is the Never Combine Taskbar Buttons in Windows 11
- How to Remove Language Switcher from Taskbar in Windows 11
- [Risky] How to Try Black Screen of Death on your Windows 11 PC!