In this guide, we will show you the steps to flash the init_boot.img file on your Android device. While the thirteenth iteration of the OS hasn’t bought in any major UI/UX overhaul but for tech enthusiasts, there has been a massive under-the-hood change. Up until now, the generic approach to root any device involves extracting the stock boot.img, patching it via magisk, and flashing it via Fastboot or Magisk’s Direct Install. But all this has now been changed.
Most Android devices that come with Android 13 out of the box [OnePlus 11, Pixel 7 Pro, Xiaomi 13 Pro, etc] now require you to patch and flash the stock init_boot.img instead of the usual boot.img. While the steps to patch it via Magisk remain the same, it’s apparent that you cannot use the same commands to flash the init_boot.img file that you earlier used for boot.img. So with that in mind, let’s make you aware of the “new” commands to flash this file.
How to Flash init_boot.img on Android

Do note that STEPS 7 to 11 are only needed if you are planning to flash the patched boot.img for rooting purposes. However, if you don’t want to obtain root and are just looking to flash the stock boot.img, then please skip those steps. Moroever, take a backup of all the data on your device beforehand, just to be on the safer side. Droidwin and its members wouldn’t be held responsible in case of a thermonuclear war, your alarm doesn’t wake you up, or if anything happens to your device and data by performing the below steps.
- First off, download and extract the Android SDK Platforms Tools on your PC.
- Then enable USB Debugging and OEM Unlock on your device and connect it to your PC via a USB cable.

- After that, unlock the bootloader on your device using this guide.
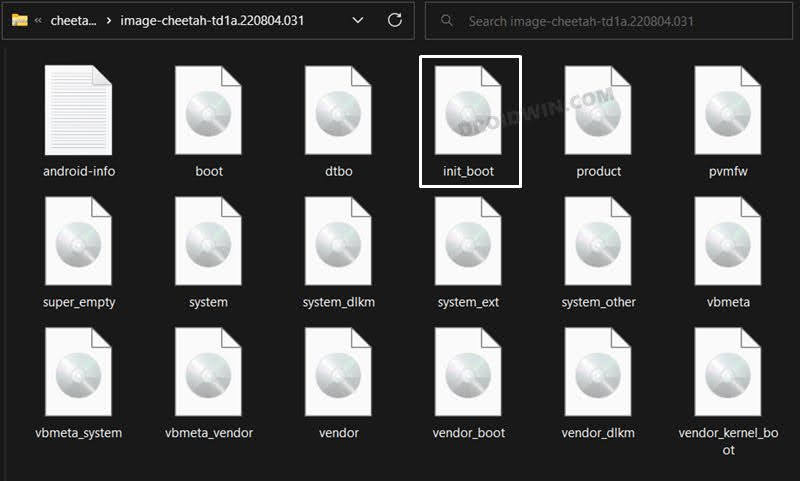
- Now download the stock firmware for your device and extract it onto your PC.
- You should download the same firmware which is currently installed on your device.
- Now copy the init_boot.img from the extracted firmware and transfer it to your device.
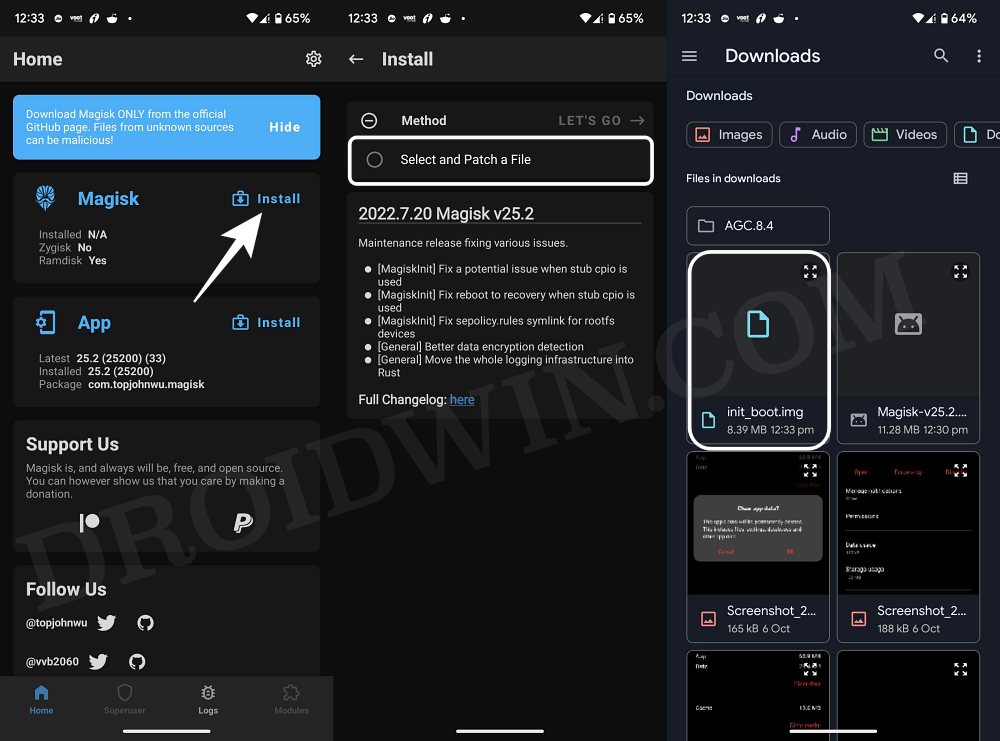
- Then install the Magisk app on your device. Now launch it and tap on Install next to Magisk.
- Now choose ‘Select and Patch a File’, navigate to the stock init_boot.img file, and select it.
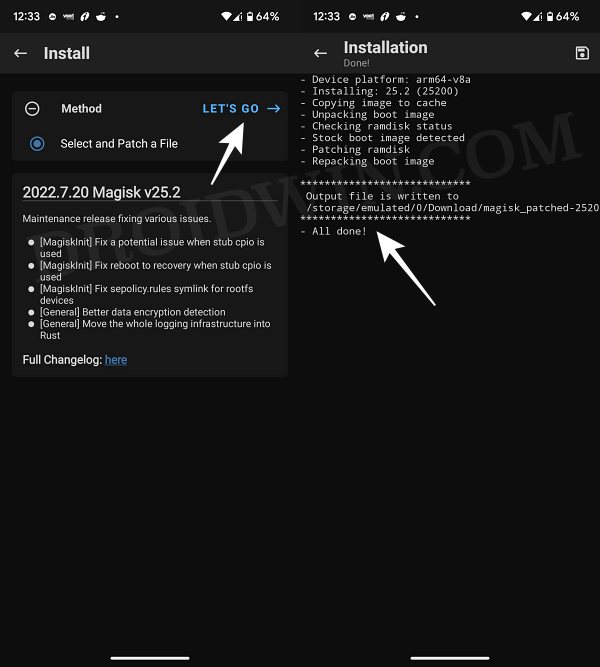
- Then tap on the Let’s Go button situated at the top right.
- The init_boot.img file will now be patched and placed under the Downloads folder on your device.
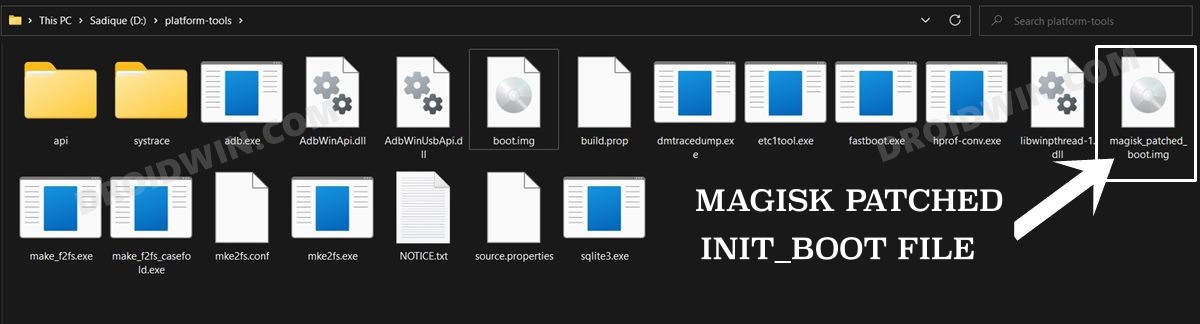
- Transfer this file to the platform-tools folder on your PC and rename it to magisk_patched_boot.img
- Finally, use the below command to flash the init_boot.img to your Android device:
fastboot flash init_boot magisk_patched_boot.img
- Or you could manually flash the init_boot to both slots via the below two commands:
fastboot flash init_boot_a magisk_patched_boot.img
fastboot flash init_boot_b magisk_patched_boot.img
- Finally, use the below command to boot your device to the OS
fastboot reboot

That’s it. These were the steps to flash the init_boot.img file on your Android device. If you have any queries concerning the aforementioned steps, do let us know in the comments. We will get back to you with a solution at the earliest.


