In this guide, we will show you the steps to flash the custom kernel on Nothing Phone 1. This newest entry to the budget domain has a plethora of goodies to offer. While the glyph interface has already attracted the attention of the masses, it is performing exceptionally well in the custom development as well. At the time of writing, close to 10 custom ROMS based on the latest Android 13 is already available for this device. And that’s not it.
A new custom kernel has also made its way over to the Nothing Phone 1. Flashing it will give you the option to overclock or underclock the device’s CPU/GPU or select from a plentitude of CPU governor profiles. Likewise, you could also mold these profiles depending on whether you give higher preference to battery life or fluid performance. So without further ado, let’s make you aware of the instructions to welcome this kernel to your device right away.
How to Flash Custom Kernel on Nothing Phone 1

As of now, the kernel is only working on Paranoid Android Topaz Custom ROM. So make sure to install it using the instructions given in this guide. Likewise, you will have to root the ROM via Magisk. So carry out both these tasks beforehand and then proceed with the below steps to flash the custom kernel on Nothing Phone 1.
- To begin with, download the Nothing NetHunter 1 (R2) Kernel from here.
- Then download and install the Franko Kernel Manager app from Play Store.

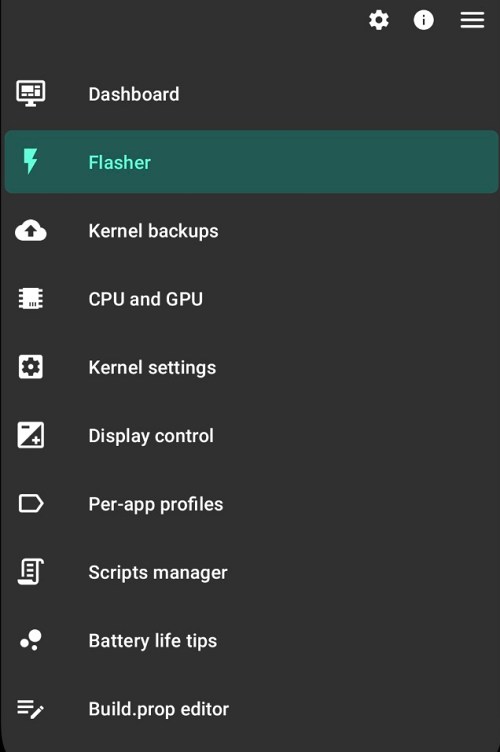
- Now launch the Franko Kernel Manager app and flash the kernel.zip file via it.
- Once done, restart your device. That’s it. The kernel is now up and running.
These were the steps to flash the custom kernel on Nothing Phone 1. If you have any queries concerning the aforementioned steps, do let us know in the comments. We will get back to you with a solution at the earliest.


