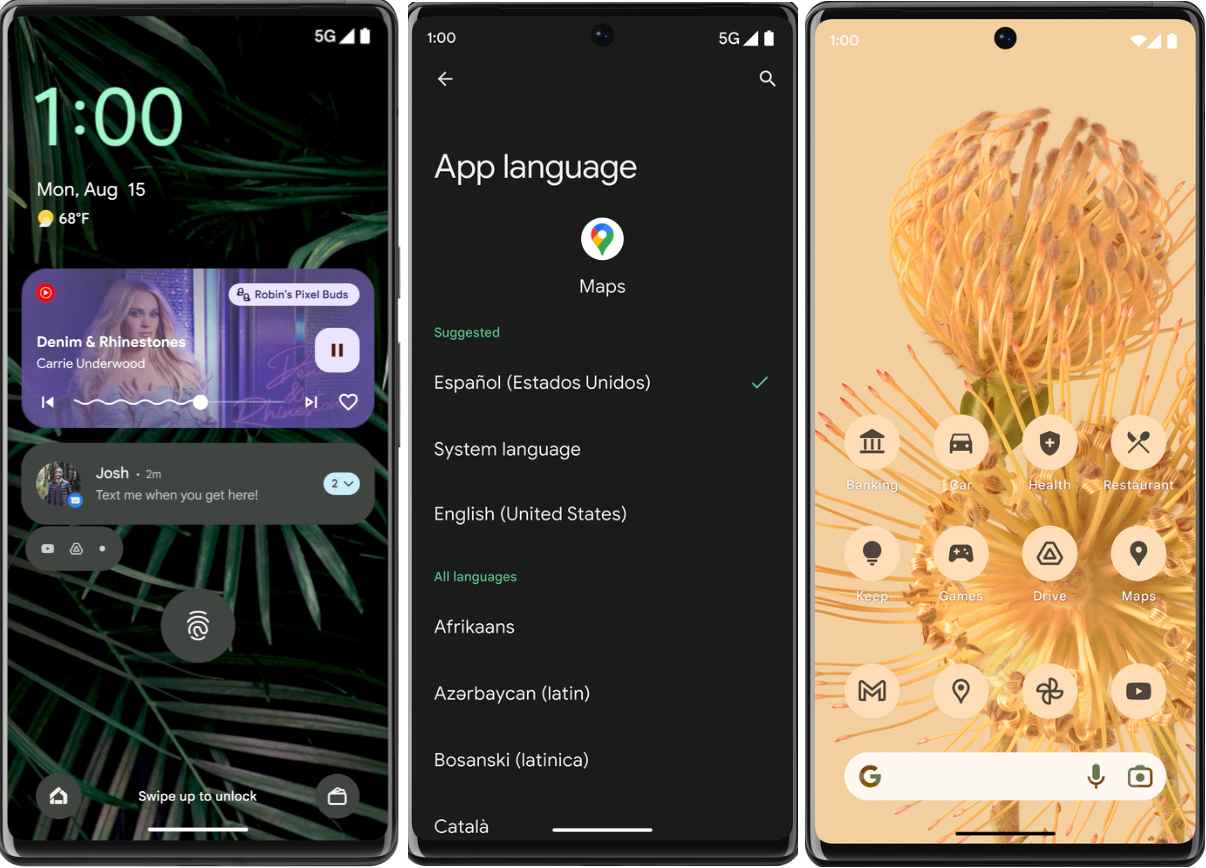
In this guide, we will show you two different methods to downgrade your device from Android 13 to Android 12. With the thirteenth iteration of the OS just being released, there is already a truckload of new features to look forward to. These include the likes of a new system photo picker with cloud storage integration, third-party apps quick settings prompts, new per-app language preferences, an updated media player on the lock screen, and a slew of code changes and API integrations.
However, this OS build might not be in sync with some of your requirements. Likewise, there could still be a few apps that are yet to be made compatible with the latest OS build. Moroever, if you are among the tech enthusiast, then quite a few custom binaries are not yet working with the thirteenth iteration of the OS. In all these scenarios, the best bet is to downgrade your device from Android 13 to Android 12. And in this guide, we will show you two different methods through which you could do the same. Follow along.
Table of Contents
The Prerequisites to Downgrade Android 13 to Android 12
You could perform the downgrade either via the Fastboot Method or using Android Flash Tool. We have listed both the instructions below, you may refer to the one that is in sync with your requirement. But before you start off with the process, make sure to checkmark all the prerequisites that we have listed below. These are the common requirements for both these methods.
Likewise, also make sure to take a backup of all the data on your device as the downgrade process will factory reset your device. Droidwin and its members wouldn’t be held responsible in case of a thermonuclear war, your alarm doesn’t wake you up, or if anything happens to your device and data by performing the below steps.
STEP 1: Bypass Anti Rollback on Pixel 6A/6/Pro
Google has introduced the Anti Rollback Protection for the Pixel 6 series devices. So if you want to perform a downgrade from Android 13 to Android 12, you will first have to bypass this Anti Rollback mechanism, the instructions for which are given here- How to Bypass Anti Rollback Mechanism in Pixel 6A/6/6 Pro. [Just to re-iterate, this is only needed for the Pixel 6 series, the Pixel 5 and 4 series are unaffected by this].
STEP 2: Install Android SDK
First and foremost, you will have to install the Android SDK Platform Tools on your PC. This is the official ADB and Fastboot binary provided by Google and is the only recommended one. So download it and then extract it to any convenient location on your PC. Doing so will give you the platform-tools folder, which will be used throughout this guide.

STEP 3: Enable USB Debugging and OEM Unlocking
Next up, you will have to enable USB Debugging and OEM Unlocking on your device. The former will make your device recognizable by the PC in ADB mode. This will then allow you to boot your device to Fastboot Mode. On the other hand, OEM Unlocking is required to carry out the bootloader unlocking process.
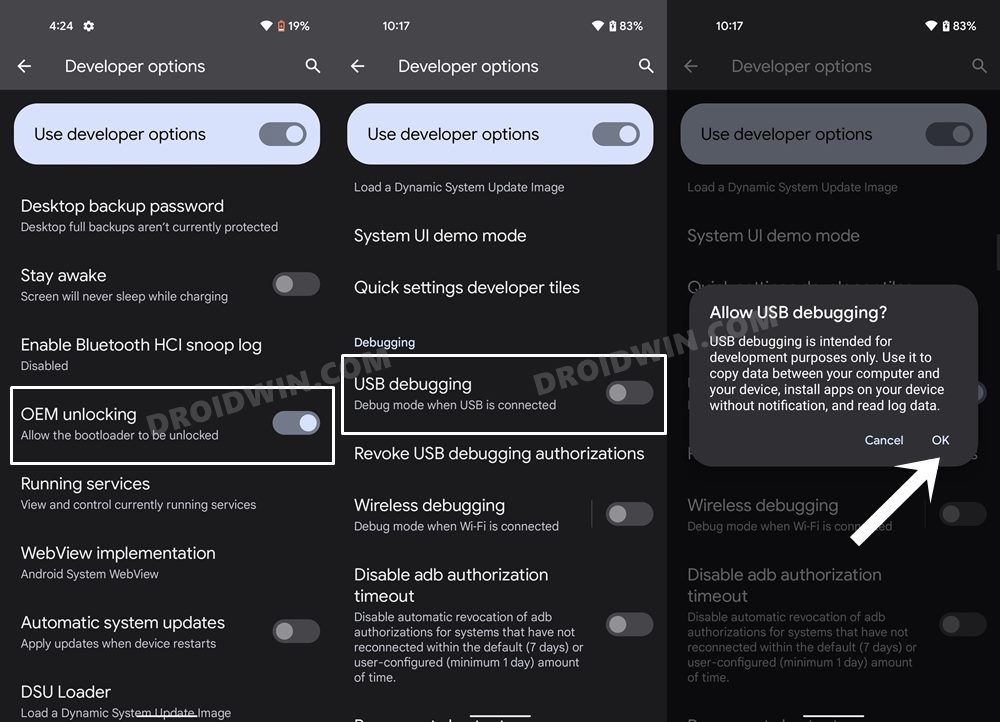
So head over to Settings > About Phone > Tap on Build Number 7 times > Go back to Settings > System > Advanced > Developer Options > Enable USB Debugging and OEM Unlocking.
STEP 4: Unlock Bootloader
Next up, you will also have to unlock the device’s bootloader. If you had performed the update via Flash Tool or Fastboot, then the bootloader would already be unlocked. However, if you had performed the upgrade via ADB sideload, then would you need to carry out this task. Do keep in mind that doing so will wipe off all the data from your device and could nullify its warranty as well. So if that’s all well and good, then please refer to our detailed guide on How to Unlock the Bootloader on any Android Device.
Downgrade Android 13 to Android 12 via Android Flash Tool
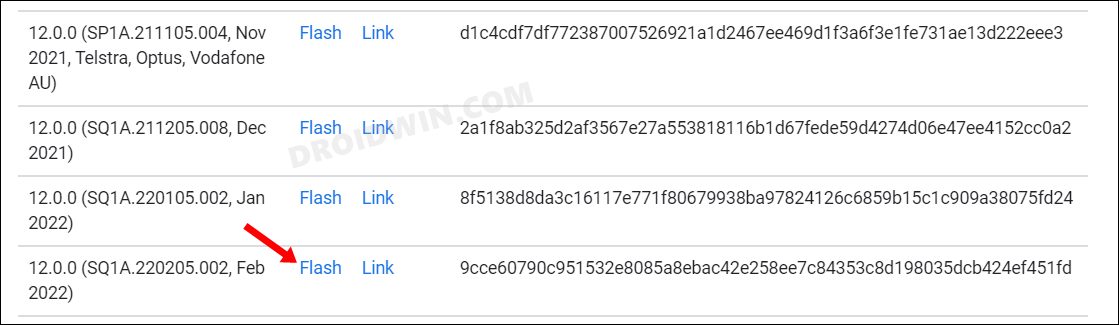
- To begin with, head over to the Android Flash Tool website and scroll to your device.
- Then click on the Flash button next to the desired Android 12 build that you wish to install.

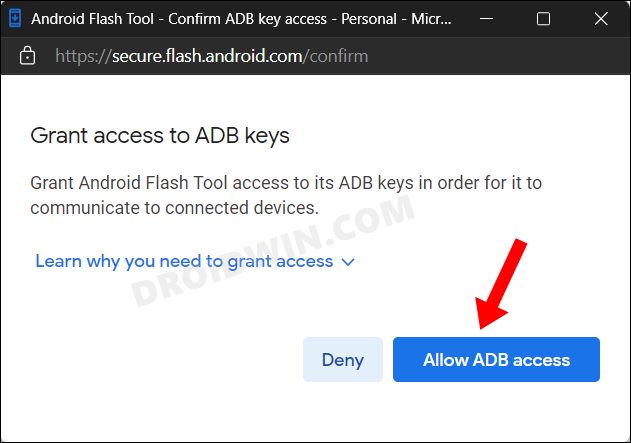
- Now click on Allow ADB Access.
- You will get a Debugging prompt on your device, click Allow.
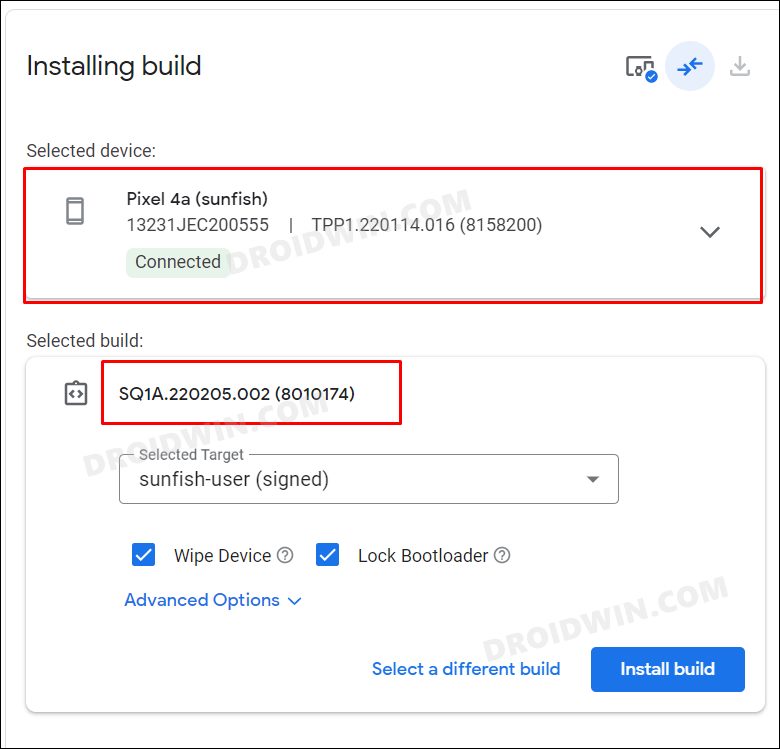
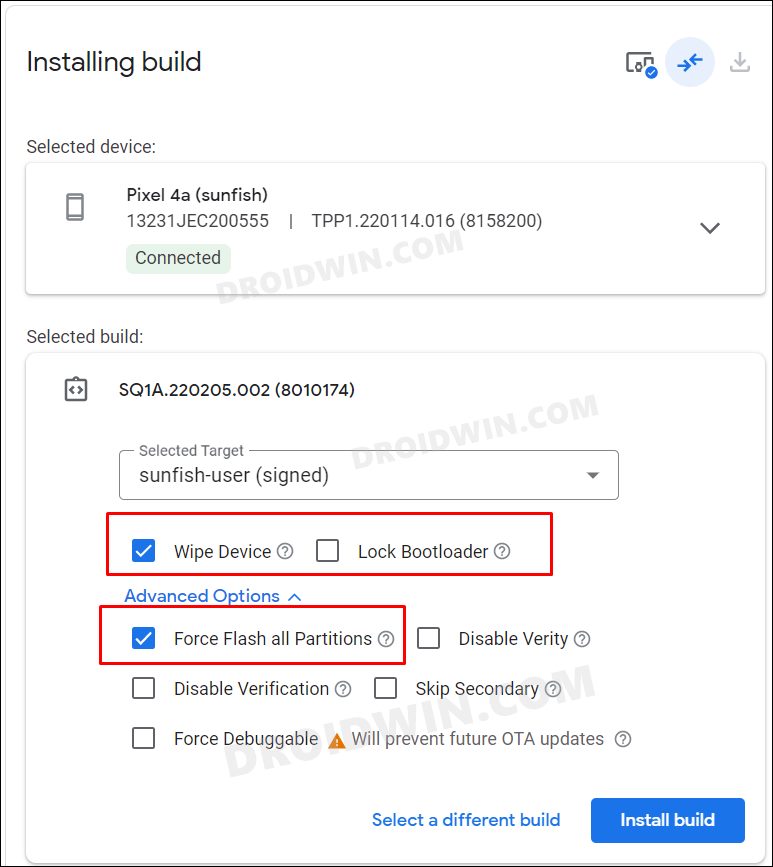
- Make sure that your device shows connected under the Selected Device section. Likewise, also verify that the Selected build shows the correct version.
- Now click on the pencil (edit) icon next to Selected build. Make sure to checkmark the Wipe Device and Force Flash All Partitions options, if they aren’t done by default.
- On the other hand, the bootloader option depends on your personal preference. I wish to have it unlocked after the downgrade is complete, so I have unchecked the Lock Bootloader option.
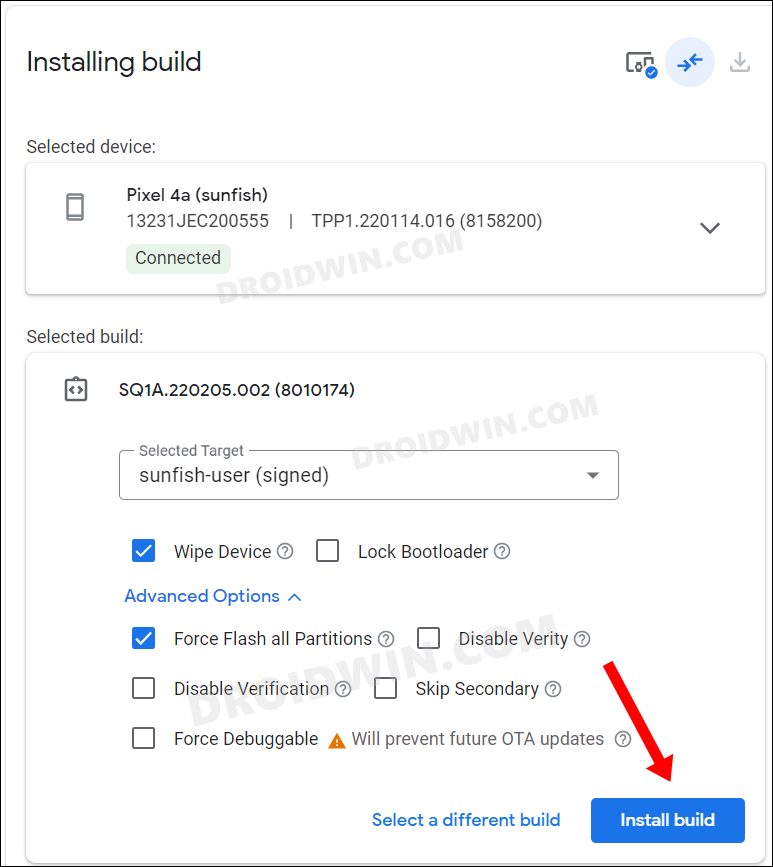
- Once you have made the decision, click on the Install Build button.
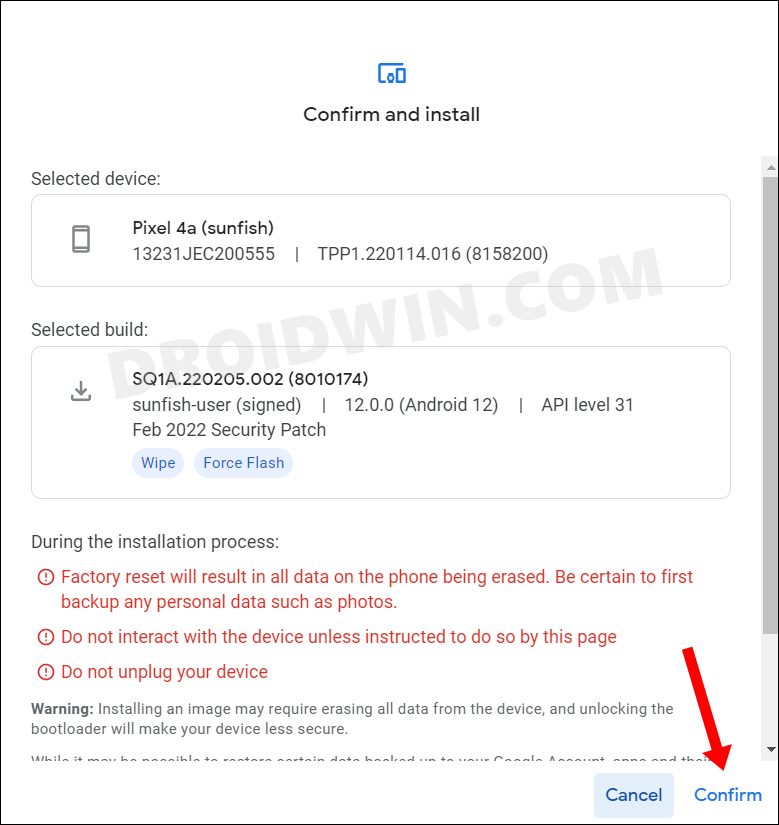
- You will now get a confirmation dialog box, click Confirm.
- The tool will now start downloading and subsequently flashing the Android 13 build onto your device.
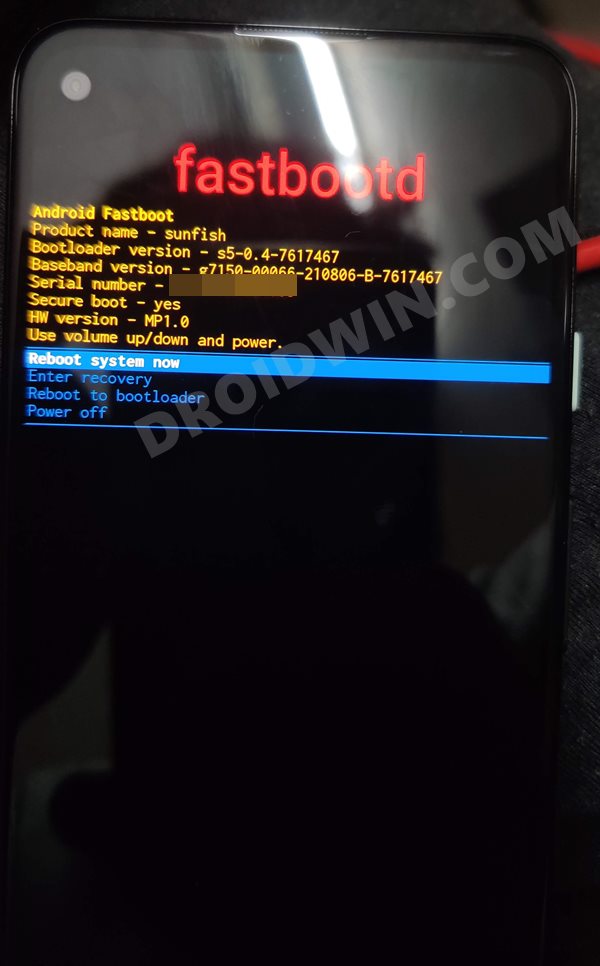
- During the flashing process, your device will automatically boot to Fastboot and FastbootD Modes.
- Once the flashing is done, you will be notified of the same. You may now unplug your device and boot it to the downgraded OS, if it doesn’t happen automatically.

So this was all from this section on how you could perform a downgrade from Android 13 to Android 12 via Android Flash Tool. Let’s now check out how this could be carried out via the Fastboot method.
Downgrade Android 13 to Android 12 via Fastboot
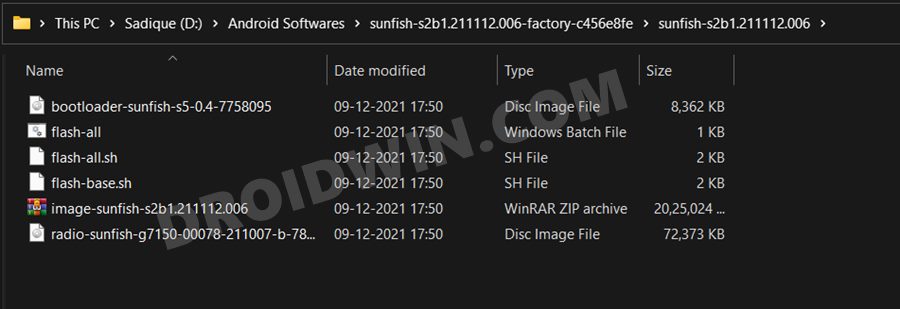
- To begin with, download the Android 12 factory image for your device (and not the OTA).
- Once downloaded, extract it inside the platform-tools folder.
- Now head over to this platform-tools folder, type in CMD in the address bar, and hit Enter. This will launch the Command Prompt.
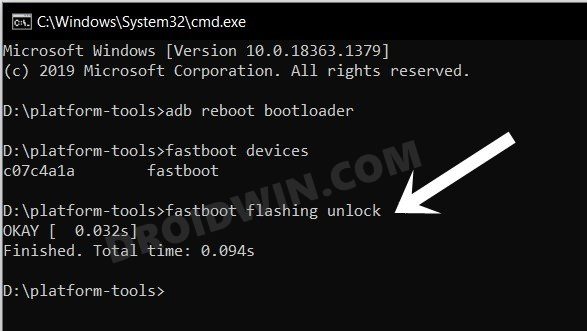
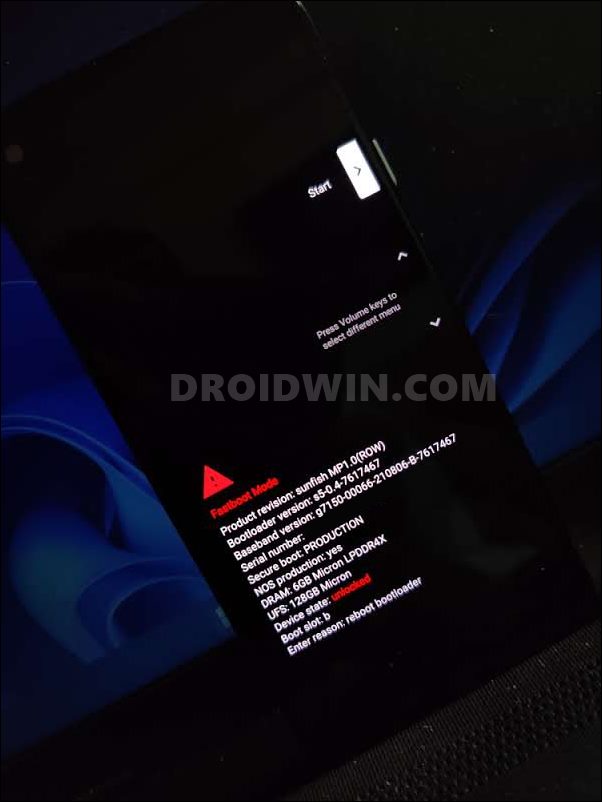
- Then type in the following command in the CMD window to boot your device to Fastboot Mode
adb reboot bootloader
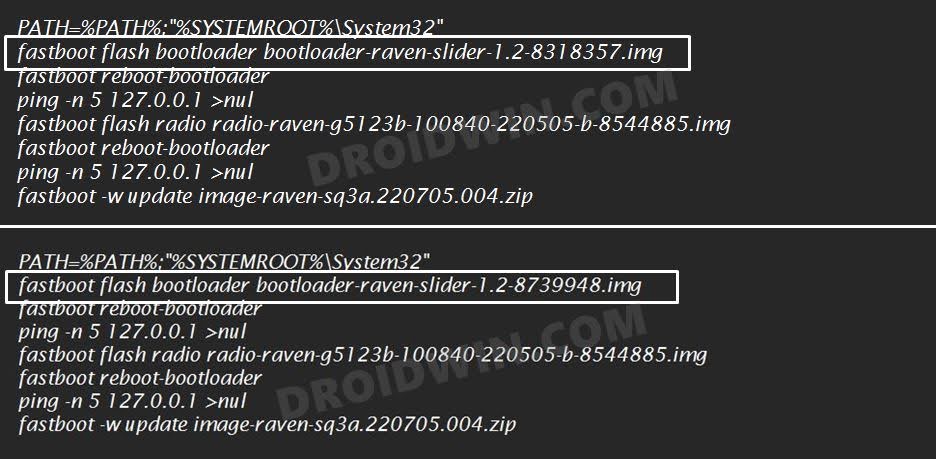
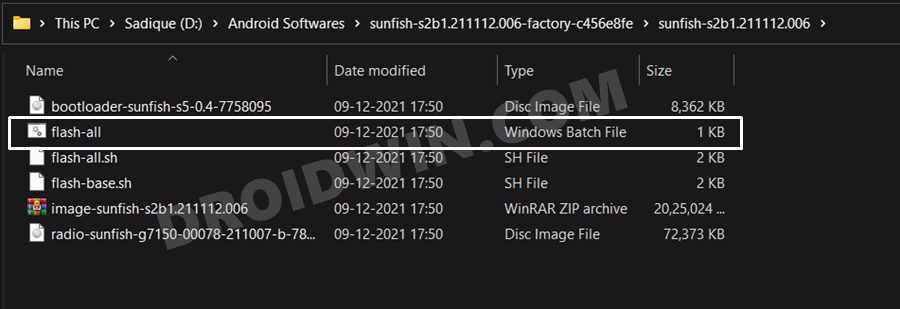
- Now double click on the flash-all batch file and the flashing process will now begin.
- While it’s going on, your device will automatically boot to Fastboot and FastbootD Modes, which is completely normal.
- Once the process is complete, you will be notified of the same. Likewise, your device will automatically boot to the OS.

So with this, we round off the guide on how you could downgrade your device from Android 13 to Android 12. We have listed two different methods for the same. If you have any queries concerning the aforementioned steps, do let us know in the comments. We will get back to you with a solution at the earliest.
Android 13 to Android 12 Downgrade Guides for non-Pixel Devices
If you own a non-Pixel device, then refer to our below-linked guides for the downgrade process. [If your device is not listed below, then please let us know via the comments section].
- Downgrade Samsung One UI 5.0 to One UI 4.0: Android 13 to Android 12
- Downgrade OnePlus 10 Pro from Android 13 to Android 12
- Downgrade Asus ZenFone 8 from Android 13 to Android 12
- Downgrade Vivo X80/Pro from Android 13 to Android 12
- Downgrade Realme GT 2 Pro from Android 13 to Android 12
- Downgrade Oppo Find X5 Pro from Android 13 to Android 12
- Downgrade Oppo Find N from Android 13 to Android 11


Reuben
Tried to upgrade from android 12 to 13. Phone is Nokia 10G. Phone is frozen to the Nokia start up page. Phone battery is charged. Would like to roll back to android 12.
Download for version 13 was complete but install went bad somehow.
Paul Kreutz
When I execute the flash-all.bat file, I get the following message on my PC: “‘fastboot’ is not recognized as an internal or external command, operable program or batch file.” Again, not sure what I am doing wrong. Thanks in advance for your help.
Sadique Hassan
First off, reverify a couple of things-
-Your device is indeed booted to Fastboot Mode
-You have extracted the firmware inside the platform-tools folder.
If both these requirements are met, then it seems the Fastboot Drivers are missing from your PC. Please refer to this guide and install the latest Fastboot Drivers for Windows 10/11: How to Install Fastboot Drivers in Windows 11
Paul Kreutz
I have flash-all.bat and flash-all.sh files after extracting the factory image file but do not have flash-all.exe. What am I doing wrong?
Sadique Hassan
Sorry Paul, it was a typing mistake from my end. The file should be flash-all.bat only. In other words, you will have to execute the flash-all.bat itself.
Paul Kreutz
Thank you for your quick response.