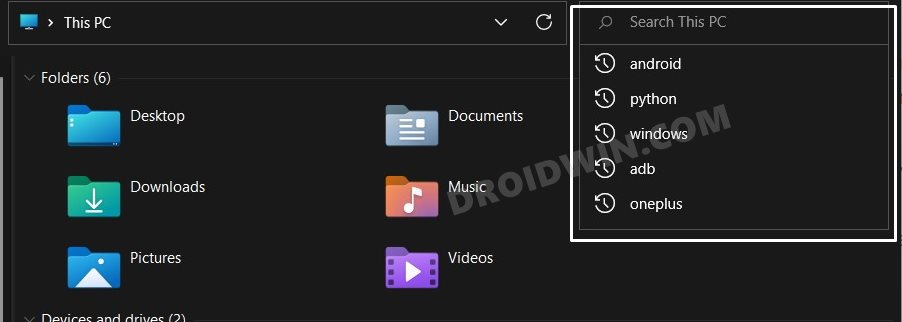
In this guide, we will show you the steps to delete the File Explorer Search History or rather disable it altogether on your Windows 11 PC. The File Explorer app comes baked in with handy search functionality. Situated at the top right, this feature allows you to find your desired files and folders just by typing a few letters of your query.
Likewise, the search indexing is done pretty quickly so that your results are out there in no time. However, there might be some times when you want to hide their search history. For example, when you have searched for a personal file, NSFW content (shhh….), or are using a shared PC and don’t want your colleagues to get hold of your search history.
In all of these scenarios, the best bet is to delete or hide your history from the prying eyes. In this regard, there exist two different approaches- you could either delete all the existing search history or completely disable it for good. And in this guide, we will show you the instructions for both these methods. So without further ado, let’s check out the steps to delete and disable the File Explorer Search History in Windows 11.
How to Delete File Explorer Search History in Windows 11
- Use the Windows+E shortcut to open the File Explorer on your PC.
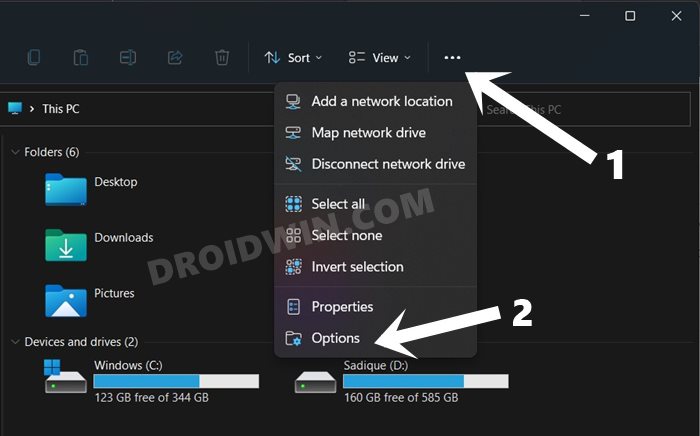
- Then click on the three horizontal dots situated at the top menu bar.
- Select Options from the drop-down menu.

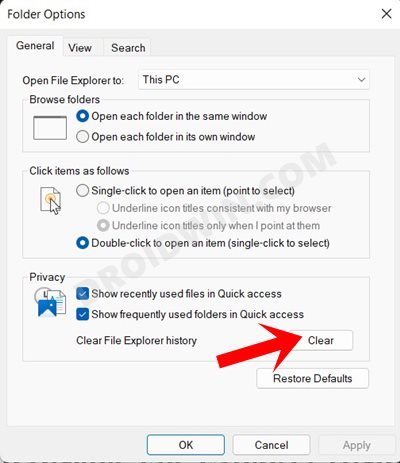
- Finally, click on the Clear button next to Clear File Explorer History.
That’s it. These were the steps to delete the File Explorer Search History in Windows 11, let’s now make you aware of the steps to disable it.
How to Disable File Explorer Search History in Windows 11
If you always wish to perform your searches in a private and incognito mode, then manually deleting them via the first method would be too time-consuming, So it’s better to disable this feature altogether. Here’s how it could be done:
- First and foremost, you will have to enable the Group Policy Editor on your PC. If you haven’t done so, then please refer to our guide to Enable Group Policy Editor in Windows 11 Home.
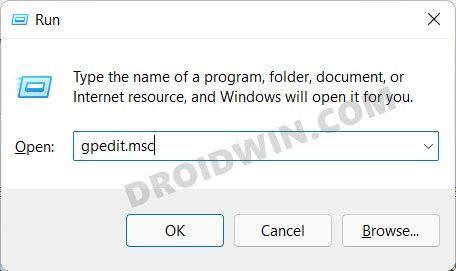
- Once that is done, open Run via Windows+R shortcut keys. Then type in gpedit.msc and hit Enter. This shall launch the Group Policy Editor.
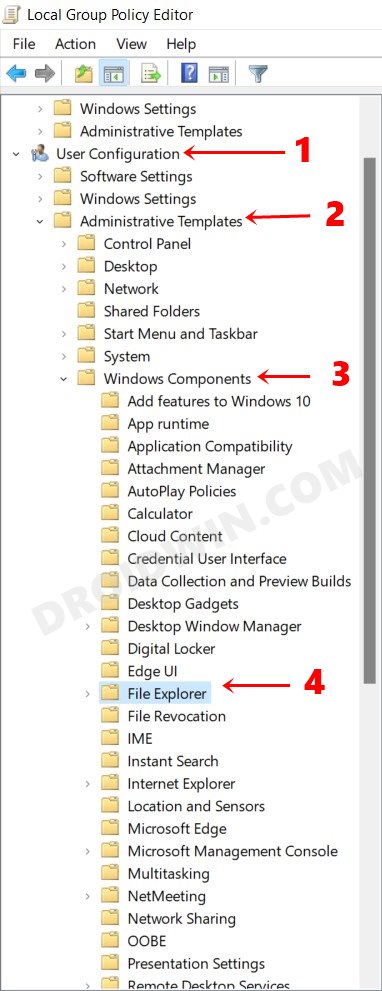
- Now go to User Configuration from the left menu bar > Administrative Templates > Windows Components > File Explorer.
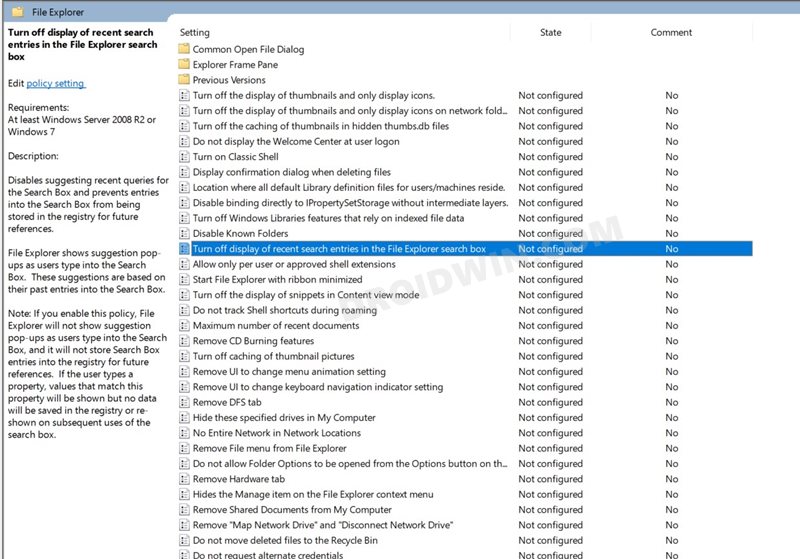
- Once you reach File Explorer, double-click on Turn off the display of recent search entries in the File Explorer search box.
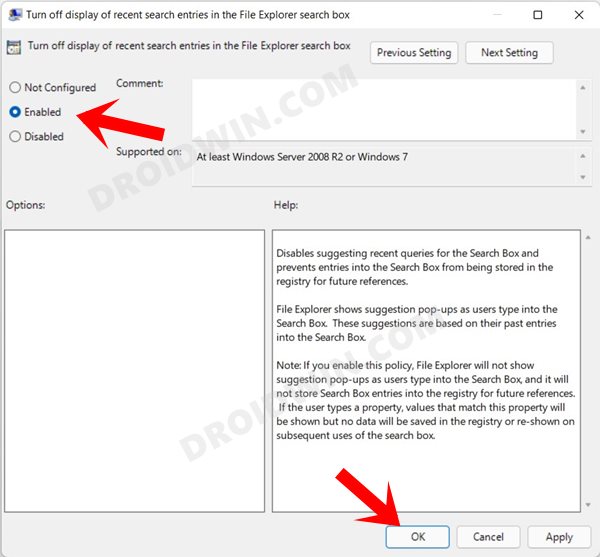
- Change its value to Enabled and hit OK to save it. That’s it. From now on, none of your search queries will be stored in Explorer.
So with this, we round off the guide on how you could delete and disable the File Explorer Search History in Windows 11. If you have any queries concerning the aforementioned steps, do let us know in the comments. We will get back to you with a solution at the earliest.


