In this guide, we will show you the steps to disable a key on your keyboard in Windows 11. There could be quite a few reasons why you might need to carry out the said task. One of the most common use case scenarios of this tweak is when the key refuses to function along the expected lines. Well, I cannot really put into words the infuriation I recently went through when the Enter key was stuck in the keyboard and it was continuously performing its action.
So it ended up opening any application that I selected, created unnecessary paragraphs in word processors, and even submitted a form that I had just started filling. Well, this list might go on, but rather than ranting about that, let’s address the elephant in the room- and that is how could you disable a keyboard key on your Windows 11 PC? Let’s check it out.
How to Disable a Keyboard Key in Windows 11

While we usually cover these guides using the Registry Editor, however, this time around, we will be using a first-party app, developed by Microsoft. The reason why we aren’t using Registry is the fact that each key comes with a different D-word 32-bit or Binary Value.
So listing the values for each of the keys present on the keyboard would prove to be quite a cumbersome process. Moreover, since the app is open source and provided by Microsoft, there isn’t any point of concern associated with it. So on that optimistic note, let’s get started.
- To begin with, download the Power Toys from GitHub [Direct Download: PowerToysSetup-0.58.0-x64.exe].
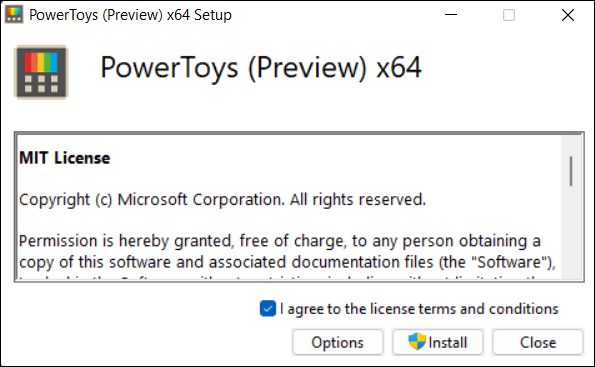
- Then launch it and hit Install [or click Options to change its installation directory]. Once installed, open it.

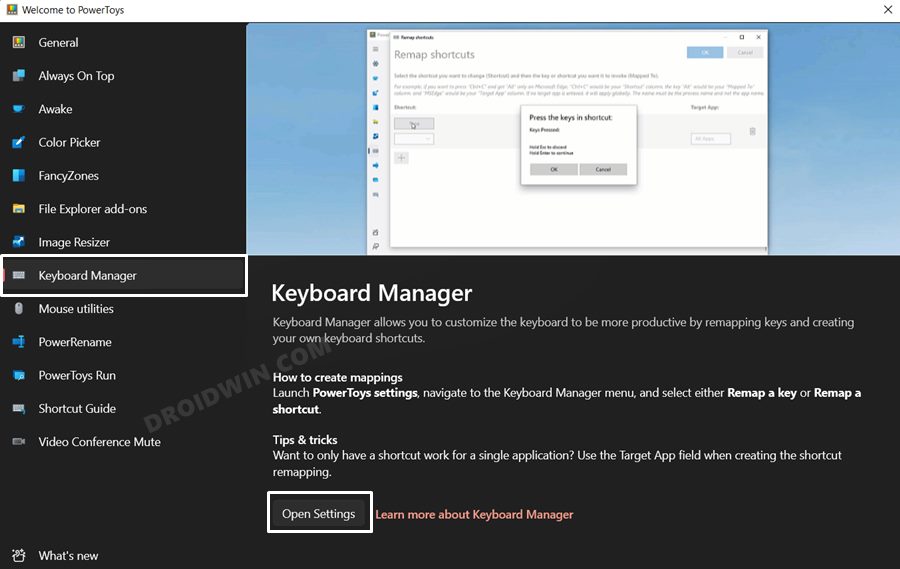
- Then go to Keyboard Manager from the left-hand side and click on Open Settings.
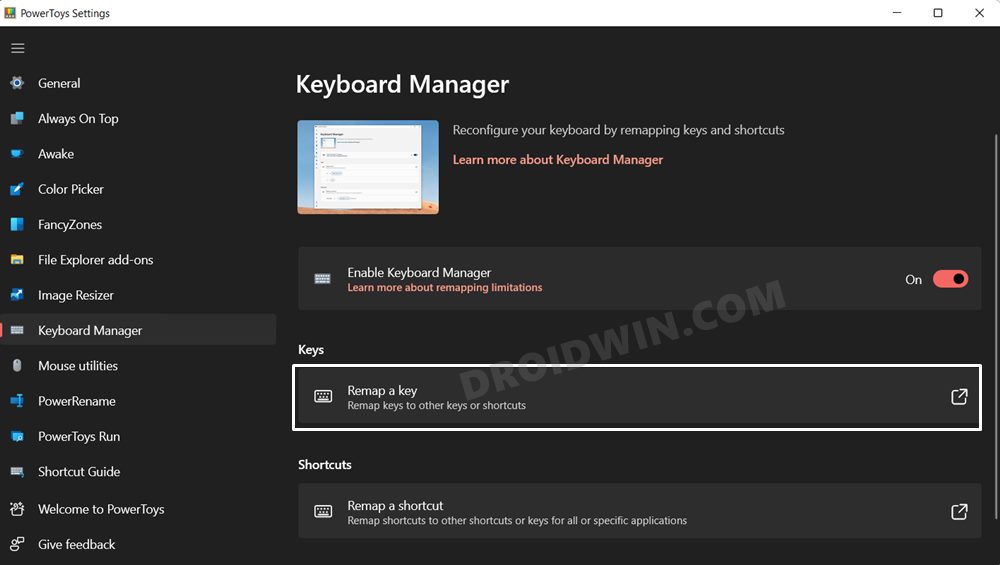
- After that, click on Remap a Key.
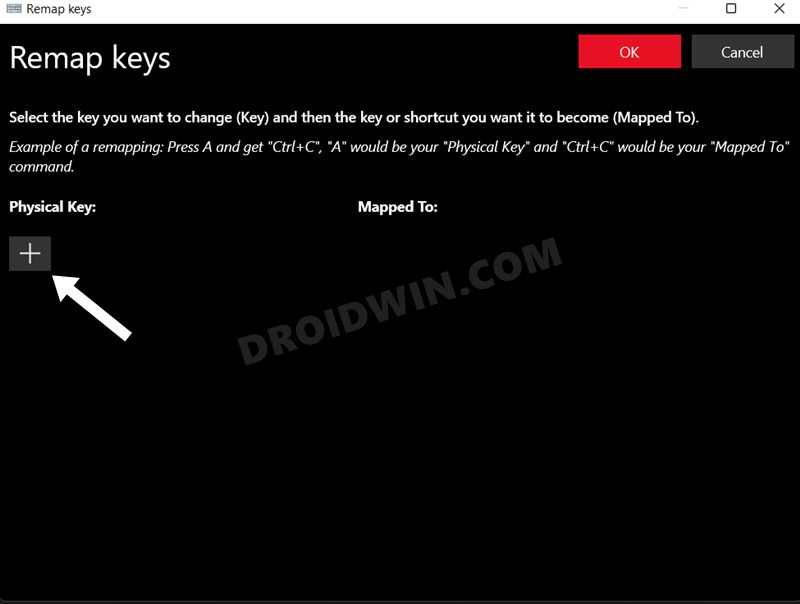
- Now click on the plus sign under Physical Key.
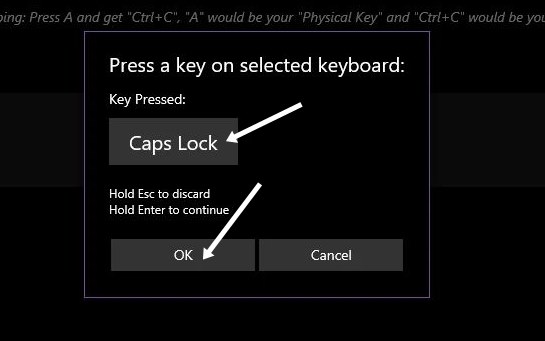
- Then press the desired key that you wish to disable [if that key is not working, then use the On-Screen Keyboard].
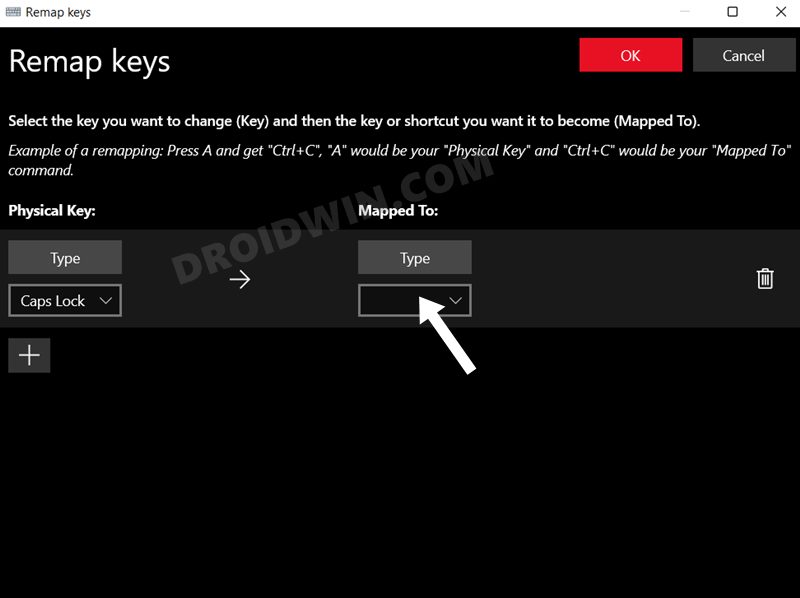
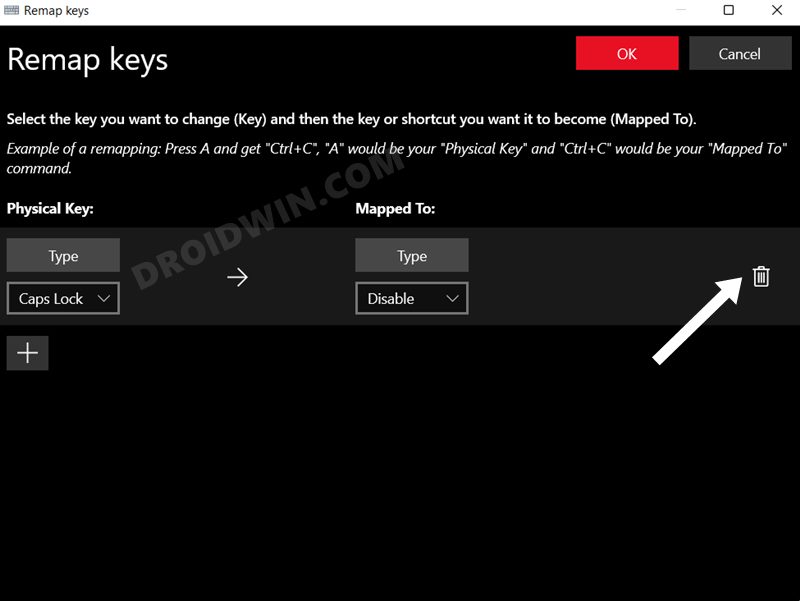
- After that, click on the drop-down arrow next to Mapped To.
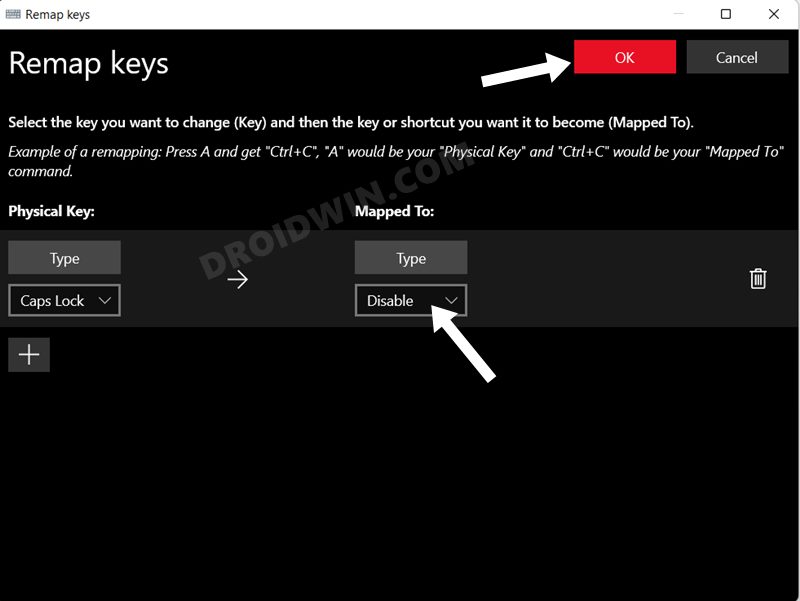
- Select Disable from the drop-down menu and finally, click OK situated at the top right.
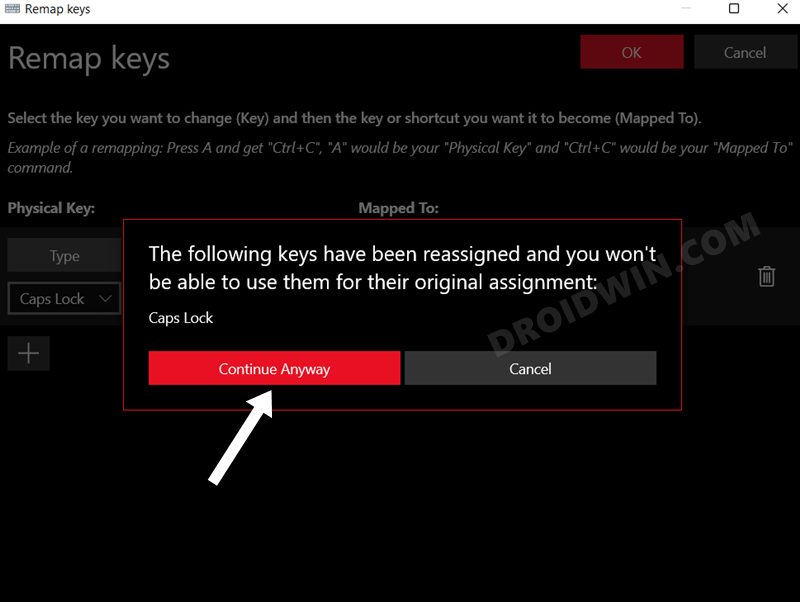
- You will now get a confirmation dialog box, click on Continue Anyway.
- That’s it. This would disable the selected key on your keyboard in Windows 11.
How to Re-Enable a Keyboard Key in Windows 11
If at any point in time, you wish to revert the process, in other words, re-enable the disabled key, then here’s what you need to do.
- Launch Power Toys and go to Keyboard Manager
- Then click on Open Settings and go to Remap a Key.
- Now click on the Delete icon next to the mapping.
- Or you may also select None from the drop-down menu.
So these were the steps to disable a key on your keyboard in Windows 11. Likewise, we have also listed the steps to re-enable them. If you have any queries concerning the aforementioned steps, do let us know in the comments. We will get back to you with a solution at the earliest.


