In this guide, we will show you two different methods to delete the cow partitions on your Android device. While the tech enthusiasts were still dealing with the A/B partition scheme and the relatively newer FastbootD Mode, it seems there is now a new player in town. We are talking about the COW partition which many OnePlus users might already have come across.
So what exactly is a cow partition? Let’s check it out below. After that, we will also make you aware of the steps to verify whether the COW partitions are present on your Android device or not. And if they are there, then we will list out the instructions to delete the, using two different methods. So without any further ado, let’s get started.
Table of Contents
What is COW Partition in Android?
Beginning with Android 11, the A/B (seamless) and non-A/B updates have been unified using virtual A/B in order to bring seamless updates to your device at the minimal utilization of the resources. Moreover, Virtual A/B relies on dm-snapshot, which itself consists of four devices, one among them being the copy-on-write (COW).
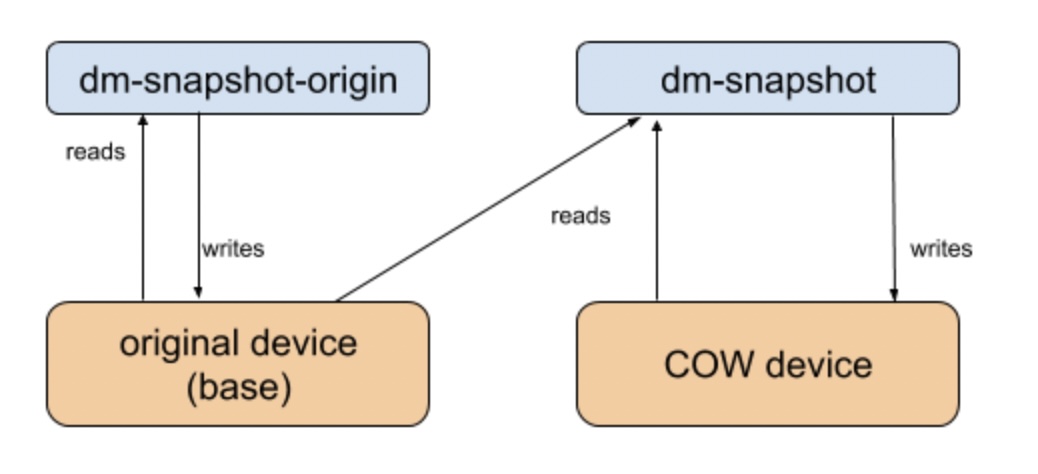
With that said, beginning with Android 12, compressed snapshots use a COW format. This format consists of alternating sections of metadata and data and is far more expressive with the support of Copy, Replace, Zero, and Xor operations. The COW partition is usually created by the ROM or firmware during an OTA update.
Does my Device have COW Partitions?
You could check for the existence of the COW partition on your Android device as follows
- Download and extract the Android SDK Platform Tools on your PC.

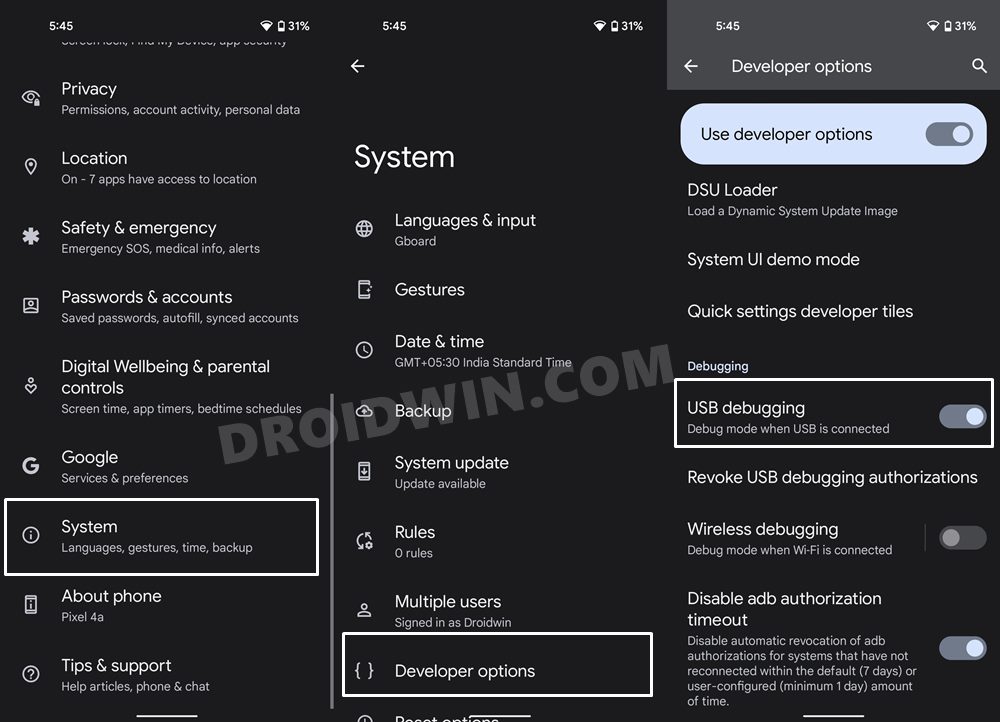
- Then enable USB Debugging on your device and connect it to your PC via USB cable.
- After that, execute the below command to boot your device to Fastboot Mode:
adb reboot bootloader
- Now type in the below command to get a list of all the partitions:
fastboot getvar all
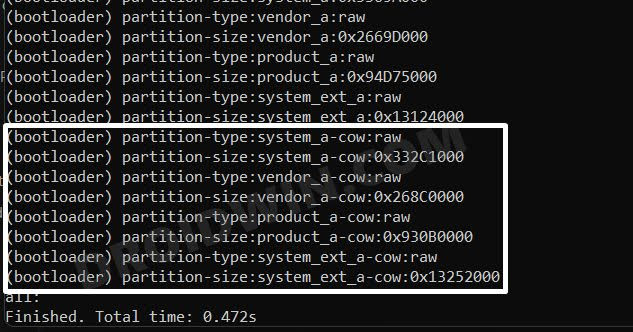
- If your output has any of the following partition names, then your device has a COW partition
system_a-cow, system_ext_a-cow, vendor_a-cow, product_a-cow
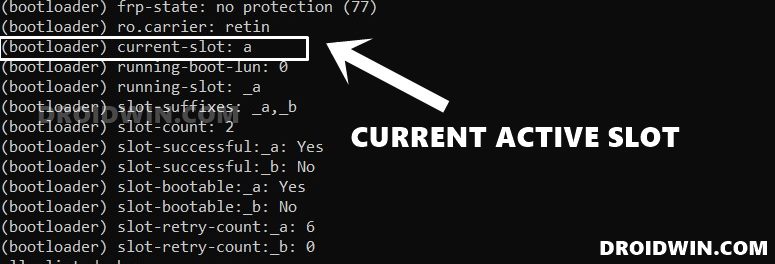
- Do note that it will only show the cow partition for your current active slot. For example, in my case, the active Partition was A, so COW partitions were only being shown for A.
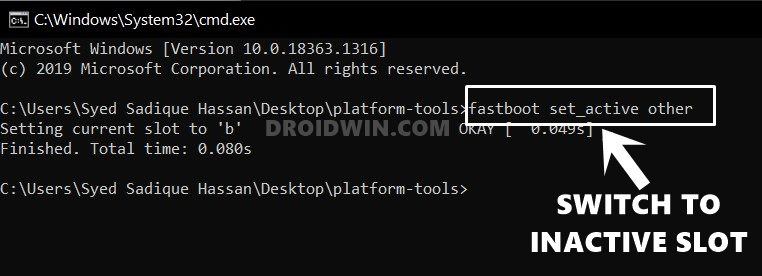
- To check for the other slot, you will first have to change your active slot. For that, you may use the below command:
fastboot set_active other
- In my case, the above command will make Partition B as the active one. So the COW partition output will now be similar to what is shown below:
system_b-cow, system_ext_b-cow, vendor_b-cow, product_b-cow

How to Delete COW Partition in Android
There exist two different methods through which you could carry out the said task- the first is the automated method wherein a tool will do the job for you. On the other hand, the second approach is manual wherein we will be manually deleting the cow partitions from your Android device.
We have listed both of these methods below. You may refer to the one that is in sync with your requirement. Droidwin and its members wouldn’t be held responsible in case of a thermonuclear war, your alarm doesn’t wake you up, or if anything happens to your device and data by performing the below steps.
METHOD 1: Using Fastboot Enhance Tool
- Download and extract the Android SDK Platform Tools on your PC.
- Then enable USB Debugging on your device and connect it to your PC via USB cable.
- After that, execute the below command to boot your device to Fastboot Mode:
adb reboot bootloader
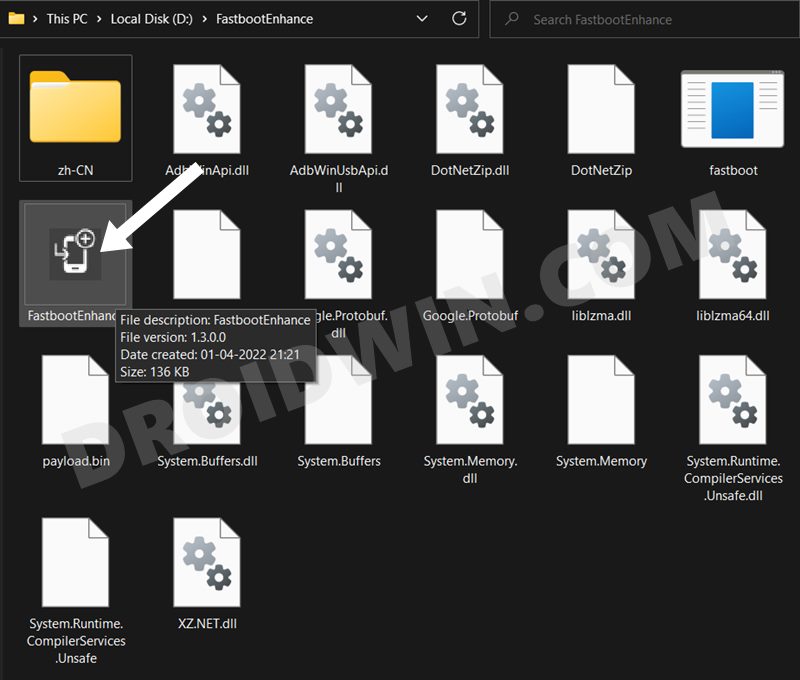
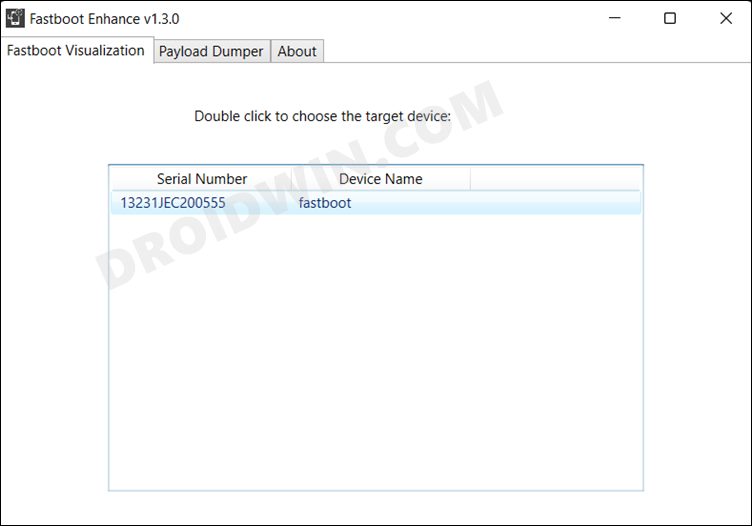
- Now download and extract the Fastboot Enhance Tool from GitHub [direct link]. Then launch it via its EXE file.
- Your device should be listed under the Fastboot Virtualization tab, click on it to select it.
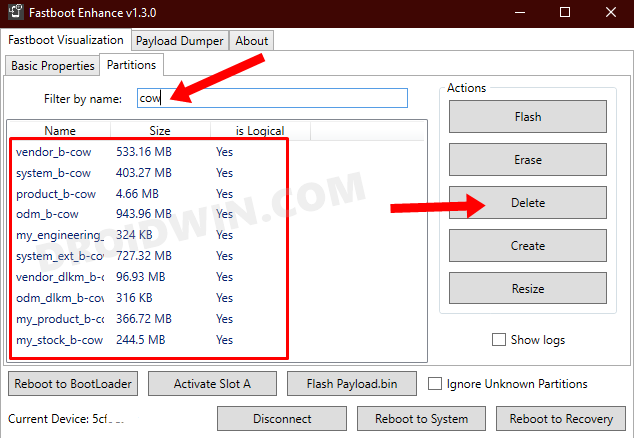
- Now go to the Partitions tab and type in cow in the Filter by name box.
- Finally, select all the partitions from the results that have cow in their name and hit the Delete button.
- That’s it. You may now proceed ahead with the flashing of the desired custom ROM or stock firmware.
So this is how you could delete the cow partition on your Android device using the Fastboot Enhance Tool. Let’s now check out the steps to do so manually using the Fastboot Commands.
METHOD 2: Using Fastboot Commands
- Download and extract the Android SDK Platform Tools on your PC.
- Then enable USB Debugging on your device and connect it to your PC via USB cable.
- After that, execute the below command to boot your device to Fastboot Mode:
adb reboot bootloader
- Now execute the below command and refer to the value next to (bootloader) current-slot
fastboot getvar all
- If it is A [or B] and you also wish to delete the cow partitions present in slot A [or B], then directly proceed to point 7.
- Otherwise, if you wish to delete the cow partitions present in the other slot, then first change your active slot to that ‘other slot’ using the below command
fastboot set_active other
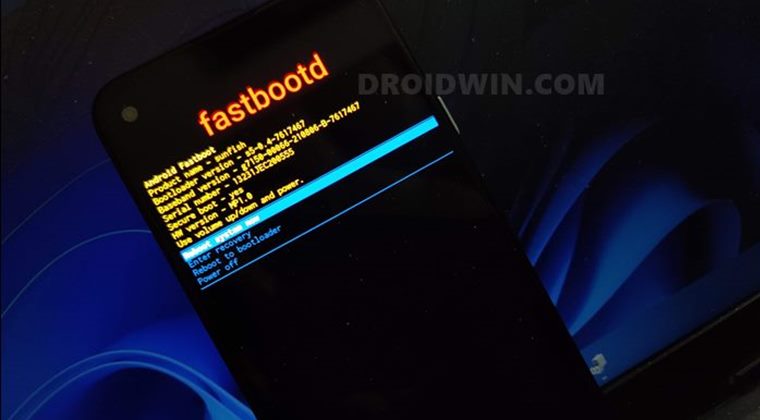
- Now boot your device to FastbootD Mode using the following command:
fastboot reboot fastboot
- You may now use the below command syntax to delete the desired cow partition:
fastboot delete-logical-partition PartitionName
- For example, to delete the system_a-cow partition, then the command will be
fastboot delete-logical-partition system_a-cow
- Likewise, use the below command to delete the system_ext_b-cow partition
fastboot delete-logical-partition system_ext_b-cow partition
- You may delete the rest of the cow partitions in a similar manner.
That’s it. These were the steps to delete the COW Partitions on your Android device. If you have any queries concerning the aforementioned steps, do let us know in the comments. We will get back to you with a solution at the earliest.


Aleksey Korneyev
Help please. Couldn’t remove cow in two ways. in the first case, the delete button is not active. In manual mode, the system writes an error
Sincerely Alexey