In this guide, we will show you the steps to disable and delete the Shader Cache on your Windows 11 PC. It has always been a long-standing debate regarding the perks of deleting these temporary bits of Nvidia data. While some call it just a placebo, others have definitely witnessed some improvements in their overall gameplay experience. And my personal experience falls in the latter category. It had become a trend that after installing a Windows update, many users had to witness inexplicably unplayable gameplay with stutters and poor framerates.
In this regard, deleting the shader cache did manage to spell out success for many users. Not only did they get an additional 10-15 FPS, but the stuttering and minor hitching issues were also rectified. So the best way is to delete these cached files at regular intervals. Or if you wish to take a more aggressive route, then you could prevent the cache files from getting accrued in the first place. So keeping all these perks in mind, let’s get started with the steps to disable and delete the Shader Cache on your Windows 11 PC. Follow along.
How to Delete Shader Cache in Windows 11
- Head over to the Start Menu, search Disk Cleanup and open it.
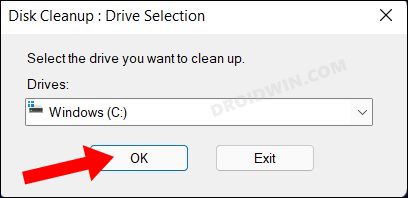
- Then select C Drive from the list and click OK.

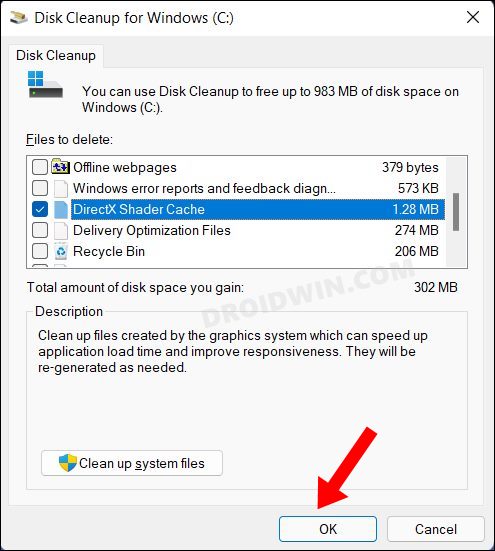
- After that, checkmark DirectX Shader Cache and hit OK.
- That’s it. It will delete the stored Shader Cache from your Windows 11 PC.
How to Disable Shader Cache in Windows 11

Manually deleting the Shader Cache at regular intervals might prove to be quite an effort-taking task. One approach that you could take is to prevent these cache from getting accumulated in the first place. So proceed ahead with the below-listed instructions to disable the Shader Cache from your Windows 11 PC.
- Head over to the Start Menu, search Nvidia Control Panel, and open it.
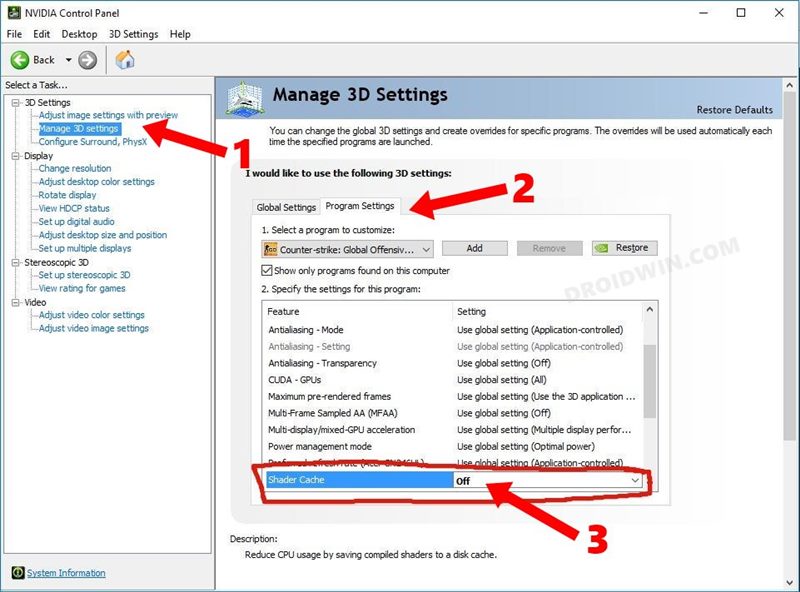
- Then expand 3D Settings from the left menu bar and select Manage 3D Settings.
- Now go to the Program Setting tab from the right hand side.
- Scroll to Shader Cache and change its State to Disabled.
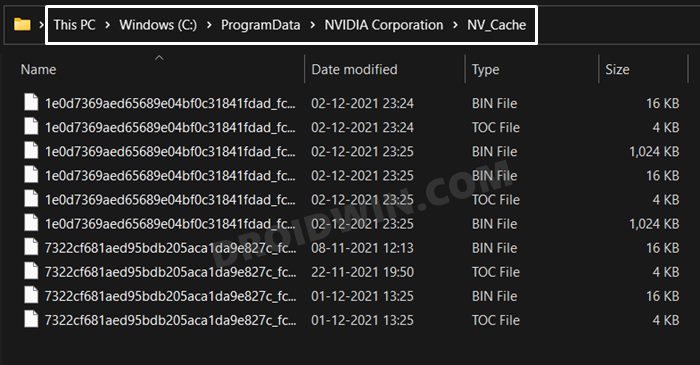
- After that, launch File Explorer via Windows+E shortcut and go to the below location:
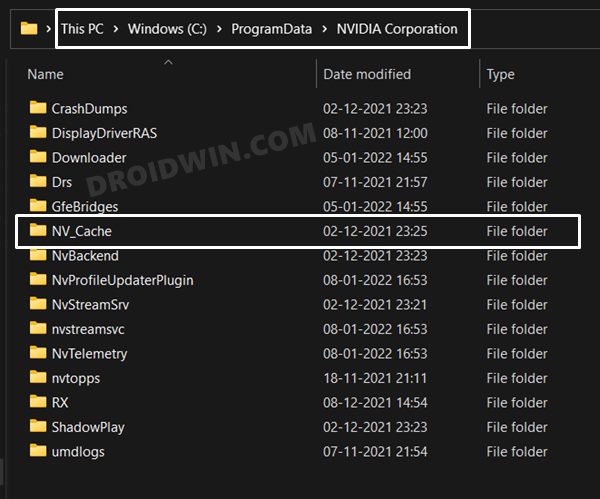
C:\ProgramData\NVIDIA Corporation
- Now go to the NV_Cache folder and delete all the files present there.
- If you cannot find the NV_Cache folder there, then it might be present in the following location (replace UserName accordingly)
C:\Users\UserName\AppData\Local\Temp
- So delete the contnets of the NV_Cache folder from there and your task stands complete.
That’s it. These were the steps to delete and disable Shader Cache in Windows 11. If you have any queries concerning the aforementioned steps, do let us know in the comments. We will get back to you with a solution at the earliest.


Alka
Would ShaderCache contain closed Google tabs info? I am trying to recover my tabs from 2 weeks ago and I noticed that I have 4 ShaderCache listed ( I did have 4 windows closed with many tabs) and at the same time as I lost the Google tabs. Thank you!