In this guide, we will show you the steps to delete and create logical partitions on your OnePlus 8T. The Android ecosystem has witnessed some major changes in recent years. From the A/B partition schemes to the FastbootD mode, and COW Partitions, there have been quite a few noteworthy additions. Talking about partitions, the super partition is one of the most talked about ones.
This is because it is the partition where users usually get stuck while trying to flash the firmware via Fastboot Commands. For the unaware, the super partition contains the ODM, system, system_ext, vendor, and product partitions within itself. This is the reason why it is the largest among all the firmware files. Moroever, you should always flash these files in the FastbootD Mode, as opposed to the normal Fastboot Mode.
However, inspite of taking caution at every step, you might still come across quite a few issues, such as the FAILED (remote: ‘Not enough space to resize partition’) error. Fortunately, there exists a handy method to rectify these issues- all that you need to do is just delete and then. re-create the logical partitions on your OnePlus 8T. And in this guide, we will show you how to do just that. Follow along.
Table of Contents
How to Delete and Create Logical Partition on OnePlus 8T

The below instructions are listed under separate sections for ease of understanding. Make sure to follow the same sequence as mentioned. Droidwin and its members wouldn’t be held responsible in case of a thermonuclear war, your alarm doesn’t wake you up, or if anything happens to your device and data by performing the below steps.
NOTE: Here we are only dealing with the logical partitions which need to be flashed in the FastbootD Mode. But before proceeding with that, make sure to first flash the rest of the files in the Fastboot Mode. For example, in the case of the OnePlus 8T, here are the files that you need to flash in Fastboot Mode before proceeding with the deletion and creation of logical partitions:
fastboot flash recovery recovery.img
fastboot flash boot boot.img
fastboot flash dtbo dtbo.img
fastboot reboot fastboot
fastboot flash --slot=all recovery recovery.img
fastboot flash --slot=all boot boot.img
fastboot flash --slot=all dtbo dtbo.img
fastboot flash --slot=all abl abl.img
fastboot flash --slot=all aop aop.img
fastboot flash --slot=all bluetooth bluetooth.img
fastboot flash --slot=all cmnlib64 cmnlib64.img
fastboot flash --slot=all cmnlib cmnlib.img
fastboot flash --slot=all devcfg devcfg.img
fastboot flash --slot=all dsp dsp.img
fastboot flash --slot=all featenabler featenabler.img
fastboot flash --slot=all hyp hyp.img
fastboot flash --slot=all imagefv imagefv.img
fastboot flash --slot=all keymaster keymaster.img
fastboot flash --slot=all logo logo.img
fastboot flash --slot=all mdm_oem_stanvbk mdm_oem_stanvbk.img
fastboot flash --slot=all modem modem.img
fastboot flash --slot=all multiimgoem multiimgoem.img
fastboot flash --slot=all qupfw qupfw.img
fastboot flash --slot=all spunvm spunvm.img
fastboot flash --slot=all storsec storsec.img
fastboot flash --slot=all tz tz.img
fastboot flash --slot=all uefisecapp uefisecapp.img
fastboot flash --slot=all xbl_config xbl_config.img
fastboot flash --slot=all xbl xbl.img
Once that is done, you may now proceed ahead to delete and create the logical partition on your OnePlus device. As of now, your device should already be booted to FastbootD. However, if that is not the case, then refer to below STEP 1.
STEP 1: Boot your Device to FastbootD Mode
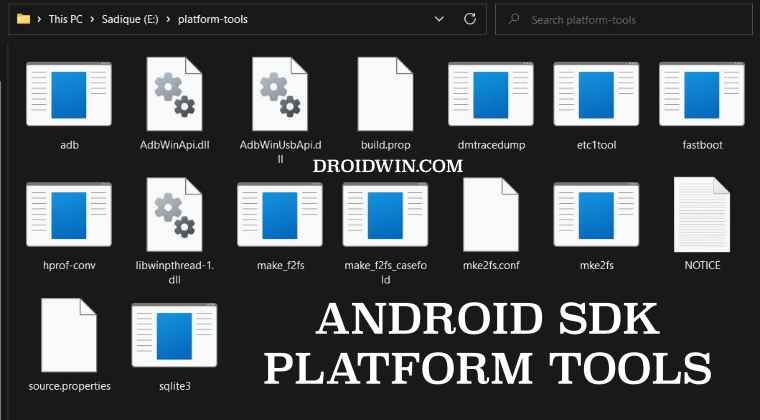
- To begin with, download and extract the Android SDK Platform Tools on your PC.

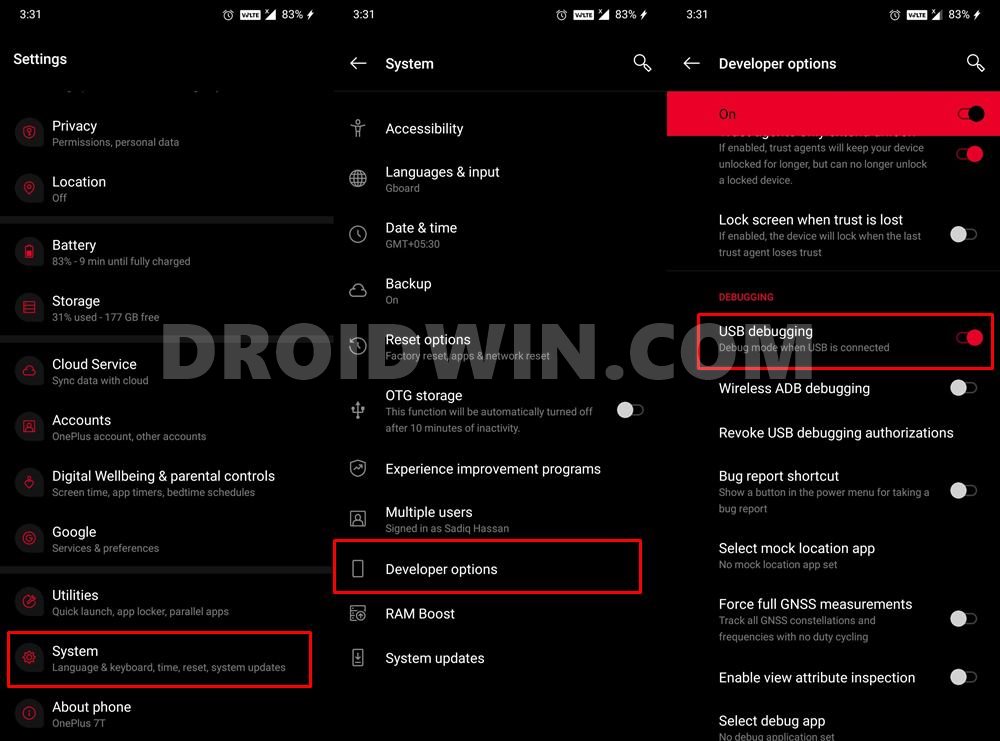
- Then enable USB Debugging on your device and connect it to your PC via USB Cable.

- After that, open CMD inside the platform-tools folder and execute the below command:
adb reboot fastboot

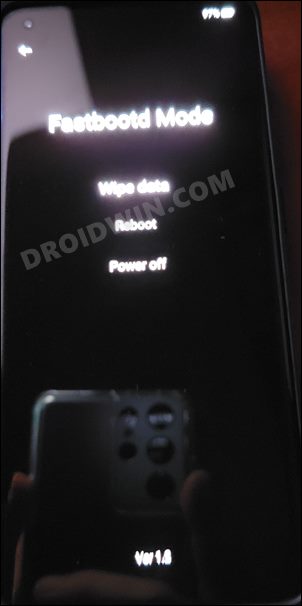
- Your device will now boot to the FastbootD Mode and you may now proceed to the next step.
STEP 2: Verify Logical Partitions
Next up, let’s verify the logical partitions as well as the slot [A or B to which they belong]. This will help us in creating the fastboot delete commands accordingly.
- To begin with, execute the below command in the CMD window
fastboot getvar all
- Then scroll to the “(bootloader) is-logical” section and see the output. It should be either of three-
(bootloader) is-logical:odm_a:yes
(bootloader) is-logical:product_a:yes
(bootloader) is-logical:system_a:yes
(bootloader) is-logical:system_ext_a:yes
(bootloader) is-logical:vendor_a:yes

OR

(bootloader) is-logical:odm_b:yes
(bootloader) is-logical:product_b:yes
(bootloader) is-logical:system_b:yes
(bootloader) is-logical:system_ext_b:yes
(bootloader) is-logical:vendor_b:yes

OR

(bootloader) is-logical:odm:yes
(bootloader) is-logical:product:yes
(bootloader) is-logical:system:yes
(bootloader) is-logical:system_ext:yes
(bootloader) is-logical:vendor:yes
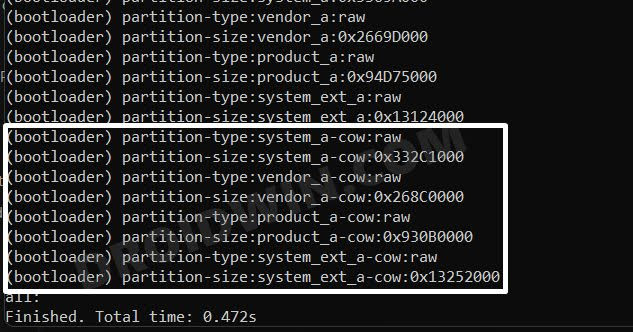
- Likewise, if there are any COW partitions, then note them down as well. They will be something like:
system_a-cow, system_b-cow, system_ext_b-cow, vendor_a-cow, product_b-cow

STEP 3: Delete Logical Partitions
Now that you know the partition style for your device, you may execute the below commands to delete the partitions. As is evident from the below commands, apart from directly deleting the partitions [the first set of commands], we will also be deleting the A and B partitions separately [the second set of commands], just to be on the safer side.
fastboot delete-logical-partition odm
fastboot delete-logical-partition system
fastboot delete-logical-partition system_ext
fastboot delete-logical-partition product
fastboot delete-logical-partition vendor

fastboot delete-logical-partition odm_a
fastboot delete-logical-partition odm_b
fastboot delete-logical-partition system_a
fastboot delete-logical-partition system_b
fastboot delete-logical-partition system_ext_a
fastboot delete-logical-partition system_ext_b
fastboot delete-logical-partition product_a
fastboot delete-logical-partition product_b
fastboot delete-logical-partition vendor_a
fastboot delete-logical-partition vendor_b
STEP 4: Delete Cow Partitions
Corresponding to the output of the fastboot getvar all command, you will now have to delete the COW partitions as well.
- The syntax for deleting a COW partition is
fastboot delete-logical-partitionPartitionName
- For example, if you wish to delete the system_a-cow partition, then the command will be:
fastboot delete-logical-partition system_a-cow
- You should delete the rest of the COW partitions in a similar manner.
If you get any error in deleting a cow partition, then here’s what you need to do:
- First off, reboot the device back to Fastboot Mode from FastbootD using the below command
fastboot reboot bootloader

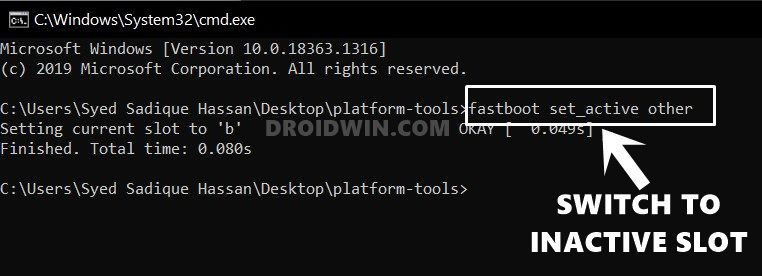
- After that, change your current active slot using the below command
fastboot set_active other

- Then reboot back to FastbootD Mode using the following command
fastboot reboot fastboot

- Now retry deleting the cow partitions, you wouldn’t face any errors this time.
STEP 5: Create Logical Partitions
Let’s now create the deleted logical partitions using the Fastboot Commands. So execute the below commands for the same-
fastboot create-logical-partition odm_a 100000
fastboot create-logical-partition odm_b 100000
fastboot create-logical-partition system_a 100000
fastboot create-logical-partition system_b 100000
fastboot create-logical-partition system_ext_a 100000
fastboot create-logical-partition system_ext_b 100000
fastboot create-logical-partition product_a 100000
fastboot create-logical-partition product_b 100000
fastboot create-logical-partition vendor_a 100000
fastboot create-logical-partition vendor_b 100000
STEP 6: Flash Logical Partition Files
Now that we have re-created the logical partitions, you could flash the ‘super’ files to their respective partitions.
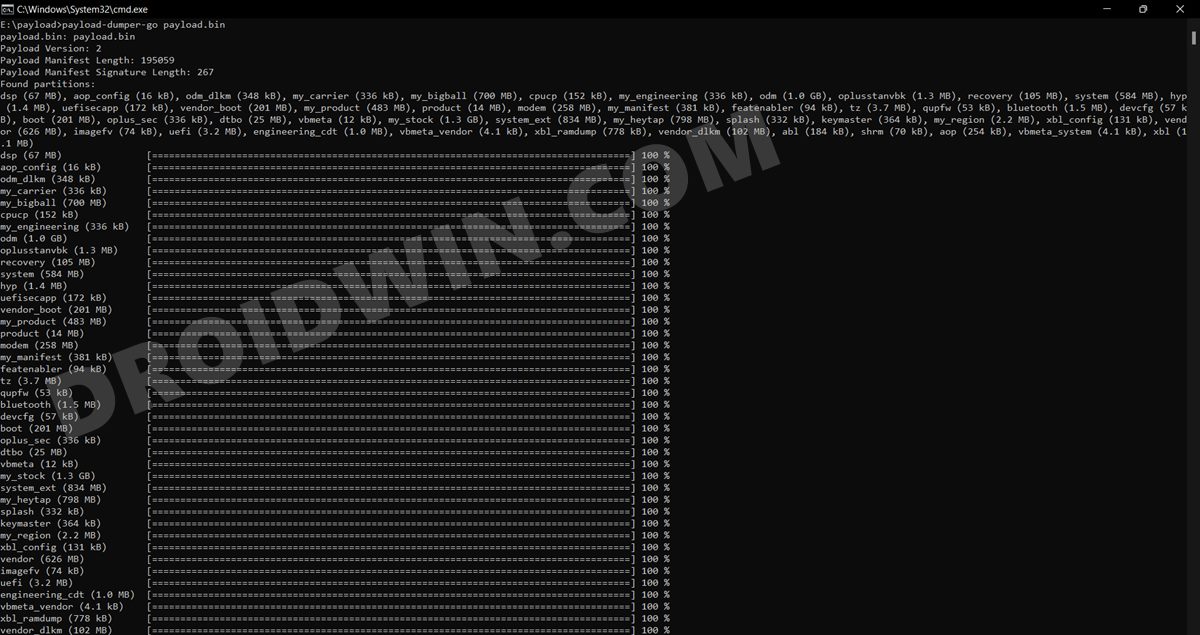
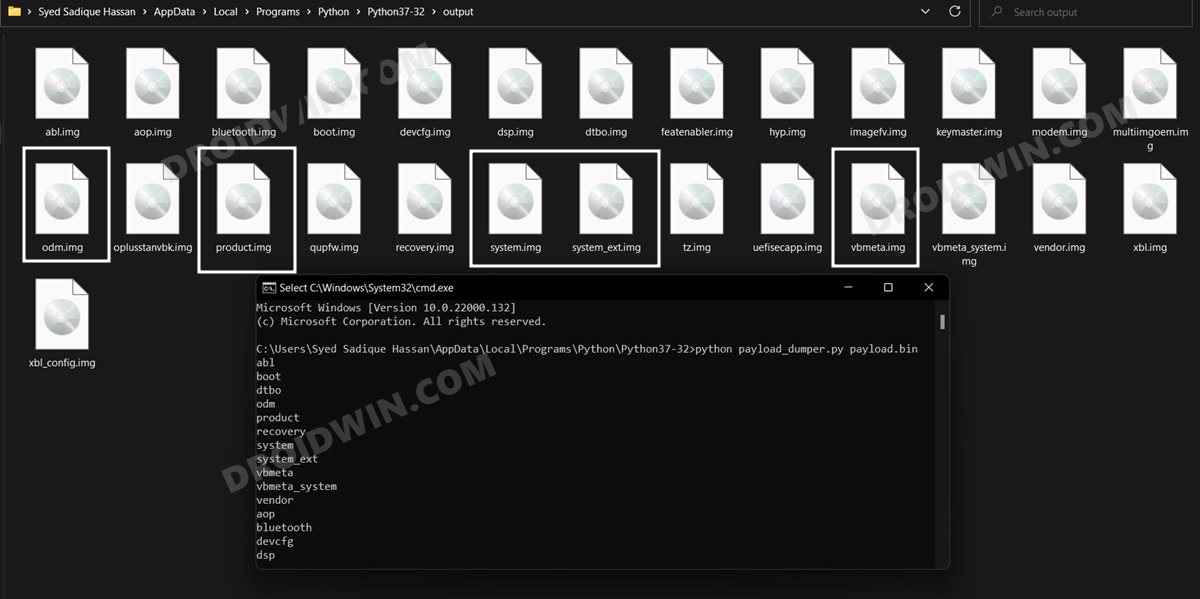
- To begin with, download the stock firmware for your device and extract the payload.bin file.

- Then copy the ODM, system, system_ext, vendor, and product file.Also copy the vbmeta.img file.

- Then paste all these files into the platform-tools folder.
- Now, with your device booted to FastbootD Mode, execute the below commands to flash those files
fastboot flash odm odm.img
fastboot flash system system.img
fastboot flash system_ext system_ext.img
fastboot flash product product.img
fastboot flash vendor vendor.img
fastboot flash --slot=all vbmeta vbmeta.img
fastboot flash --slot=all vbmeta_system vbmeta_system.img
- You may now reboot to the OS via the below command:
fastboot reboot
That’s it. These were the steps to delete and create logical partitions on your OnePlus 8T. If you have any queries concerning the aforementioned steps, do let us know in the comments. We will get back to you with a solution at the earliest.
