In this guide, we will show you the steps to backup the EFS Partition/IMEI Number on your Samsung device. While Samsung devices hold one of the biggest drawbacks in custom development [tripping of the Knox which cannot be reversed even if you relock the bootloader] but that hasn’t stopped the tech enthusiast from gaining administrative privileges and welcoming abode a plethora of tweaks onto their device.
However, Knox isn’t the only concerning factor here, there’s always an associated risk involved of EFP Partition getting corrupted. When that happens, you might face some network-related issues [which in most cases could be rectified by a modem or radio file] and more importantly, you will have to bid adieu to your device’s IMEI number. And for that, there’s no fix whatsoever.
Once it’s gone, then you might not be able to recover it ever again, thereby making your device completely useless. Therefore, it’s always a recommended approach to take a backup of the EFS Partition on your Samsung device beforehand. In case, if something goes wrong, then you could easily restore the backup and get back your IMEI number! So without any further ado, let’s show you how this could be carried out.
How to Backup EFS Partition/IMEI Number on Samsung
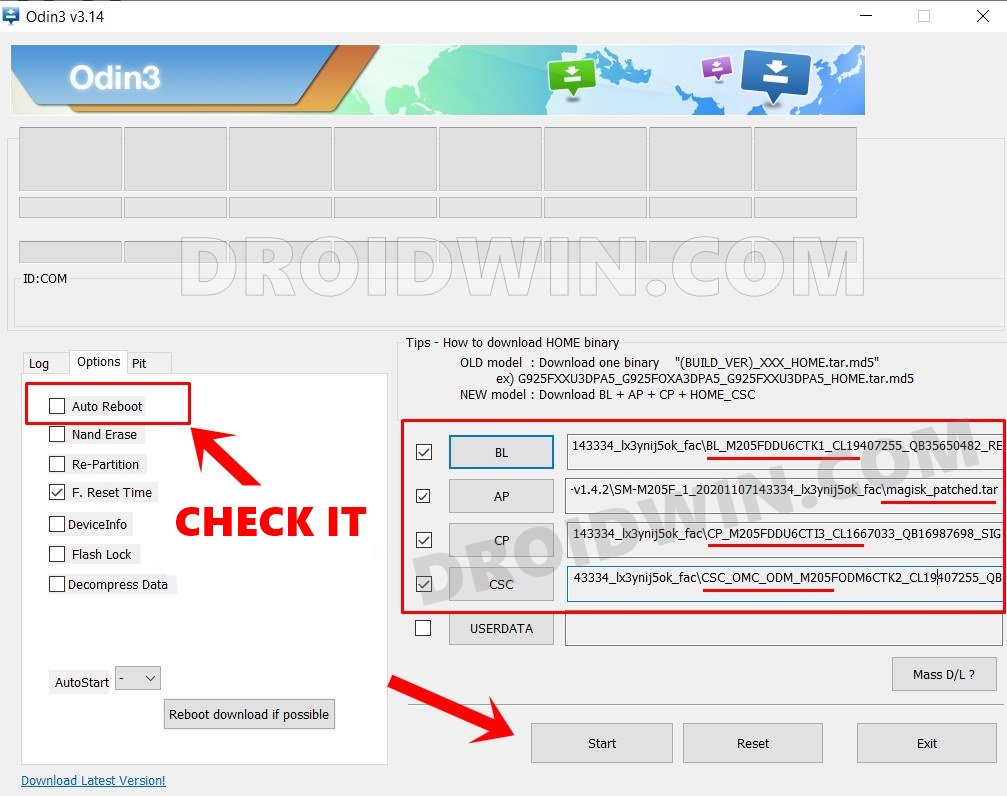
- To begin with, root your Samsung device via Magisk patched AP file.

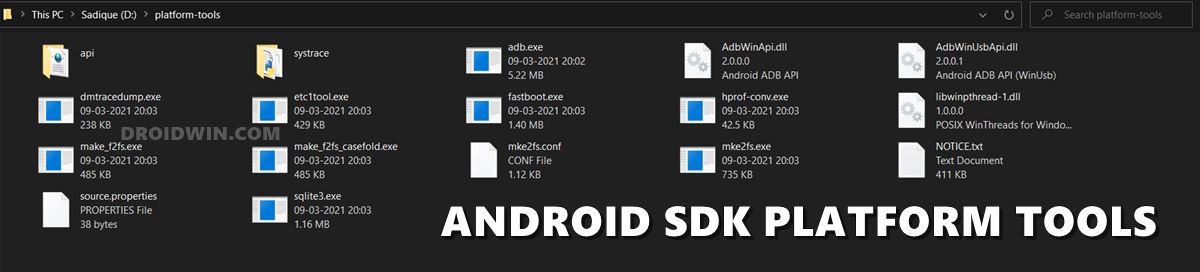
- Then download and extract Android SDK Platform Tools on your PC.
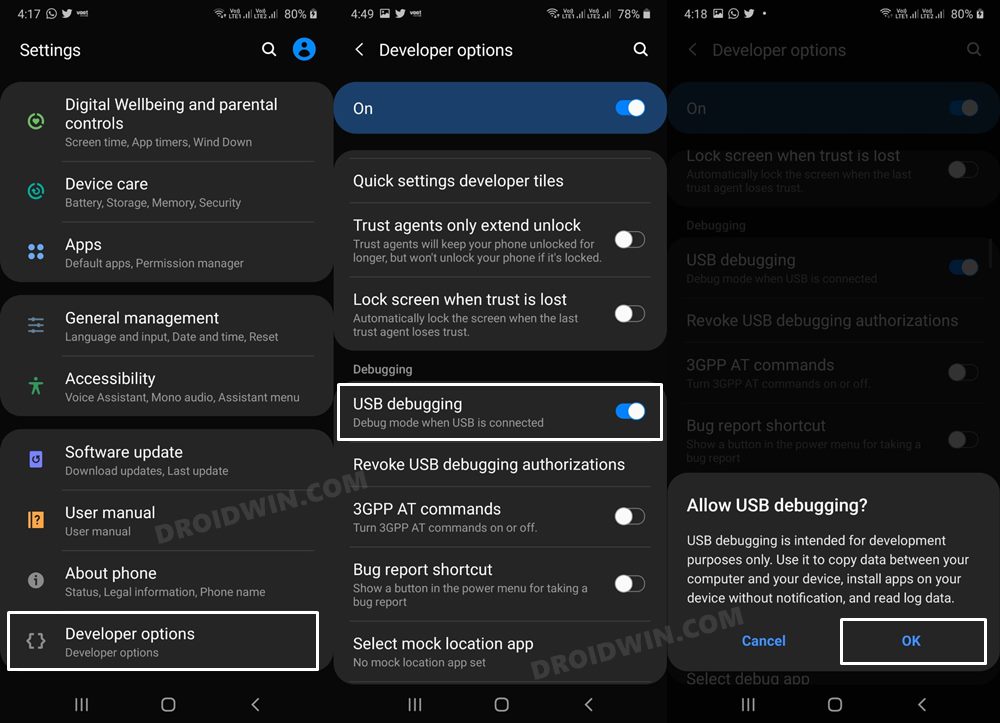
- Now enable USB Debugging on your device and connect it to PC via USB.
- Then head over to platform tools, type in CMD in its address bar, and hit Enter.
- This will launch Command Prompt. Type in the below command in this window:
ls -la /dev/block/by-name
- It will bring up the EFS Partition location, with the output being something like this:
lrwxrwxrwx 1 root root 15 1970-03-04 15:34 efs -> /dev/block/sda6
- Now execute the below command to backup the EFS Partition [replace location accordingly]
dd if=location of=/sdcard/efs.img bs=4096
- In our case, the location is /dev/block/sda6, so the command will transform to:
dd if=/dev/block/sda6 of=/sdcard/efs.img bs=4096
- The backup will now be created in the Internal Storage. Make sure to transfer it to your PC or cloud.
That’s it. These were the steps to take a backup of EFS Partition/IMEI Number on your Samsung device. If you have any queries concerning the aforementioned steps, do let us know in the comments. We will get back to you with a solution at the earliest.


