In this guide, we will show you how to access the Hardware and Devices Troubleshooter option in Control Panel on your Windows 10 PC. With each new major update to the Windows OS, we see quite a lot of changes. While some are under the hood and doesn’t concern the everyday users much, others can be a cause of concern. This article focuses on one such change. Microsoft has baked in quite a few troubleshooter options to find and fix various issues. These include troubleshooting for Update, Network, Audio, Windows Store Apps, etc.
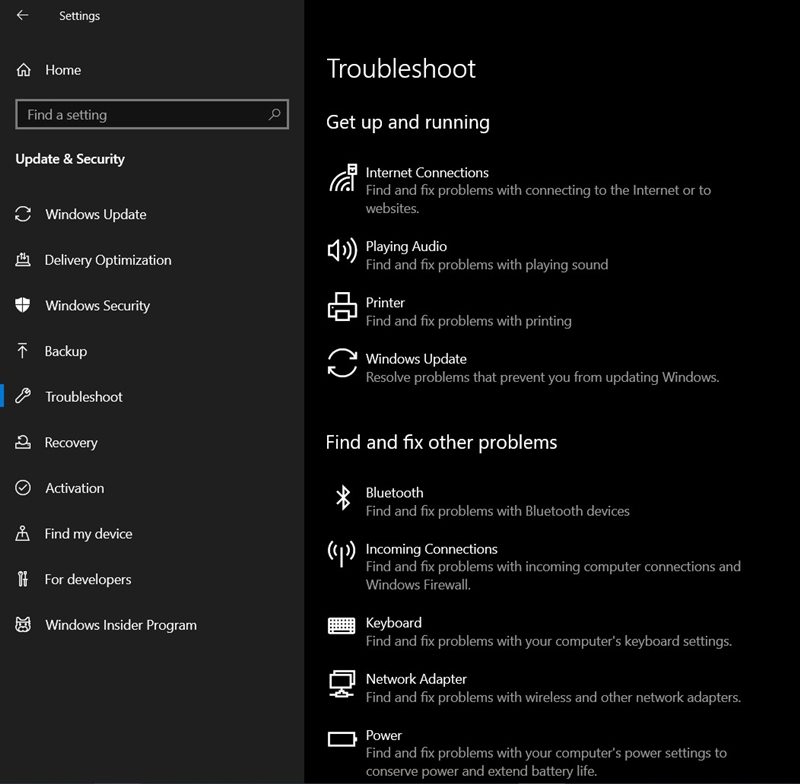
Along the same lines, there was an option to scan and fix various hardware issues. However, after Windows 10 build 1809, Microsoft has (kind of) removed the Hardware and Devices Troubleshooter option from Control Panel on Windows 10. And this is causing a few issues to the end-users. But the good thing is that the feature hasn’t been completely removed, it’s still there, just hidden beyond the reach of normal users. In this tutorial, we will show you how to get back and use the Hardware and Devices Troubleshooter on Windows 10. Follow along for the detailed instruction set.
- Microsoft Windows Latest Tips and Tricks [PART 1]
- How to Root any Android Device without PC
- Fix: pip is not recognized as an internal or external command
- Microsoft Windows Latest Tips and Tricks [PART 2]
How to Enable Hardware and Devices Troubleshooter in Windows 10
Most of the Windows de-facto settings and features have a dedicated EXE file as well. These executable files are stored deep inside the C Drive and only their representable icons are present in the user-interactive format. So judging by this yardstick I did an inspection and to my surprise, the Hardware and Devices Troubleshooter system file was still there. Named as msdt.exe, it is responsible for managing the Hardware and Devices Troubleshooter feature.
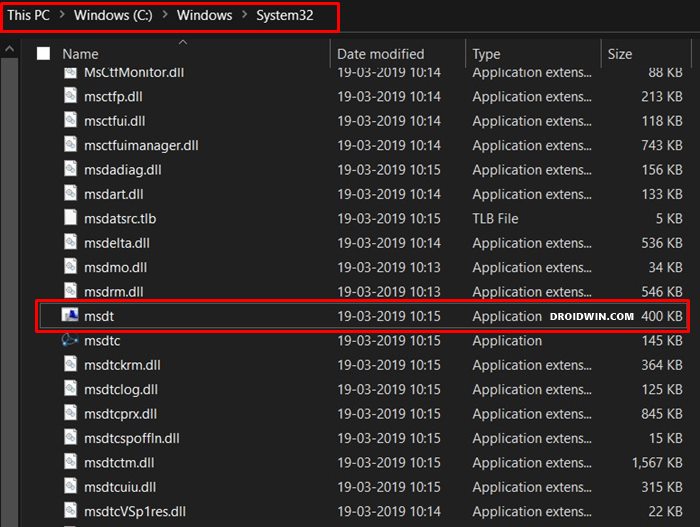
But there’s a caveat, and it’s a big one. So here’s the issue. If you launch File Explorer and head over to C:\Windows\System32, you will find the msdt.exe file. But upon opening it, you will be required to enter the passkey provided by your support professional. And it isn’t really a piece of a cakewalk in getting hold of this key.
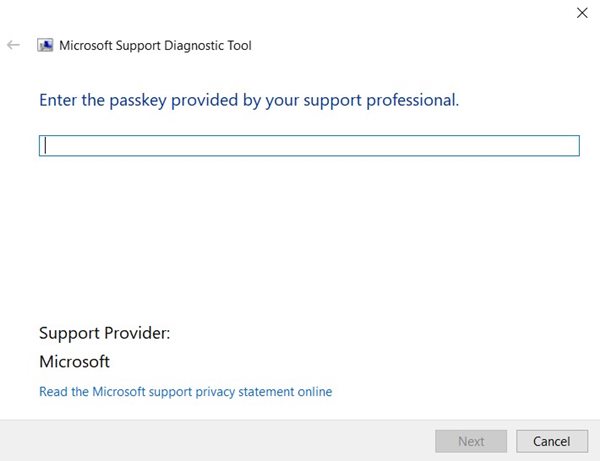
However, there exists a handy workaround through which you could bypass this restriction. Here is everything you need to be aware of regarding the steps to use the Hardware and Devices Troubleshooter on Windows 10.
Use Hardware and Devices Troubleshooter in Windows 10
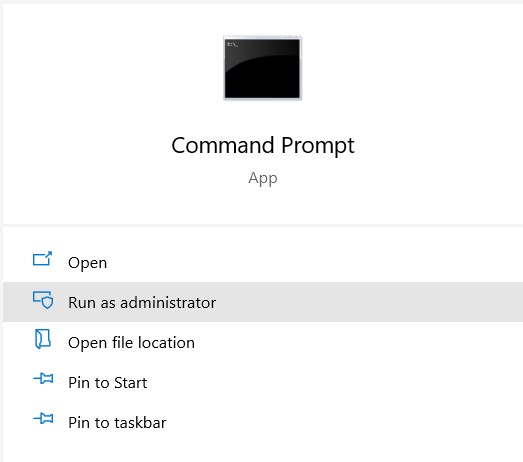
- To begin with, head over to the Start menu and search for CMD.
- Then launch the Command Prompt as an administrator.

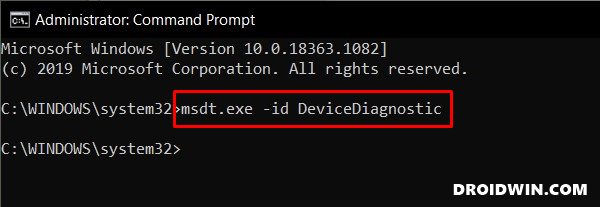
- Type in the below command and hit Enter:
msdt.exe -id DeviceDiagnostic
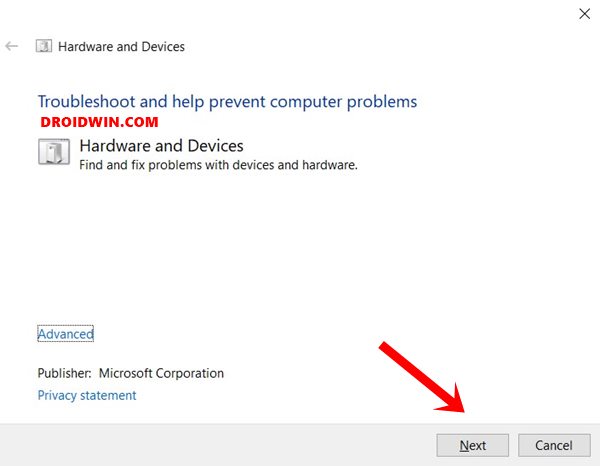
- This will launch the Hardware and Devices Troubleshooter window.
- Click Next to start the process of scanning and finding errors.
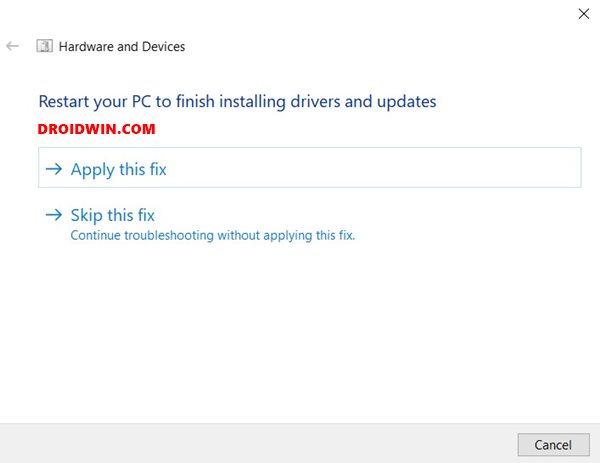
- Once that is done, click on Apply this fix. Your PC will now reboot with the appropriate fixes applied.
That’s it, These were the steps to enable and use the Hardware and Devices Troubleshooter on Windows 10. If you have any queries or are having issues in finding any ‘missing’ Windows 10 features, do let us know in the comments section. We will help you with that as well.


Chris
This didn’t work on my pc. I even used msdt.exe -id DeviceDiagnost powershell and says online troubleshooter isn’t enabled in this version of windows 10.
Sadique Hassan
Hi Chris, the error that you have mentioned shows up only in the Powershell window. In CMD, it should launch the HardWare and Device Troubleshooter without any issue. Just make sure that you are launching CMD as an administrator.
erotik
Only wanna input on few general things, The website design is perfect, the articles is real great : D. Adan Niccolo Latin
Sadique Hassan
Thanks mate for the appreciation!
sikis izle
I like this web site very much so much great information. Agneta Eli Farrand
Sadique Hassan
Glad that you liked it.