In this guide, we will show you the steps to flash/update to the Android 12 firmware onto your OnePlus 9 Pro device via Fastboot Commands. Keeping all the buzz surrounding the ColorOS and OxygenOS aside, there’s no denying the fact that the offering from this Chinese OEM is still among the most active players in the custom development. Be it for flashing custom ROMs, installing a custom recovery, or gaining administrative access, there’s a lot to look forward to.
Talking about Custom ROMs, the ever-so-popular LineageOS has just made its way over to the ninth iteration of OnePlus. Since it is based on Android 12, you will first have to update the device’s vendor firmware to this build. And in this guide, we will show you how to do just that. Given here are the detailed instruction steps to flash/update to the Android 12 firmware onto your OnePlus 9 Pro device via Fastboot Commands. Follow along.
Table of Contents
Flash/Update Android 12 Firmware on OnePlus 9 Pro via Fastboot Commands
The below instructions are listed under separate sections for ease of understanding. Make sure to follow the same sequence as mentioned. Droidwin and its members wouldn’t be held responsible in case of a thermonuclear war, your alarm doesn’t wake you up, or if anything happens to your device and data by performing the below steps.
STEP 1: Install Android SDK

First and foremost, you will have to install the Android SDK Platform Tools on your PC. This is the official ADB and Fastboot binary provided by Google and is the only recommended one. So download it and then extract it to any convenient location on your PC. Doing so will give you the platform-tools folder, which will be used throughout this guide.
STEP 2: Download OnePlus 9 Pro Android 12 Firmware
Next up, you will have to get hold of the stock firmware for your OnePlus 9 Pro device. At the time of writing, the official site of OnePlus hasn’t uploaded the Android 12 firmware. So you will have to opt for other trustworthy sources, such as XDA or the Oxygen Updater app, links for both have been shared below
OnePlus 9 Pro Android 12 Firmware:
XDA Download Link | Oxygen Updater App
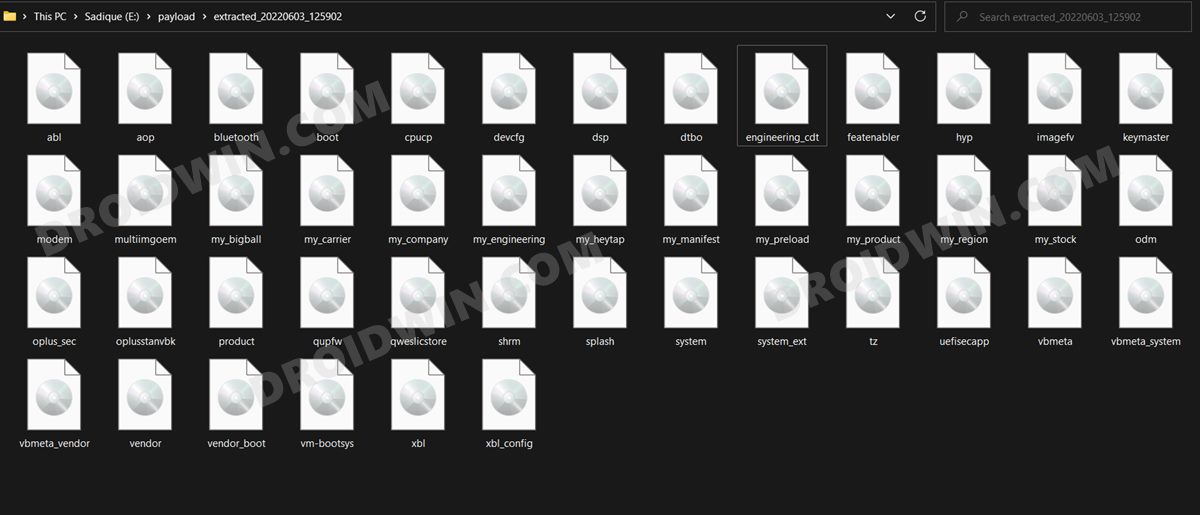
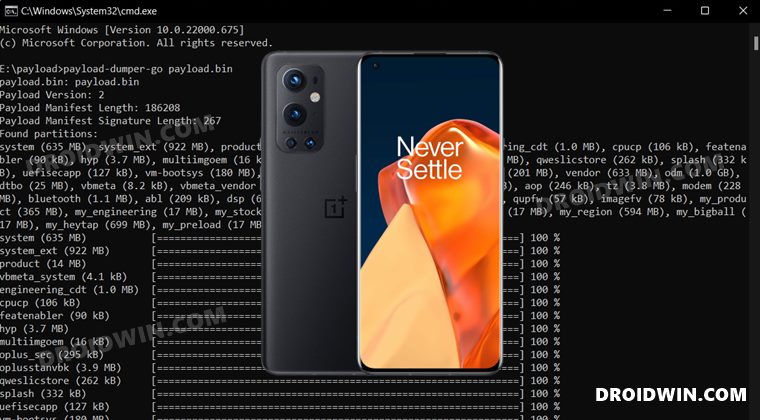
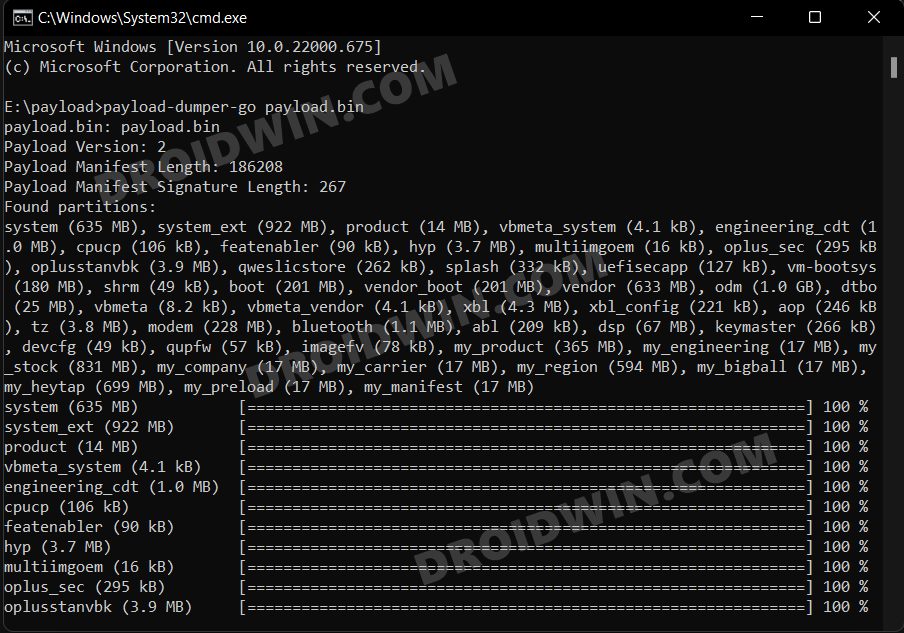
STEP 3: Extract OnePlus 9 Pro Payload.bin
Once you have downloaded the firmware, extract it to any convenient location on your PC. Doing so shall give you a couple of files, including the payload.bin. And we will have to extract this file to get hold of all the partition files. So refer to our guide on How to Extract the OnePlus Payload.bin file. Once extracted, you will get the required partition files, transfer all of them to the platform-tools folder.
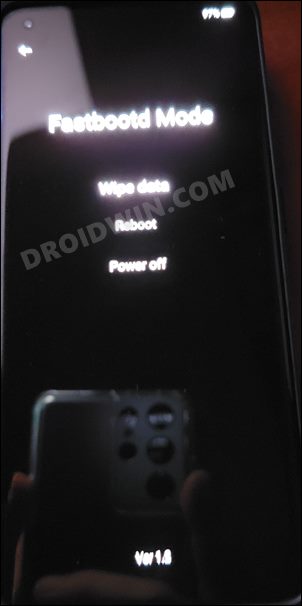
STEP 4: Boot OnePlus 9 Pro to FastbootD Mode
You will now have to boot your device to the FastbootD Mode to flash the partition files. For that, you may check out our comprehensive tutorial on How to Boot to FastbootD Mode [3 Methods] or refer to the below shorter instructions –
- Connect your device to the PC via USB cable. Make sure USB Debugging is enabled.
- Then head over to the platform-tools folder, type in CMD in the address bar, and hit Enter. This will launch the Command Prompt.
- After that, type in the following command in the CMD window to boot your device to Fastboot Mode
adb reboot bootloader
- Finally, execute the below command to boot to FastbootD Mode from Fastboot
fastboot reboot fastboot

STEP 5: Flash/Update Android 12 Firmware on OnePlus 9 Pro via Fastboot Commands
Now just execute the below commands in the CMD window that is opened in the platform-tools folder. Moreover, as soon as you execute the last command, your device will automatically boot to the Android 12 OS.
fastboot flash --slot=all abl abl.img
fastboot flash --slot=all aop aop.img
fastboot flash --slot=all bluetooth bluetooth.img
fastboot flash --slot=all cpucp cpucp.img
fastboot flash --slot=all devcfg devcfg.img
fastboot flash --slot=all dsp dsp.img
fastboot flash --slot=all engineering_cdt engineering_cdt.img
fastboot flash --slot=all featenabler featenabler.img
fastboot flash --slot=all hyp hyp.img
fastboot flash --slot=all imagefv imagefv.img
fastboot flash --slot=all keymaster keymaster.img
fastboot flash --slot=all modem modem.img
fastboot flash --slot=all multiimgoem multiimgoem.img
fastboot flash --slot=all oplus_sec oplus_sec.img
fastboot flash --slot=all oplusstanvbk oplusstanvbk.img
fastboot flash --slot=all qupfw qupfw.img
fastboot flash --slot=all qweslicstore qweslicstore.img
fastboot flash --slot=all shrm shrm.img
fastboot flash --slot=all splash splash.img
fastboot flash --slot=all tz tz.img
fastboot flash --slot=all uefisecapp uefisecapp.img
fastboot flash --slot=all vm-bootsys vm-bootsys.img
fastboot flash --slot=all xbl_config xbl_config.img
fastboot flash --slot=all xbl xbl.img
fastboot reboot
That’s it. These were the steps to flash the Android 12 firmware onto your OnePlus 9 Pro device via Fastboot Commands. If you have any queries concerning the aforementioned steps, do let us know in the comments. We will get back to you with a solution at the earliest.


Greg
I’m getting error operation not permitted when flashing modem.img. Any idea how to fix this?
Артём
how to boot from different slot ?
hapo
can i use the same for oneplus 9 device also?