In this guide, we will show you various methods to fix the WHEA Uncorrectable Error on your Windows 11 PC. Windows OS has a long list of Blue Screen of Death errors and WHEA is one of them. This BSOD error stems mostly stems out due to a hardware issue and accompanies the Stop Code 0x0000124 in some instances as well. As far as the plausible reasons behind this issue, it could be due to issues with hard drive/SSD, RAM, driver issues, buggy Windows update, or CPU overclocking.
When this error message comes up, Windows will take a minute or two to compile the diagnostic data and would then boot your PC to the OS. However, you might face this BSOD error again sometime in the near future. While these diagnostic data are saved in C:/Windows/Minidump, however, it isn’t of much help for non-tech savvy users. With that said, there do exist a few handy methods and easy-to-execute methods that would help you fix the WHEA Uncorrectable Error on your Windows 11 PC. So without any further ado, let’s check them out.
Table of Contents
How to Fix WHEA Uncorrectable Error in Windows 11
Do note that there’s no universal fix as such. You will have to try out each of the below-mentioned workarounds and see which one works best in your favor. So with that in mind, let’s get started. Droidwin and its members wouldn’t be held responsible in case of a thermonuclear war, your alarm doesn’t wake you up, or if anything happens to your device and data by performing the below steps.
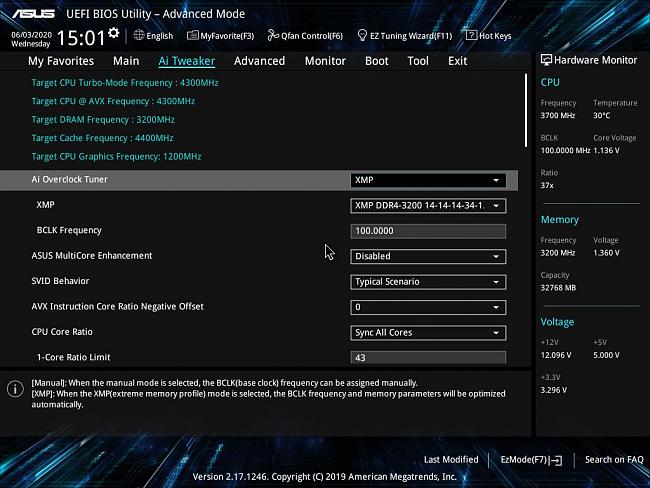
FIX 1: Disable Overclock in BIOS
Many users prefer overclocking the CPU to gain an extra bit of mileage while running graphics-intensive tasks. However, it could also result in a few issues, including the one that we are currently dealing with. Therefore, it is recommended to disable overclocking from the BIOS and then test out the results. Here’s how it could be done:
- To begin with, power off your PC. Then turn it back on.
- As soon as it is booting up, continuously press the Esc key. This shall bring up the startup menu.
- Press the key that corresponds to BIOS and your PC shall boot to the BIOS screen.
- After that, go to the Performance section and disable Overclocking.
- Now boot to the OS and check if it fixes the WHEA Uncorrectable Error on your Windows 11 PC.
FIX 2: Disable Turbo Boost from BIOS
Similar to overclocking, Intel’s Turbo Boost is used to automatically run the processor core faster than the marked frequency. However, exerting any additional force on your CPU might result in hardware issues, which in turn could give out the Stop Code 0x0000124. Therefore, it is recommended to turn off this functionality from the BIOS and then check out the results.

- To begin with, power off your PC. Then turn it back on.
- As soon as it is booting up, continuously press the Esc key. This shall bring up the startup menu.
- Press the key that corresponds to BIOS and your PC shall boot to the BIOS screen.
- After that, go to the CPU/Processor Configuration section and disable Intel Turbo Boost Technology.
- Then save the changes and check if it fixes the WHEA Uncorrectable Error on your Windows 11 PC.
FIX 3: Using CheckDisk
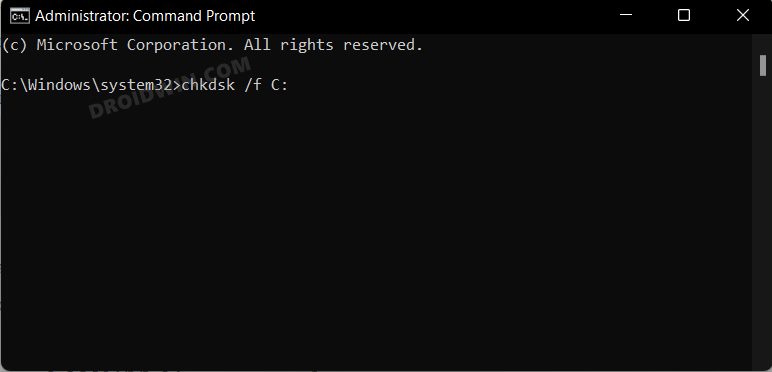
Chkdsk, commonly known as CheckDisk, is a command-line utility tool that scans for disk-related and bad sector issues and rectifies them accordingly. So let’s run this tool on the C Drive and check out the results. Moreover, for the chkdsk command, there exist two different parameters- R for Repair and F for Fix. As of now, we will be going ahead with the latest one.
- So launch CMD as an administrator and execute the below command:
chkdsk /f C:

- Now, wait for the scan to complete and let it implement the required fix as well.
- Once done, restart your PC and then check if it fixes the WHEA Uncorrectable Error on your Windows 11 PC.
FIX 4: Use SFC and DISM Commands
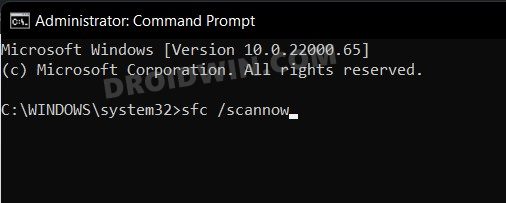
System File Checker and Deployment Image Servicing and Management are two command-line utility tools that scan for the corrupt Windows files and then replace them with their working counterpart. The major difference between the two is whereas the SFC replaces the corrupt files with the working ones from the cached directory on your PC, DISM does so by downloading the working files from the online Microsoft servers. And as of now, we would be making use of both these tools to fix the underlying issue. Follow along.
- To begin with, head over to the Start Menu, search Command Prompt, and launch it as an administrator.
- Then copy-paste the below command to open the SFC Tool:
sfc /scannow
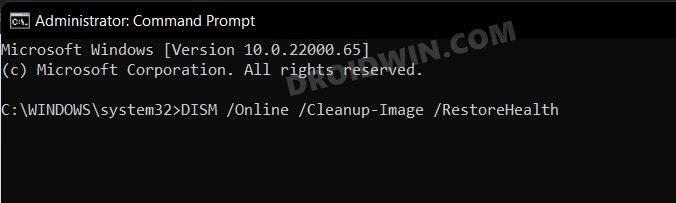
- Once the SFC Scanning is complete, it’s time to use the DISM Tool. So copy-paste the below command:
DISM /Online /Cleanup-Image /RestoreHealth
- Once DISM finishes the scanning, it is recommended to reboot your PC.
- Once it boots up, check if the WHEA Uncorrectable Error has been fixed or not on your Windows 11 PC.
FIX 5: Update Hardware Drivers
Using old or outdated drivers pertaining to a hardware device could also prove to be one of the reasons behind this issue. So it is recommended to update those drivers to the latest build right away, using the instructions given below:
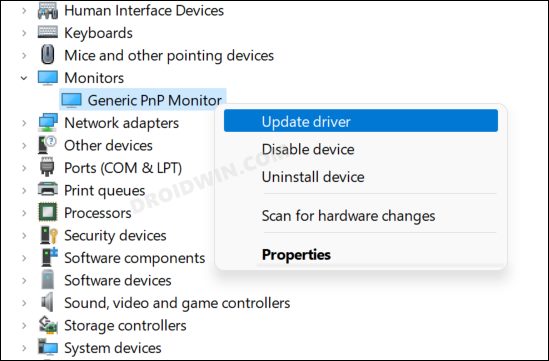
- Use Windows+X shortcut keys and select Device Manager from the menu.
- You will now see many hardware devices, expand one of them.
- Then right-click on it and select Update Drivers.
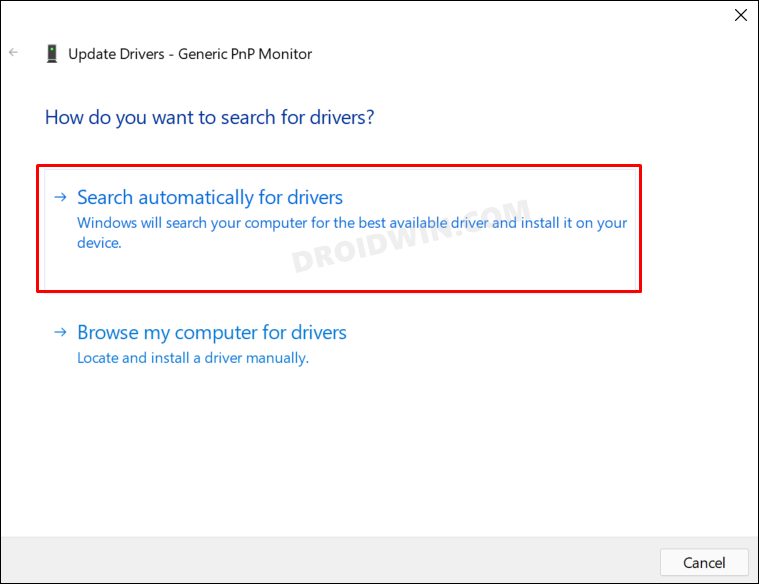
- After that, select Search Automatically for Updated Drivers.
- Windows will now search for the latest drivers and would subsequently download and install them.
- Once down, do so for all the other hardware devices and then finally restart your PC.
- Now check if it fixes the WHEA Uncorrectable Error on your Windows 11 PC.
FIX 6: Run Windows Memory Diagnostic
Windows Memory Diagnostics is a built-in tool that diagnoses and scans for memory-related errors and then rectifies them accordingly. So if the BSOD error is due to RAM management, then this tool should fix on the first try. Here’s what needs to be done from your end to access this tool:
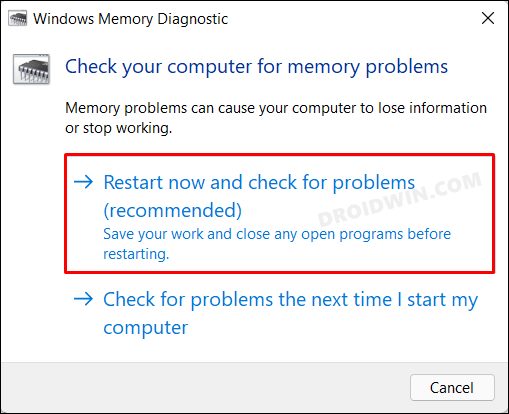
- Head over to the Start Menu, search Windows Memory Diagnostic and open it.
- After that, click on ‘Restart Now and check for problems’.
- Your PC will now undergo a reboot and the tool will scan for underlying issues.
- If found, it shall rectify the same and your PC will subsequently boot to the OS.
- Check if it fixes the WHEA Uncorrectable Error on your Windows 11 PC.
FIX 7: Disable Audio Devices
Some users reported that the issue was related to audio devices and upon disabling those hardware devices, the bug was rectified. So let’s implement this fix and check out the results.
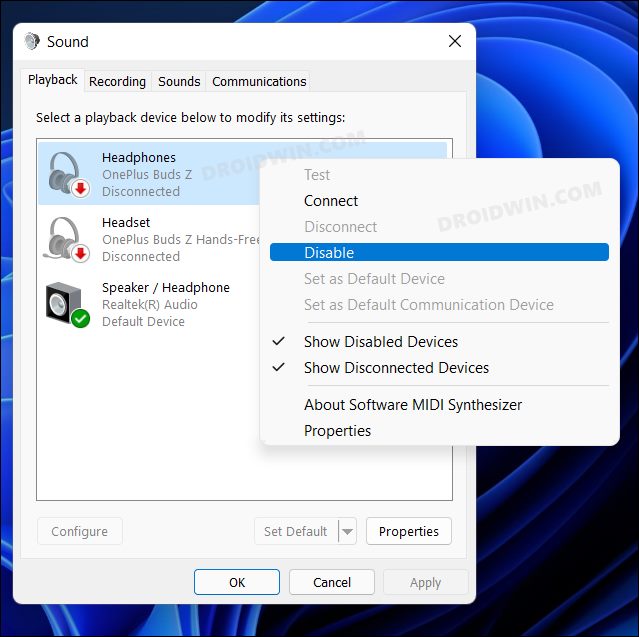
- Head over to the Start Menu, search Change system sounds, and open it.
- Then go to the Playback tab and right-click on one of the non-default speakers and select Disable.
- Likewise, do the same for all the other non-default speakers.
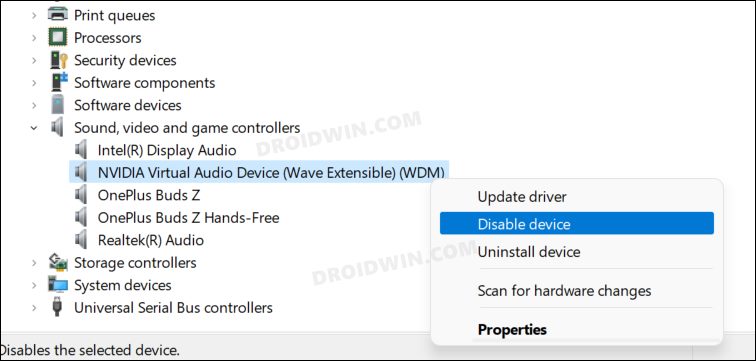
- Once done, go to Device Manager and expand the ‘Sound, videos, and game controller’ section.
- Then right-click on the non-default speaker and disable it. Do so for all the remaining non-default ones too.
- Now that you have only the default speaker enabled, verify if the WHEA Uncorrectable Error in Windows 11 has been fixed or not.
FIX 8: Install Pending Updates
No matter to which Windows channel you belong (Insider, Developer, stable), your PC might be getting blessed with updates at regular intervals. While they may not add new features every time, they sure do bring in performance improvements, enhance the security, and iron out the underlying bugs. Therefore, if there are any updates lined up, you should download and install them onto your PC right away. [Adding more feathers to its caps, this fix has also been recommended by Microsoft].
- Launch the Settings menu via Windows+I shortcut keys.
- Then select Windows Update from the left menu bar.
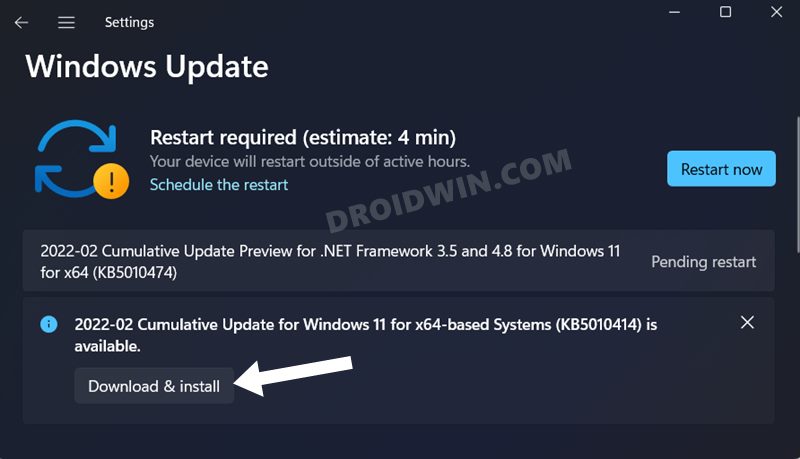
- If there are any pending updates available, then download and install them.
- Once done, restart your PC and then check if it managed to fix the WHEA Uncorrectable Error in Windows 11.
FIX 9: Uninstall Latest Updates
There have been a few instances wherein the Redmond giants have rolled out a buggy update which in turn ended up causing a conflict or two with the system. Likewise, that update also prevented apps and software from carrying out their normal functionalities. When that happens, the safest bet is to uninstall the latest installed update after which the BSOD error first started to happen.
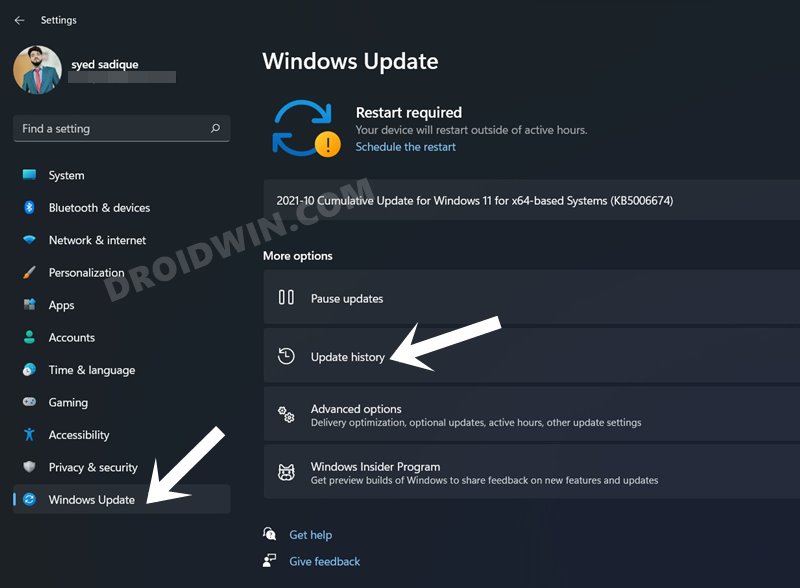
- To begin with, use the Windows+I shortcut keys to open the Settings menu.
- Then select Windows Update from the left menu bar and go to the Update History section.
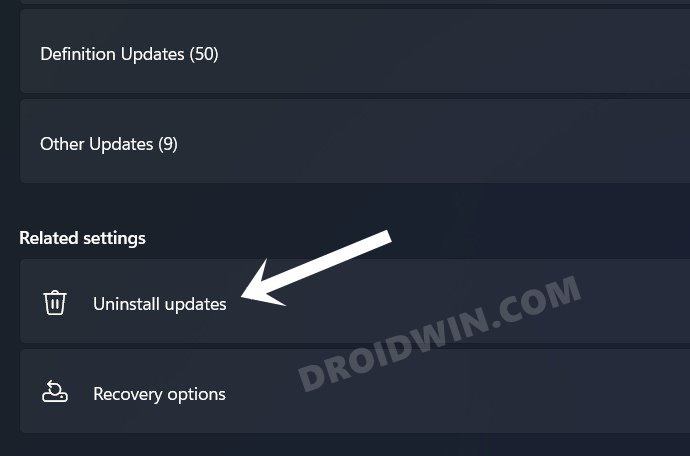
- Now scroll to the end of the page and go to Uninstall Updates.
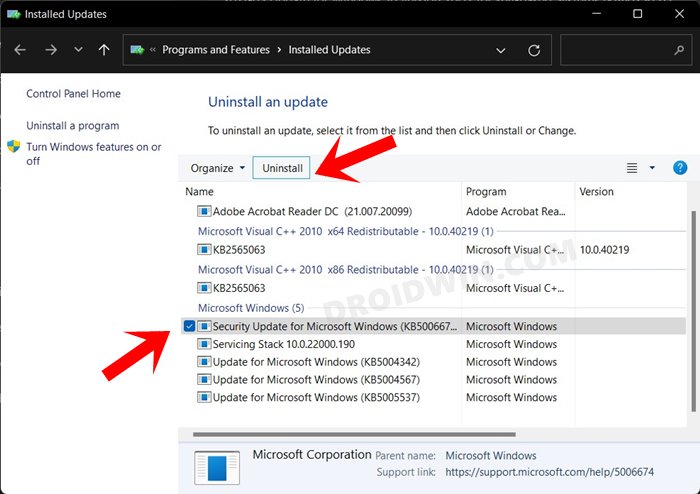
- Next up, select the update that you wish to remove and then click Uninstall from the top menu bar.
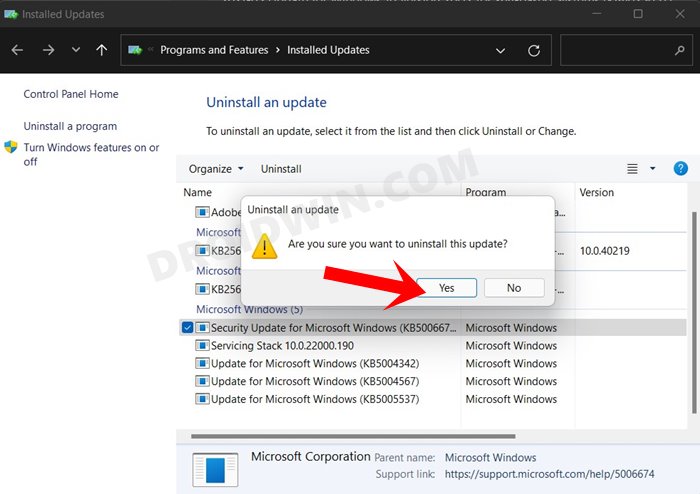
- Finally, click YES in the confirmation dialog box.
- The Windows 11 update will now be uninstalled from your PC. Check if it fixes the WHEA Uncorrectable Error in Windows 11.
FIX 10: Use System Restore
If you have created a system restore point before the BSOD error had occurred, then the best bet is to restore it right away. There is every chance that doing so might resolve the underlying issue.
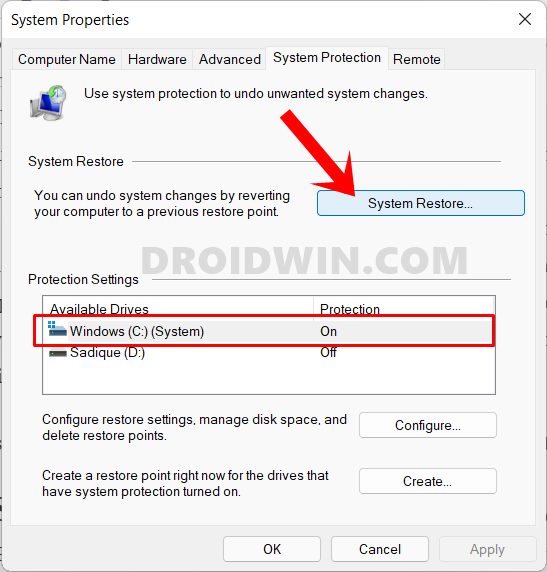
- Head over to the Start menu, search Create a restore point and open it.
- Then click on the System Restore button.
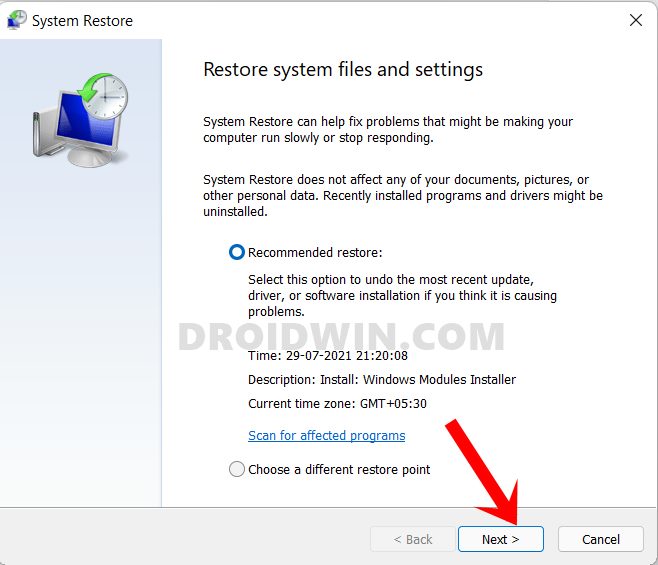
- Windows will now bring up the backup under the Recommended Restore section. This is the backup that it finds most suitable according to your PC’s current condition.
- If you are satisfied with it, enable the Recommended Restore option and hit Next.
- However, if you wish to select any other custom backup, then select Chose a Different Restore point and click Next.
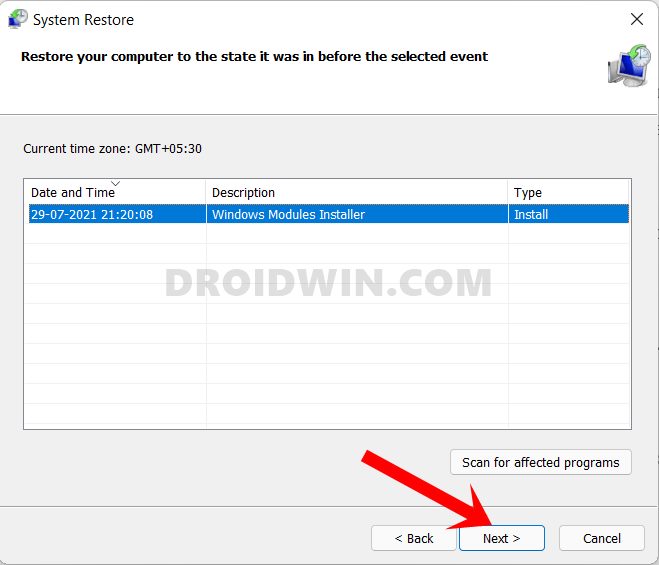
- Now select the desired custom restore point and hit Next.
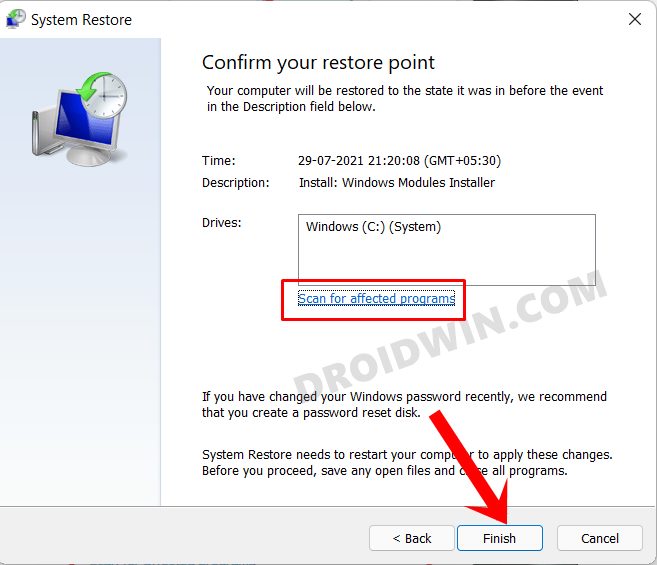
- Windows will now bring up the finalized screen showing all your selections. You may click on the Scan for Affected program option and get a list of all the programs that would be uninstalled/re-installed after this restore.
- If everything is as per your requirement, hit the Finish button and wait for the restore to complete. Once done, your PC will automatically boot to that system restore.
That’s it. These were the various different methods to fix the WHEA Uncorrectable Error in Windows 11. We have shared ten different workarounds for the same. Do let us know in the comments section which one spelled out success for you. Likewise, all your queries are welcomed in the comments below


rhuephus
This is assuming Windows is installed. I have an LG Gram 14T990 that is displaying the Windows WHEA error message — but WINDOWS is NOT INSTALLED. What other situations can there be that would generate a Windows error message when Windows is NO INSTALLED.