In this guide, we will show you the steps to fix the “Verified boot is enabled” error in SP Flash Tool. The devices with an underlying MediaTek chipset are slowly but surely catching up in the custom development. Be it for flashing custom ROMs or firmware, gaining administrative access by rooting the device via Magisk, or flashing Magisk Modules, there’s a lot to look forward to.
However, as opposed to Qualcomm, unbricking a MediaTek device requires more manual efforts and is a tad bit complicated. Fortunately, in most cases, the SP Flash Tool is more than enough to rectify the underlying issue. However, things turn for the worse once this tool stops functioning along the expected lines or ends up throwing an error.
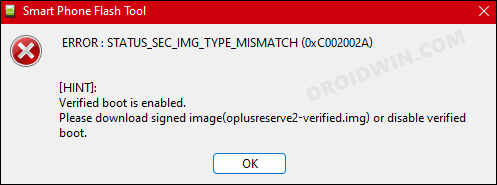
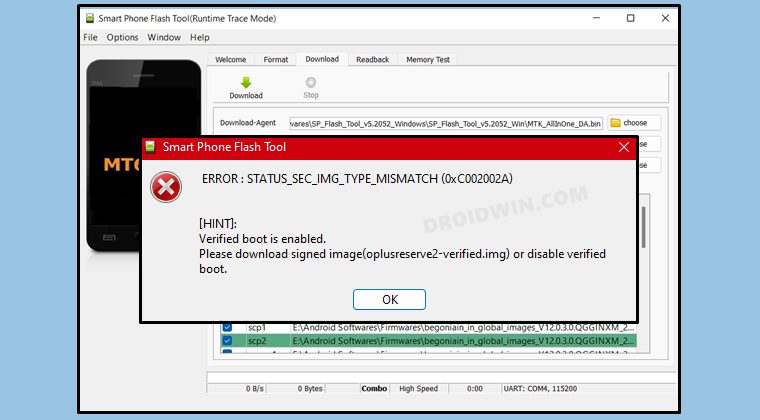
One such scenario is when the SP Flash Tool gives out the “Verified boot is enabled” error. Along with that, the error message reads out “Verified boot is enabled. Please, download signed image (*-verified.img) or disable verified boot.” [here* is the name of the corrupt partition]. If you are also currently getting bugged with this error, then this guide will make you aware of a nifty workaround to resolve this issue. Follow along.
Fix “Verified boot is enabled” Error in SP Flash Tool
The below process will wipe off all the data from your device. So, if possible, please take a data backup beforehand. Droidwin and its members wouldn’t be held responsible in case of a thermonuclear war, your alarm doesn’t wake you up, or if anything happens to your device and data by performing the below steps.
- To begin with, download and install a Hex Editor of your choice.

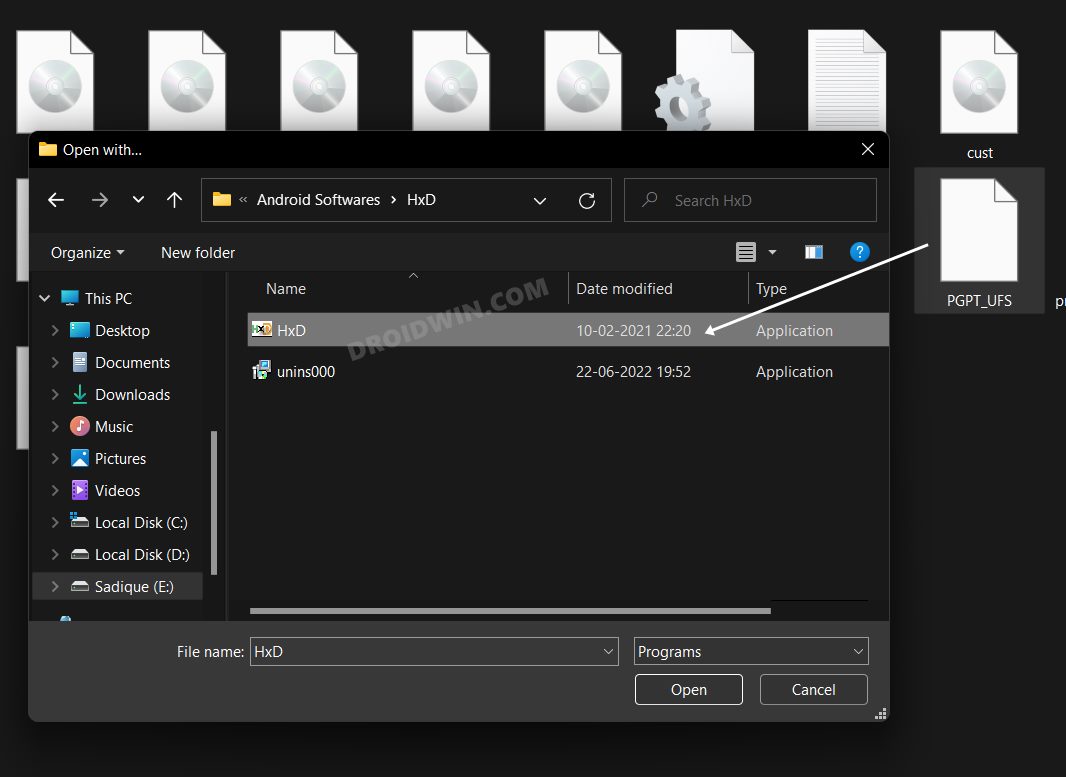
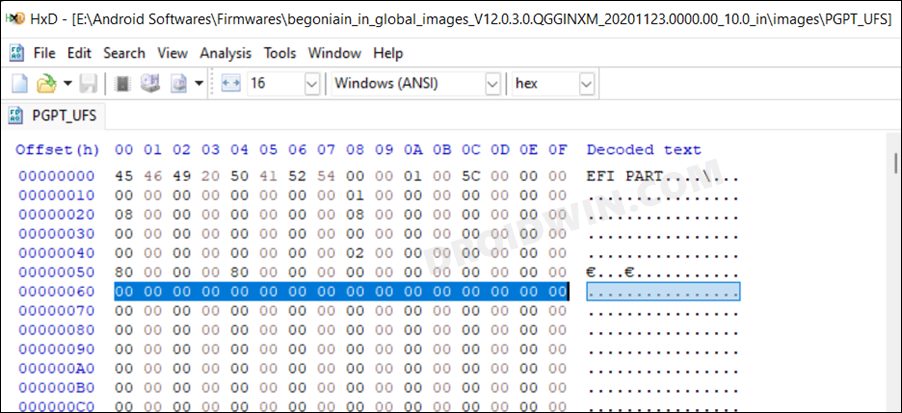
- Then go to your firmware folder and open the PGPT file via the Hex Editor.
- Scroll down a little bit and select the first row that has all the zeroes in it.
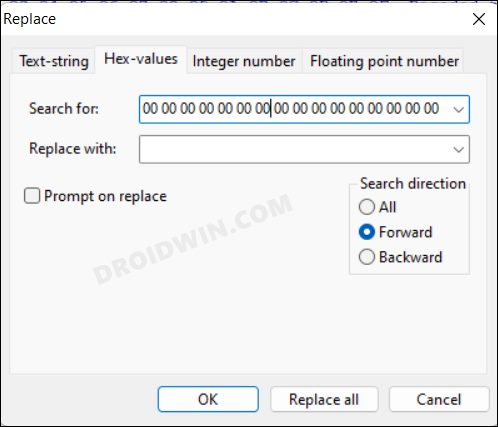
- After that, go to Search > Replace and switch to the Hex-values tab.
- Now type in 00 00 00 00 00 00 00 00 00 00 00 00 00 00 00 00 in “Search for” field.
- Leave the “Replace with” field blank, set Search direction to Forward, and click Replace all.
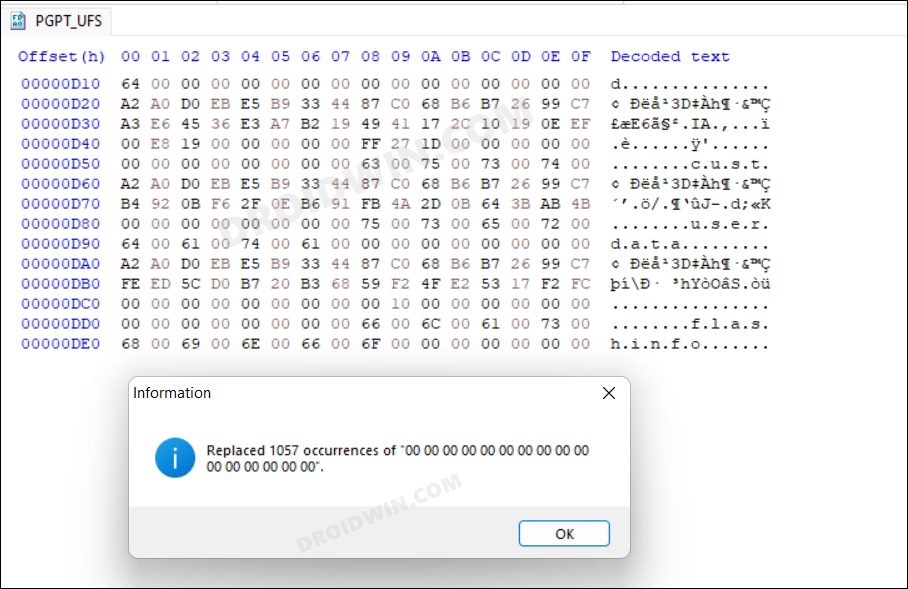
- Editor will now remove all the 00 00 00 00 00 00 00 00 00 00 00 00 00 00 00 00 rows from the file.
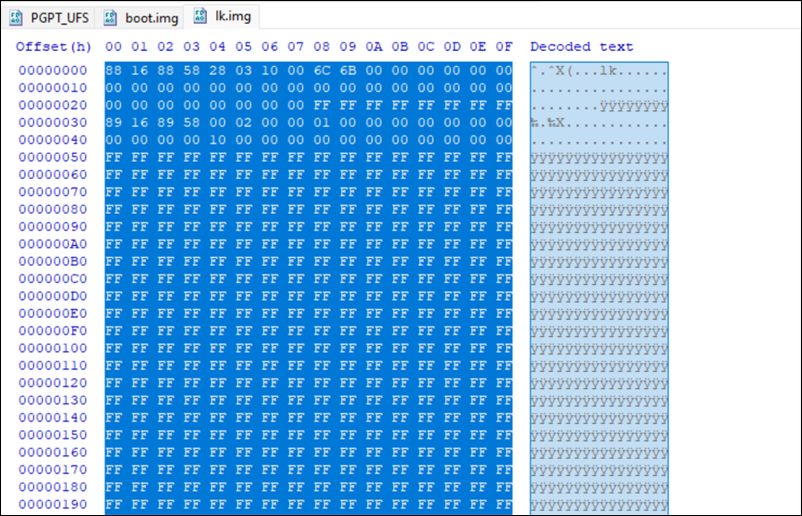
- Once done, the file should look something as shown below. Hit Ctrl+S to save the changes.
- After that, go to the firmware folder and open the Android Scatter text file via Notepad.
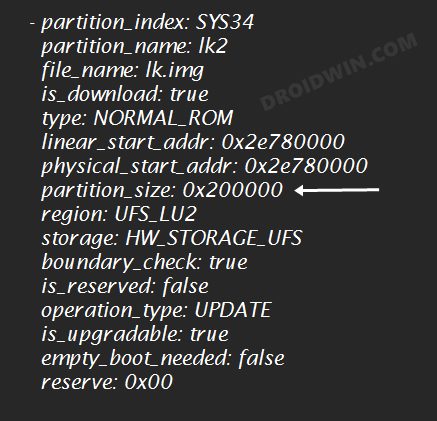
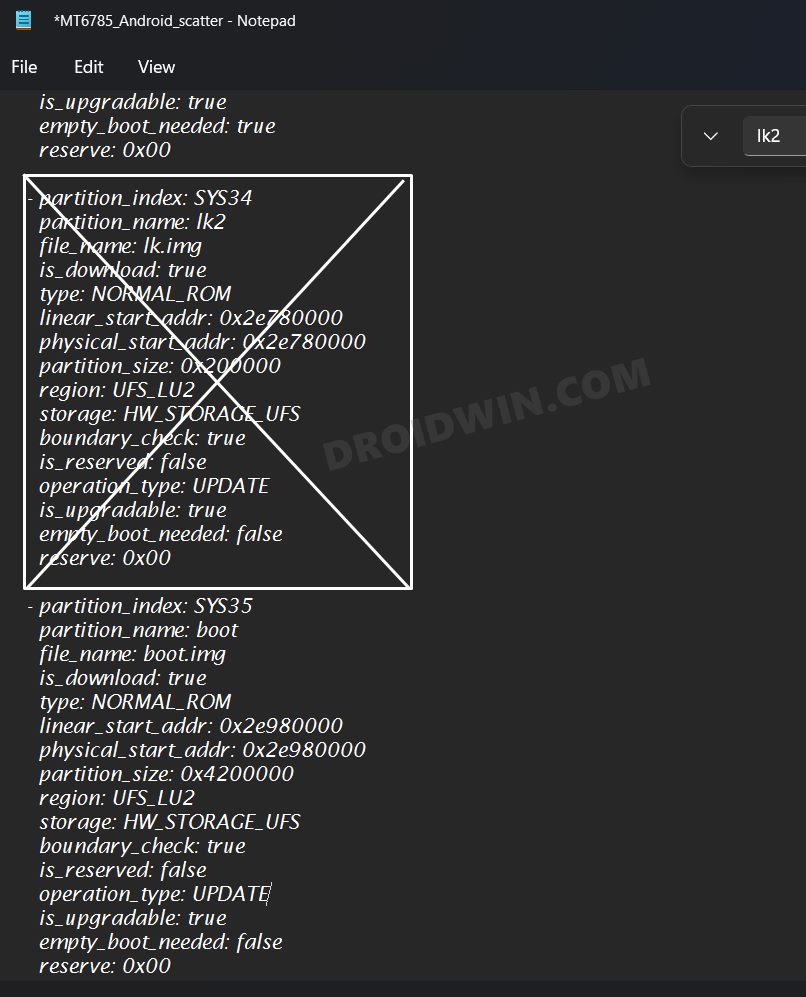
- Now scroll to that partition that was listed in the error message. As an example, let’s take the lk2 partition.
- So refer to its partition size and note down the value after the X. In our case, the partition_size: 0x200000, so the value will be: 200000
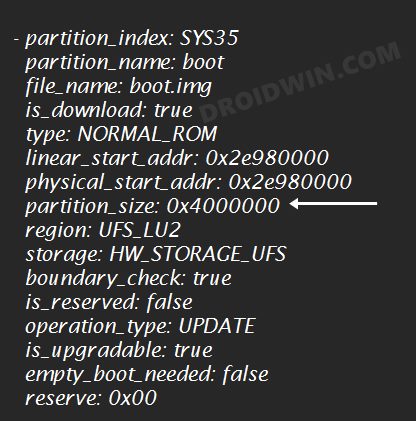
- Next up, pick up a partition that was correctly flashed onto your device, say the boot partition.
- Similarly, note down its partition size as well. In our case, the partition_size: 0x4000000 so the value will be: 4000000
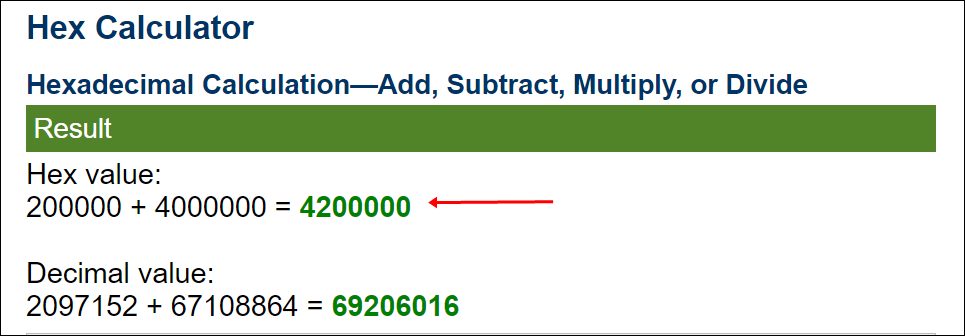
- Now go to an online Hex Calculator website and take a sum of both these partition sizes. In our case, it is 200000+4000000= 4200000.
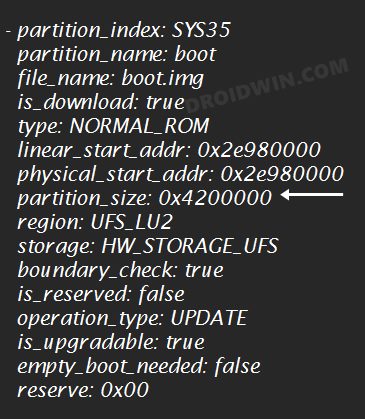
- So change the value of the partition_size of boot partition [the working partition] to 4200000 [add it after 0x].
- After that, remove the entire lk partition section [the partition with the error] from the scatter file. Then save the changes.
- Once done, open the boot and lk files via Hex Editor [they will open in separate tabs]. Go to the lk file and copy all its contents.
- Then paste that content at the end of the boot file and then save the changes.
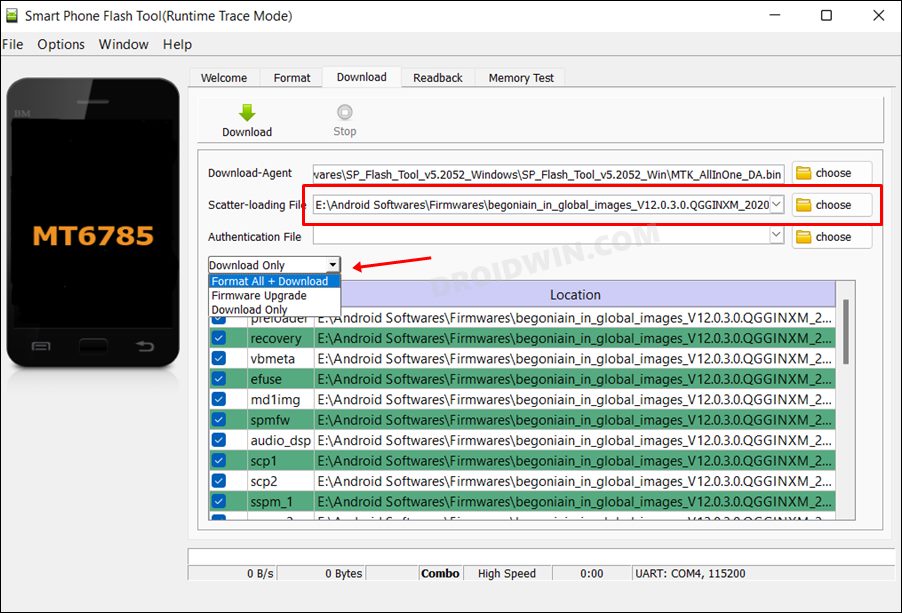
- Now launch SP Flash Tool and load the modified Android Scatter text file under the Scatter-loading file section.
- After that, change the mode to Format All + Download and then hit Download to start the flashing process.
- Once flashing is complete, open the Android Scatter text file and change is_download: false to is_download: true for PGPT.
- Likewise, change the file_name from NONE to the name of that file. In our case, it is PGPT_UFS. Once done, save the file.
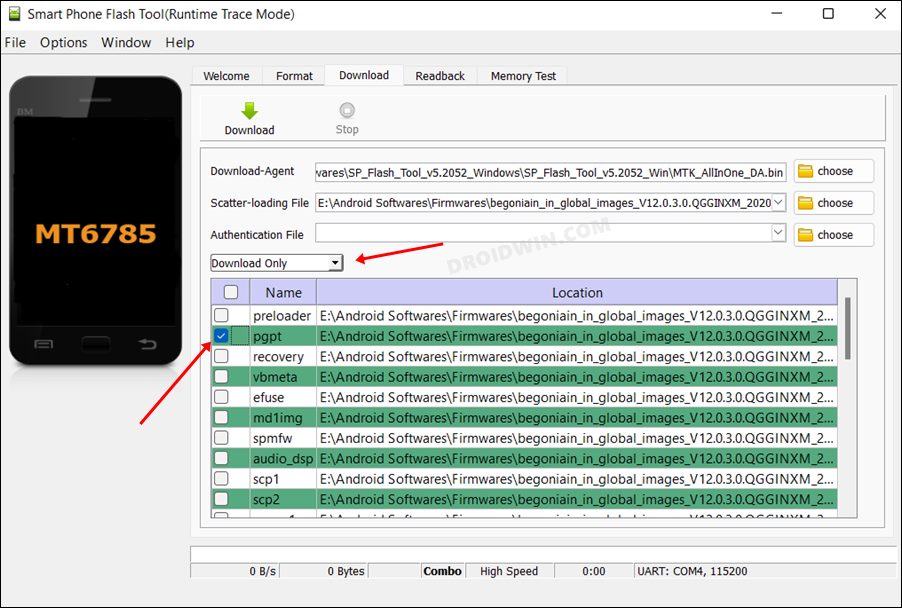
- Then load the Android Scatter text file again. This time you only need to flash the PGPT, so uncheck all the partitions.
- Moreover, change the mode to Download Only and then hit the Download button to start the flashing process.
- Once done, you could now boot your device to the OS and this time there will be no error message.


That’s it. These were the steps to fix the “Verified boot is enabled” error in SP Flash Tool. If you have any queries concerning the aforementioned steps, do let us know in the comments. We will get back to you with a solution at the earliest.


Ariel Malamud
Hi Sadique, I performed the exact steps above for the lk_a partition (appended to the boot.img). However, I get a boundary error when loading the modified scatter file since the boot start address did not change when I increased the partition size (to include lk_a). Wouldn’t I need to update the start address of boot_a and set it to 0x2e780000 for the example above?
(I am reflashing my MTK6568 Duoqin phone)
Thank you!
Ariel