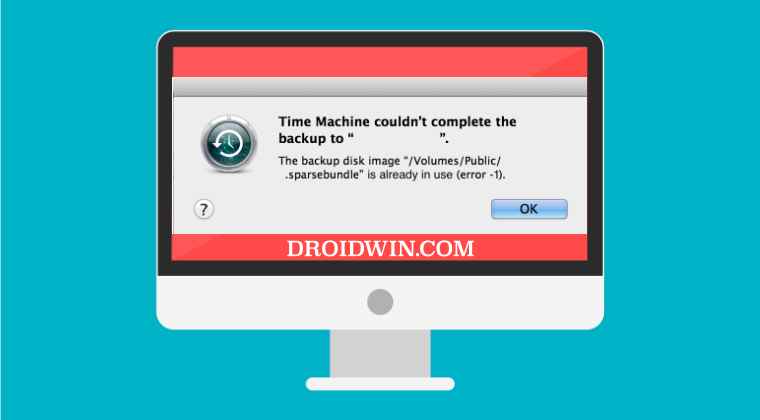
In this guide, we will show you various methods to fix the following error: “Time Machine couldn’t complete the backup to ABC.local: The backup disk image “XYZ.sparsebundle” is already in use”. At the time of writing, users across both macOS Big Sur as well as Monterey are currently getting this error on their Mac.
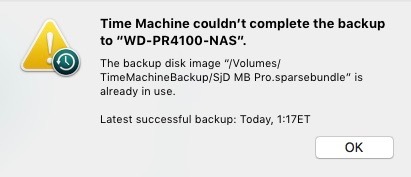
As far as the plausible reasons behind this issue are concerned, it might be attributed to NAS, SMB, or limited access to Time Machine. Along the same lines, issues with the sparsebundle file itself could also bring up the aforementioned error. So in this guide, we will be addressing all these concerns which in turn should help you fix the “Time Machine couldn‘t complete backup, Disk image already in use” error. Follow along.
Table of Contents
Fix Time Machine couldn‘t complete backup: Disk image already in use
It is recommended that you try out each of the below-mentioned workarounds and then see which one spells out success for you. So with that in mind, let’s get started.
FIX 1: Kill SMB Process
One of the biggest reasons why you are getting this error is the fact that even after Time Machine has completed the backup, the SMB process continues to run on the NAS and uses the sparsebundle file. So when Time Machine tries to start a new backup session, it is unable to do so because the sparsebundle file from the previous session is still being used by that SMB process.
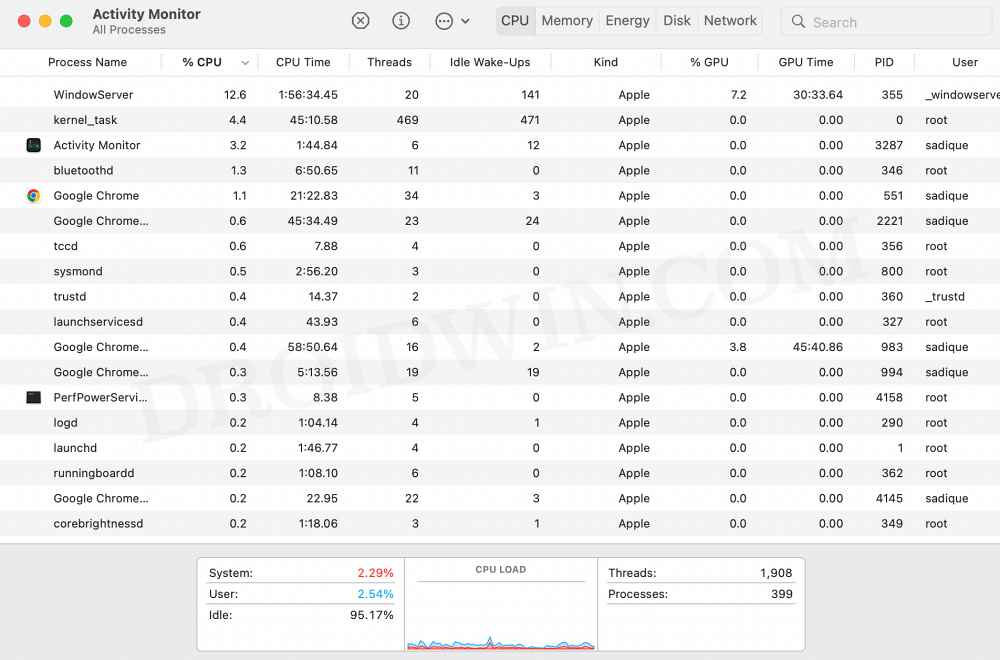
So you will have to kill this process in order to let the Time machine use this sparsebundle for the new session. Do so and then check if it fixes the “Time Machine couldn’t complete the backup to ABC.local: The backup disk image “XYZ.sparsebundle” is already in use” error.
FIX 2: Restart NAS
This is the easiest of all the fixes and requires just a restart of your network-attached storage. Likewise, you could also disconnect the NAS from the router for a few seconds and then connect it back again. This should also fix the error “Time Machine couldn’t complete the backup to ABC.local: The backup disk image “XYZ.sparsebundle” is already in use”. However, the relief will be temporary as the bug might re-appear within a few hours. So it’s just a quick short-term workaround.
FIX 3: Use SMB 2/3
It is recommended that you only use the Server Message Block protocols 2.0 and 3.0. If you are still using the default 1.0, then here’s how to make a switch to 2/3.
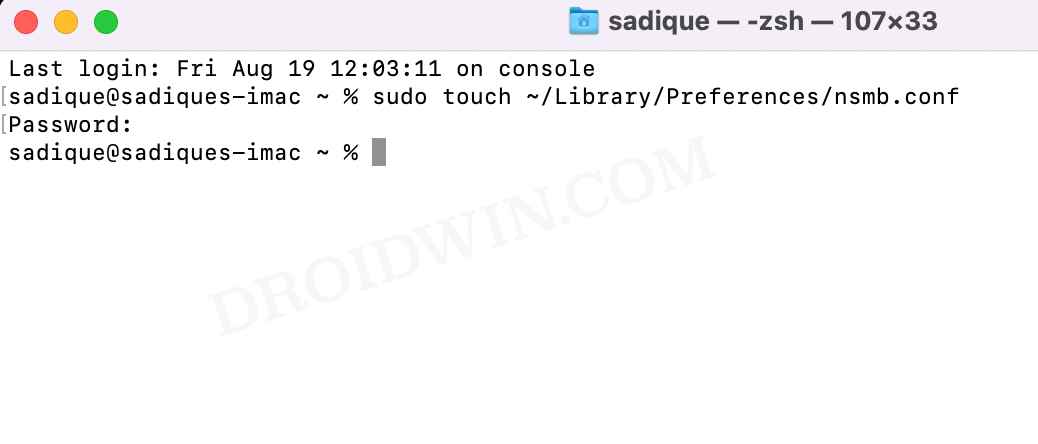
- Launch Terminal and execute either of the two commands, depending on the location where you need to create the nsmb.conf file.
sudo touch ~/Library/Preferences/nsmb.conf
sudo touch /etc/nsmb.conf

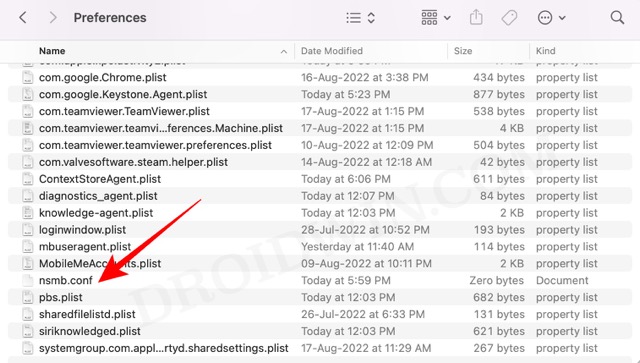
- Once done, open Finder and click on Command+Shift+. shortcut keys to view hidden folders.
- Then head over to the desired location, depending on the command you executed earlier:
- Now open the nsmb.conf file, add the following lines, and save the file.
[default]
protocol_vers_map=6
- Finally, restart your Mac. Now check if it fixes the “Time Machine couldn‘t complete backup, Disk image already in use” error.

FIX 4: Add Time Machine to Full Disk Access
- Click on the Apple logo situated at the top left and select System Preferences.
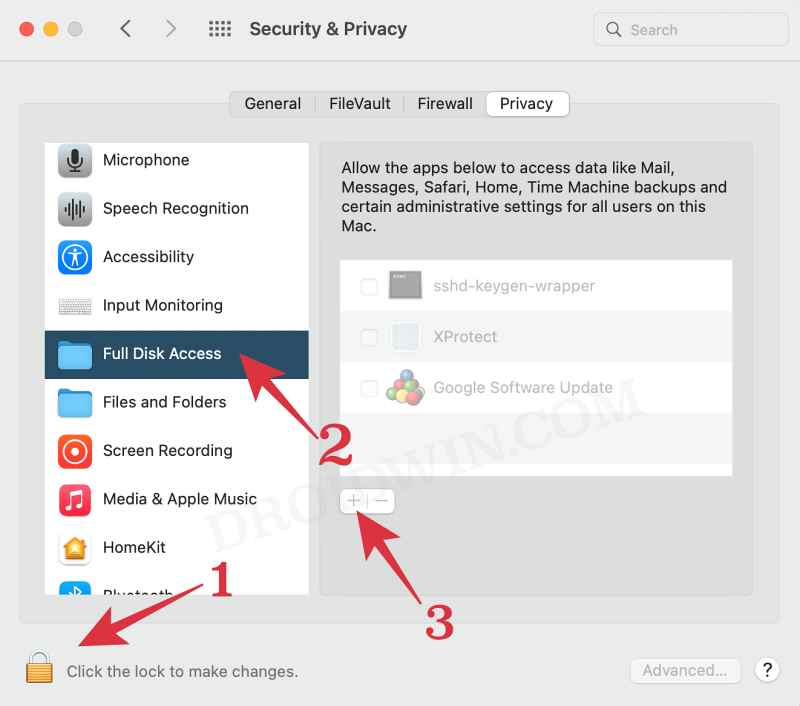
- Then go to Security & Privacy and head over to the Privacy tab.
- After that, click on the lock icon situated at the bottom left to make changes.
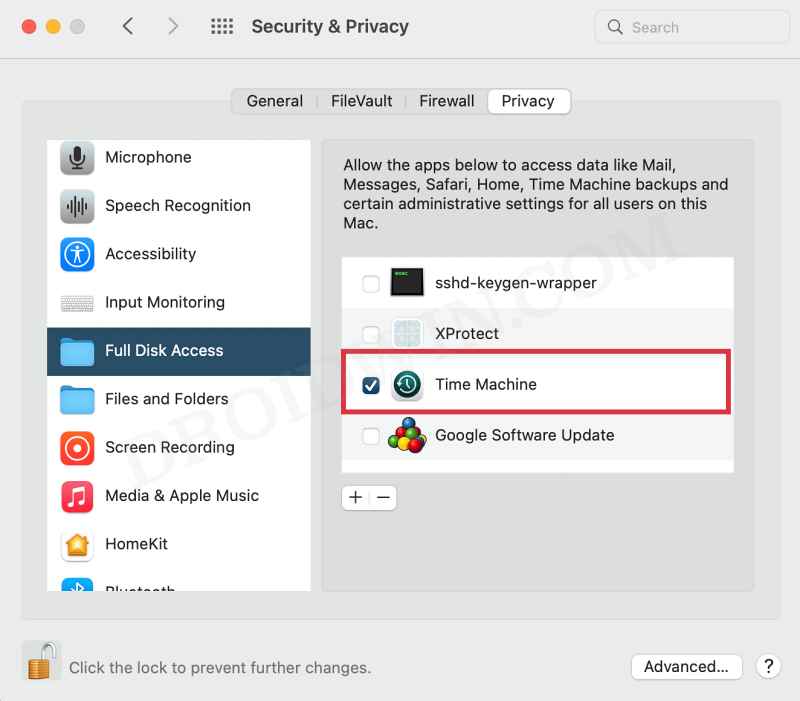
- Now authenticate using your password and then select Full Disk Access from the left menu bar.
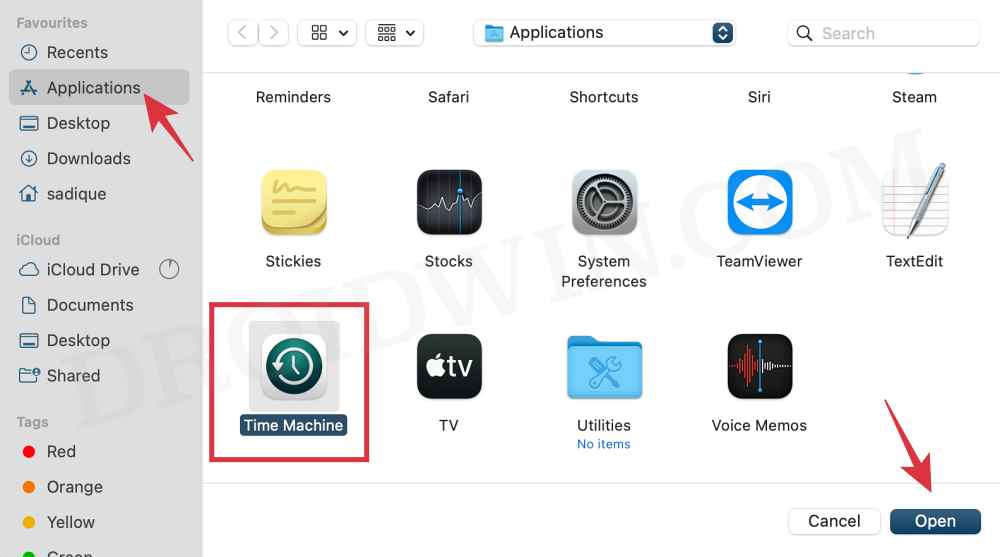
- Then tap on the plus icon and select Application in the left menu bar of Finder.
- Now select Time Machine from the list of apps and click Open.
- Check if it fixes the “Time Machine couldn‘t complete backup, Disk image already in use” error.
FIX 5: Manually Recreate SparseBundle File
If none of the aforementioned methods worked out in your favor, then you will have to manually re-create the SparseBundle file using Terminal. Here’s how it could be done.
- To begin with, delete the existing SparseBundle file.
- Then open Launchpad, go to the Others folder, and launch Terminal.
- Now execute the below command, and replace the value in italics accordingly:
sudo hdiutil create -size 50g -type SPARSEBUNDLE -nospotlight -volname "Time Machine Backup" -fs "Case-sensitive Journaled HFS+" -verbose ./ComputerName_MACAddress
- In the above command, you may change the size according to your need. Moreover, replace the ComputerName and MACAddress values accordingly.
- Now log in to your NAS. Once done, create a user account as well as a shared folder.
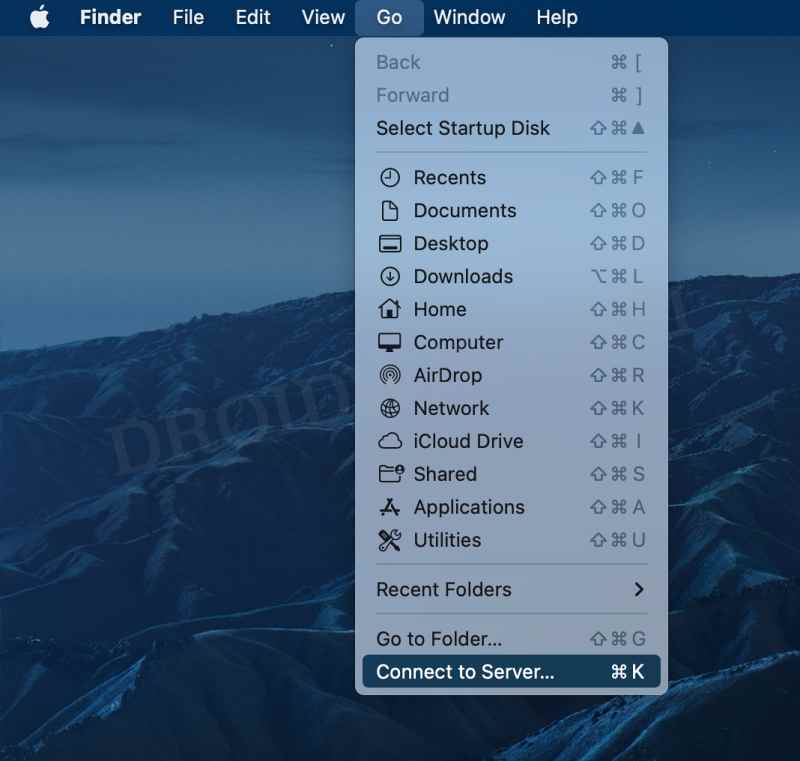
- After that, open Finder [Option+Command+Space] and head over to Go > Connect to Server.
- Now type in the below address and replace the values accordingly
smb://TimeMachine@ip-address-of-nas/shared-folder-name for server address.
- Then hit Connect and type in your password when asked.
- A new SparseBundle file would have been created in your Home folder /Users/user-name. Copy it into the Time Machine share folder.
- Finally, open Time Machine and select the Time Machine folder as the desired destination.
- That’s it. You should now be able to carry out the backup without any errors.

So these were the five different methods to fix the error: Time Machine couldn’t complete the backup to ABC.local, The backup disk image “XYZ.sparsebundle” is already in use. If you have any queries concerning the aforementioned steps, do let us know in the comments. We will get back to you with a solution at the earliest.