In this guide, we will show you how to fix The current image (boot/recovery) have been destroyed issue. Unlocking the bootloader and stepping into the custom development has its own set of perks. From the ability to flash custom ROMs to installing custom recovery or gaining administrative privileges via Magisk, there’s a lot to try out.
But at the same time, things aren’t always so good in this domain. If you end up flashing an incorrect or outdated custom binary or flash the correct file to the incorrect partition, then issues are bound to happen. For Realme and Oppo devices, this more often than not, translates to:
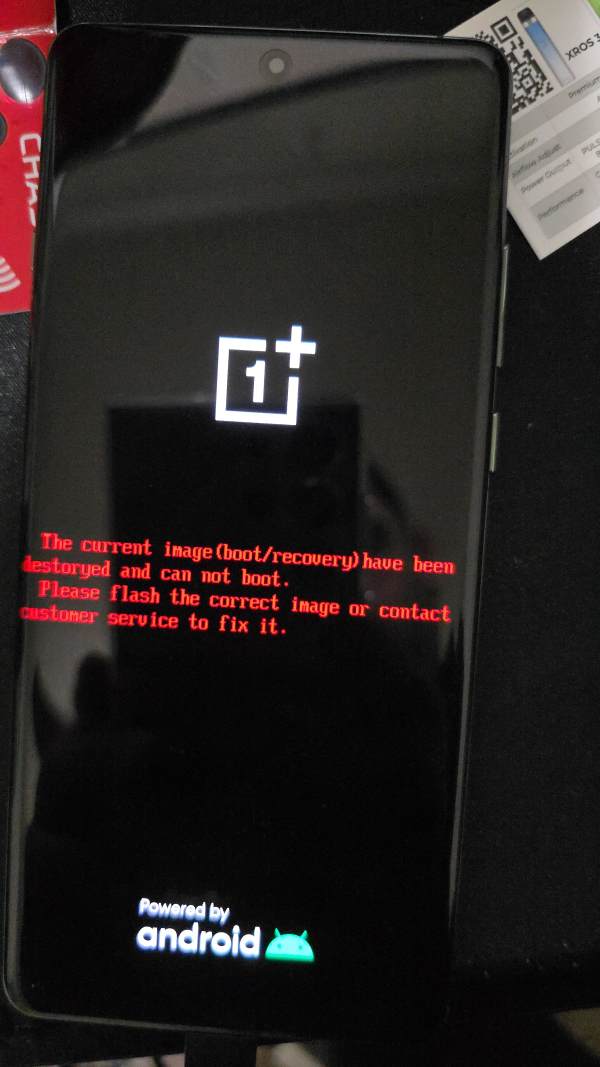
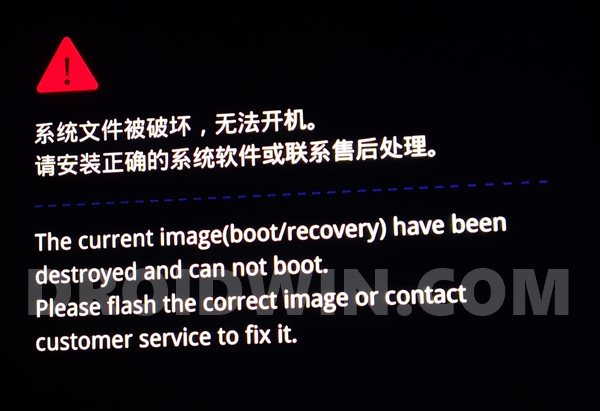
“The current image (boot/recovery) have been destroyed and can not boot. Please flash the correct image or contact customer service to fix it”.
So what is this error message all about, and more importantly how to fix this “The current image (boot/recovery) have been destroyed” issue once and for all? Let’s check it out.
Table of Contents
Reason for the The current image (boot/recovery) have been destroyed Error
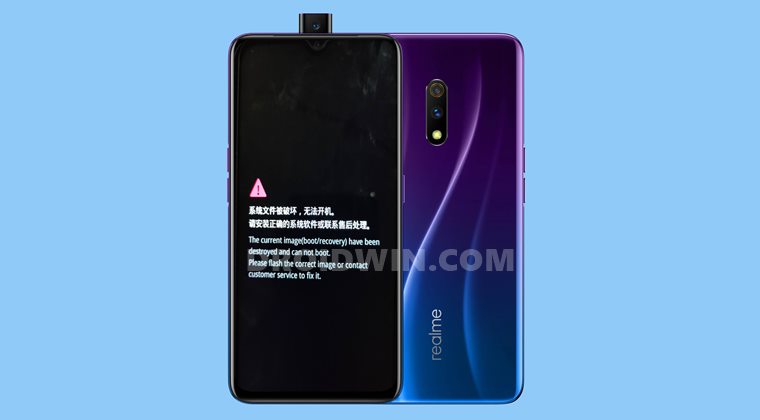
This happens when the boot or recovery partition of your device has been corrupted. One of the most common reasons for the boot partition getting corrupted is when users are trying to root their devices. For that, they need to extract the stock boot.img from the stock firmware, patch it via Magisk, and flash it via Fastboot Commands.
Between all this, there is a very important point that you need to keep in mind. The boot image that you are patching and flashing should be of the same firmware version that is currently installed on your device. However, not many keep a note of the same and flash the boot.img by just verifying the device name.
We can’t really blame the users because most of the tutorials don’t mention this in the first place either. Anyways, this would straightaway lead to the The Current Boot Image has been destroyed error.
As far as the recovery partition getting corrupted is concerned, it could be attributed to the A/B Partition thing. A device having dual slots doesn’t usually have a recovery partition. As a result, you would have to first boot it to the boot partition and then flash it via Recovery Ramdisk.
But if you aren’t into geeky corners of Android, it might be difficult for you to find out your device’s partition scheme. Again, it should be clearly mentioned in the guidelines of the blog posts regarding the same, which unfortunately not many seem to be doing as of now. This incorrect flashing leads to The Current Recovery Image have been destroyed error.
So with this, you would have got a decent idea regarding why this issue occurs in the first place. Let’s now make you aware of the steps to fix The current image (boot/recovery) have been destroyed issue on Realme devices.
- How to Extract OZIP Realme Stock ROM (Firmware)
- Guide to Extract Fastboot Images from Realme/Oppo OZIP Firmware
- How to Unbrick Realme Device via Fastboot Commands
- Guide to Root any Realme Device via Magisk without TWRP
How to Fix The current image (boot/recovery) have been destroyed
The first three fixes will only work if you are able to force reboot your device to Fastboot Mode via hardware key combinations. However, if you aren’t able to do so, then the fourth method is the only way out. Droidwin and its members wouldn’t be held responsible in case of a thermonuclear war, your alarm doesn’t wake you up, or if anything happens to your device and data by performing the below steps.
Install Android SDK

To begin with, install the Android SDK Platform Tools on your PC. This is the official ADB and Fastboot binary provided by Google and is the only recommended one. So download it and then extract it to any convenient location on your PC. Doing so will give you the platform-tools folder, which will be used throughout this guide.
Boot Device to Fastboot Mode
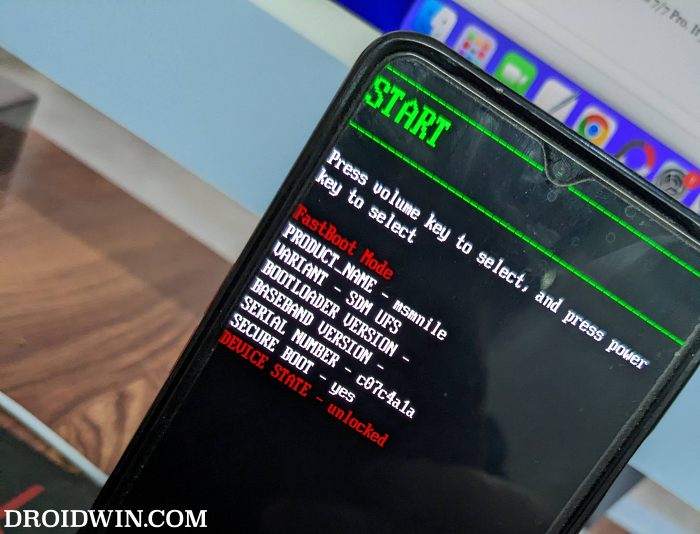
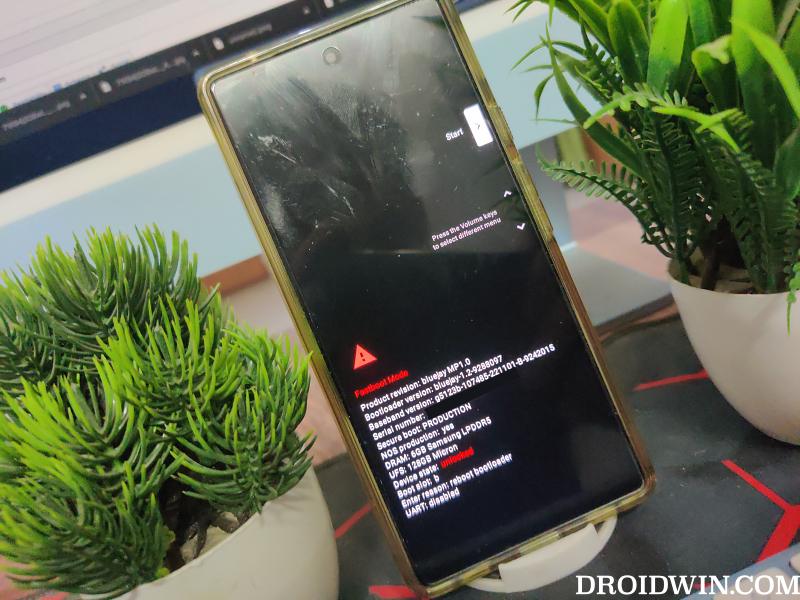
Likewise, you will also have to boot your device to Fastboot Mode. As of now, it is in a semi-bricked state, so you cannot use the adb reboot bootloader command. So you will have to take the help of hardware keys. Power off your device and then press and hold the Power and Volume Down keys for a few seconds and your device shall be booted to Fastboot Mode.
Extract IMG Files from Firmware
Realme and Oppo provide their firmware in the OZIP package and hence you cannot directly extract or flash them. For that, you need to first get hold of the firmware’s IMG files that could be flashed to their respective partitions. So refer to our guide to Extract Fastboot Images from Realme/Oppo OZIP Firmware.

On the other hand, OnePlus provides its firmware in Bin format [payload.bin], so you’ll have to extract it via the Fastboot Enhance Tool.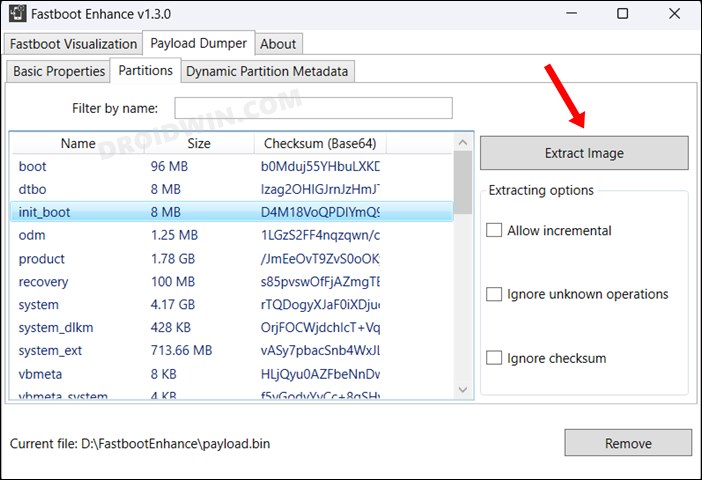
In the case of Pixel and Xiaomi, their firmware is simply in a ZIP format, so you can easily extract it. However, in the case of Pixel, make sure to download the factory image [instead of OTA] and for Xiaomi, download the Fastboot ROM [instead of Recovery ROM].
FIX 1: Flash Stock Boot/Init_Boot
Your first course of action should be to flash the stock boot.img/init_boot.img that you have extracted from the stock firmware. If your device came with Android 12 or older version out of the box, then you’ll have to use the boot.img. On the other hand, if it came with Android 13 or higher versions, then you’ll have to use init_boot.img.
- First off, transfer the boot.img/stock boot.img to the platform-tool folder.
- Then force reboot the device to Fastboot Mode and connect to PC via USB.

- Now type in the below command to flash the boot.img or the init_boot.img:
fastboot flash boot boot.img
fastboot flash init_boot init_boot.img

- Finally, restart your device via the below command and check out the results:
fastboot reboot
FIX 2: Disable Verity via Vbmeta
This fix requires you to flash the vbmeta.img file to the vbmeta partition and disable the verification check. Here’s how it could be carried out:
- To begin with, place the vbmeta.img file to the platform-tools folder on your PC.
- Now go to this (platform-tools) folder’s address bar, type in CMD and hit Enter.

- This shall launch the Command Prompt with the ADB directory.
- Finally, type in the below command to flash the vbmeta file and disable verity check:
fastboot flash --disable-verity --disable-verification flash vbmeta vbmeta.img
- If that command doesn’t give out any success, then you may also try out the following command:
fastboot --disable-verification flash vbmeta vbmeta.img

- Once done, you may now reboot the device to the OS via the below command:
fastboot reboot
See if this fixes The current image (boot/recovery) have been destroyed issue on Realme and Oppo devices. If it worked out for you, well and good. Otherwise, its time to turn your attention towards the next fix.
FIX 3: Flash Super in FastbootD
- First off, transfer the super.img to the platform-tool folder.
- Then force reboot the device to Fastboot Mode and connect to PC via USB.
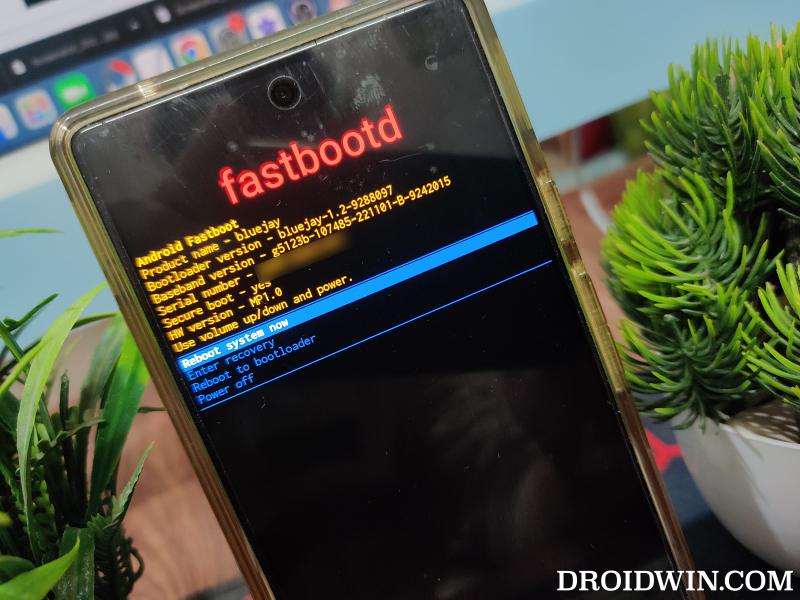
- Now type in the below command to boot your device to FastbootD Mode:
fastboot reboot fastboot

- Now type in the below command to flash the super.img file:
fastboot flash super super.img
- Finally, type in the below command to boot your device to the OS:
fastboot reboot
FIX 4: Using Unbrick Tool [in EDL Mode]
If you cannot boot your device to Fastboot Mode, then using the Emergency Download Mode on your device and flashing the unbrick firmware via its unbrick tool is your only way out. In this regard, as of now, OnePlus devices are the only ones out there that have a free unbrick tool. So if you own a device from that OEM, then you could refer to our below-linked guide:
Download MSM Download Tool: Unbrick any OnePlus Device [Video]
That’s it. These were the various methods to fix The current image (boot/recovery) have been destroyed issue. If you have any queries concerning the aforementioned steps, do let us know in the comments. We will get back to you with a solution at the earliest. Likewise, keep us informed via the comments section which method spelled out success in your case.




Jakir Khan
hello brother
i have a realme x2 with the same problem
the solution you gave is quite easy to understand but in my case the issue is quite deffrent.
in order to flash all the files i have to access the fastboot menu but i cant.
i have tried may times, every time i pressed the v down and power button it immedietly shows mw the same disclaimer over and over again.
with out the fastboot menu i cant even give adb commands to the phone.
so i deeply request you to give me some sort of solution for this problem.
I will be waiting for your reply.
Martin Dedron
I did everything correctly (manual extraction of vbmeta, vendor, system through URtools), followed every step in the right order and still get the “image destroyed” message. Please help me… Realme 5 pro.
Donzi
Hi? do you find any solution?? I have realme 5 pro too same problem
Pratik
hello sadique bro,
my device name is realme 7pro and i want
system.img and vendor.img for flash my device .my device is in
(The current image (boot/recovery) have been destroyed and can not boot. Please flash the correct image or contact customer service to fix it”.)
i can open my fastboot page , i only wanted this 2 img .
please broo give me a link of img
Sai Krishna
Bro… Thanks Alot, for sharing this Knowledge. This is Very Useful, I get My Phone from That Problem Second time with Those Commands.
Daljit
Phone is not going in fastboot or recovery mode
Atul Rajput
Send realme 5i
Boot.img
System.img
Vendor.img
Recovery.img
Vbmeta.img
Link please i need most my phone is stucked in boot loop and recovery page is not opening
Sadique Hassan
Hi Atul, what do you mean by Recovery Page? are you trying to access the Recovery Mode? if that is the case, you don’t need to access Recovery, you could directly boot to Fastboot after powering off your device and then pressing and holding the Power and Volume Down keys for a few seconds.
saify
Same issue i am also facing in my realme 5…its in boot loop, means getting this image destroyed error then immediately restarting with realme logo. so every 5 seconds ,i can see realme logo then this error message and continues.Also unable to get into fastboot mode,tried all key combinations(power+vol down not working) .how i can fix this without data loss plz help me
Clash Levi
Did u find any solution
Ramu
Hello
I unlocked bootloader and flashed twrp recovery
Using these commands
-……disable verification….vmbeta.img
-….flash recovery recovery twrp.img..
After that it gets into the same current image has been destroyed error .
When i flash vmbeta and stock recovery and reboot it again shows the same problem.
I have 2 doubts
Can i flash again them directly or do i need to clear any partitions ?
System , boot etc img files are same for all stock roms of a single device ?( I mean i dont have current version system , boot img files of 6 pro , can i flash previous version files?)
kumar
Hi Sadique,
Same issue i am also facing in my realme 5…its in boot loop, means getting this image destroyed error then immediately restarting with realme logo. so every 5 seconds ,i can see realme logo then this error message and continues.Also unable to get into fastboot mode,tried all key combinations(power+vol down not working) .