In this guide, we will show you various methods to fix the Call of Duty: Warzone not working issue on your Windows 11 PC. This battle royale game is among the most popular in this domain and even contains traces of Modern Warfare, the Cold War, and the Black Ops. Its online multiplayer combat with up to 150 players has also been well received the hardcore gamers. Likewise, the Plunder, Rebirth: Resurgence, Buy Back, Payload, and Clash game modes are also worthy of praise. What isn’t is the fact that the game gets bugged with an issue or two more often than not.
As of now, various Windows 11 users have voiced their concern that Call of Duty: Warzone is not working along the expected lines on their PC. Let alone performance issues or FPS drops, they aren’t even able to launch the game in the first place. Likewise, some have also reported issues with the Battle Client which is preventing them from giving a shot at this game. If you are also in the same boat, then this guide will make you aware of a few nifty workarounds to resolve this issue. Follow along.
Table of Contents
Fix Call of Duty: Warzone Not Working on Windows 11
It is recommended that you try out each of the below-mentioned workarounds and then see which one spells out success for you. So with that in mind, let’s get started.
FIX 1: Launch Battle.net as Admin
First and foremost, you should consider running the launcher with administrative privileges. Here’s how it could be done-
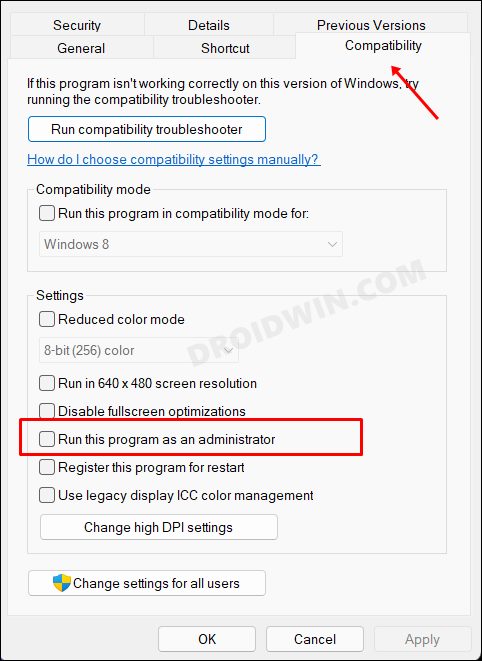
- Right-click on the Battle.net Launcher.exe file and select Properties.
- Then go to the Compatibility tab and checkmark Run this program as administrator.

- Finally, click Apply > OK to save the changes.
- Check if it fixes the Call of Duty: Warzone not working issue in Windows 11.
FIX 2: Verify Game Files
Your next course of action should be to verify that the game files aren’t missing or corrupt. Fortunately, you wouldn’t have to do so manually as the client will do this job on your behalf. Here’s how-
- Launch Battle.net, go to All Games, and select Call of Duty: Warzone.
- Then click on the Settings icon next to the Play button and select Scan and Repair.
- The client will now scan for missing/corrupt files and will address them accordingly.
- Once done, check if it fixes the Call of Duty: Warzone not working issue in Windows 11.

FIX 3: Use SFC and DISM Commands
System File Checker and Deployment Image Servicing and Management are two command-line utility tools that scan for corrupt Windows files and then replace them with their working counterpart. The major difference between the two is whereas the SFC replaces the corrupt files with the working ones from the cached directory on your PC, DISM does so by downloading the working files from the online Microsoft servers. And as of now, we would be making use of both these tools to fix the underlying issue.
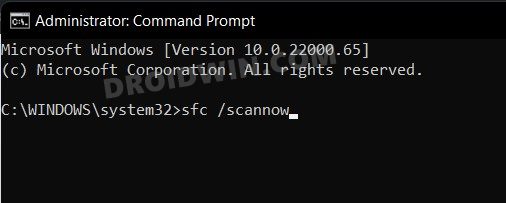
- Head over to the Start Menu, search Command Prompt, and launch it as an administrator.
- Then copy-paste the below command to open the SFC Tool:
sfc /scannow
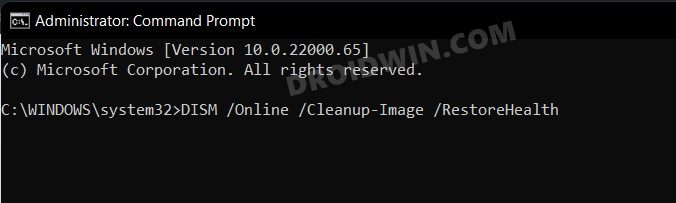
- Once the SFC Scanning is complete, it’s time to use the DISM Tool. So copy-paste the below command:
DISM /Online /Cleanup-Image /RestoreHealth
- Once DISM finishes the scanning, it is recommended to reboot your PC.
- Now check if it fixes the Call of Duty: Warzone not working issue in Windows 11.
FIX 4: Change Game’s Installation Directory
The issue might also arise from the game’s current installation directory. To verify and hence rectify it, you should consider moving the game files to a different directory and then let the client know about that as well. Here’s how you could do it-
- To begin with, launch File Explorer via Windows+E shortcut keys.
- Then go to the game’s installation directory, right-click on it, and select Cut.
- Now go to a different location, right-click in an empty location, and select Paste.
- Once all the game files have been transferred, launch the Battle.net client.
- Then go to All Games and select Call of Duty: Warzone.
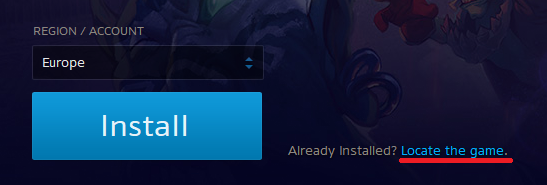
- After that, click on the Locate Game option situated just below the Play/Install button.
- Now navigate to the folder where you have just transferred the game, select it, and hit the Select Folder button.
- Finally, click on Play and check if it fixes the Call of Duty: Warzone not working issue in Windows 11.
FIX 5: Add Battle.net to Firewall Whitelist
In some instances, the Windows Firewall might raise a false positive and flag a genuine data exchange process as a malicious one. This in turn will prevent the said app from accessing the internet on your PC. However, since you know that the Battle.net client is a safe application, you could add it to the firewall’s whitelist and then test out the results. Here’s how it could be done
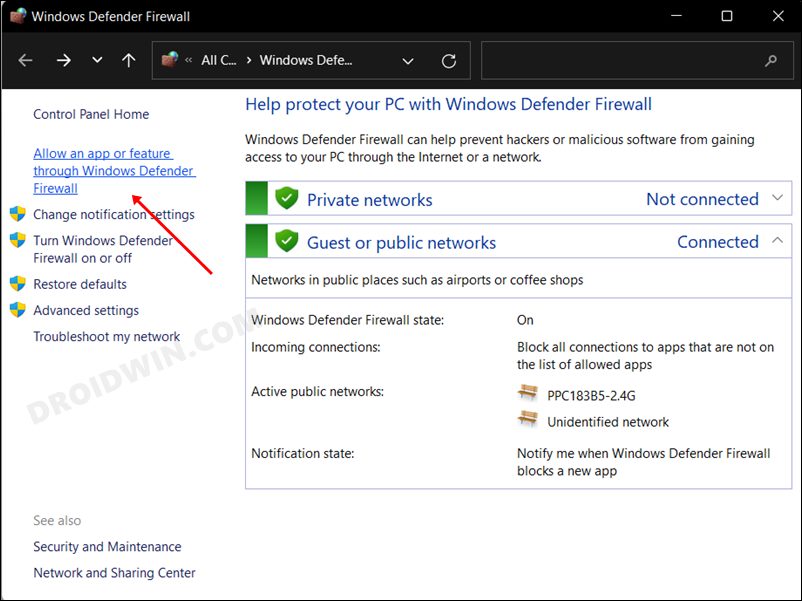
- Launch Windows Defender Firewall from the Start Menu.
- Then click on Allow an app or feature through Windows Defender Firewall.
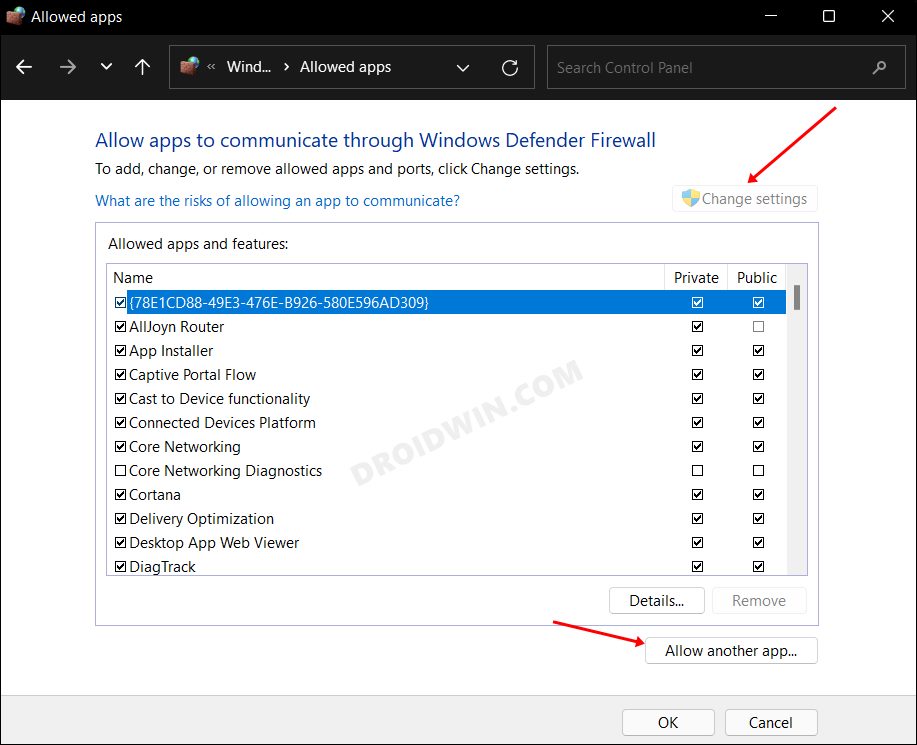
- After that, click on Change Settings followed by Allow another app.
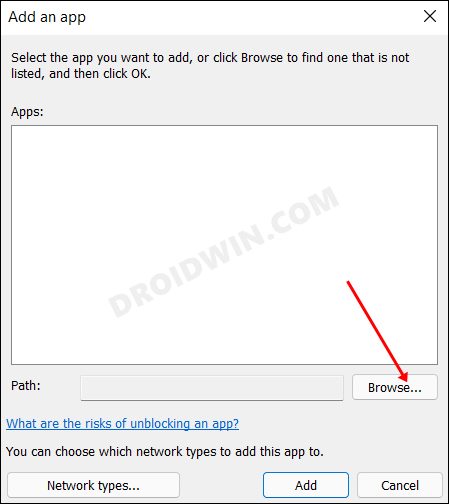
- Now browse to the Battle.net folder and select it. Then click OK to save it.
- Check if it fixes the Call of Duty: Warzone not working issue in Windows 11.
FIX 6: Disable Third-Party Services
A third-party service could also create a few roadblocks in the functioning of this feature. Therefore, you should consider disabling all the non-Microsoft-related services and then test out the results. Here’s how it could be done
- Head over to the Start Menu, search System Configuration, and open it.
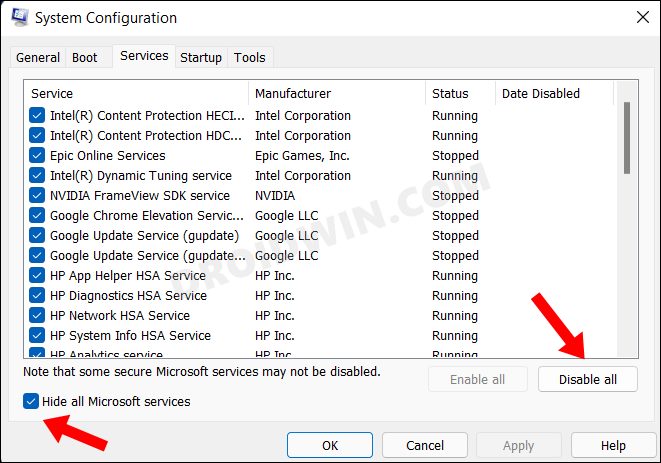
- Then go to the Services tab, checkmark Hide All Microsoft Services, and click on the Disable All button.
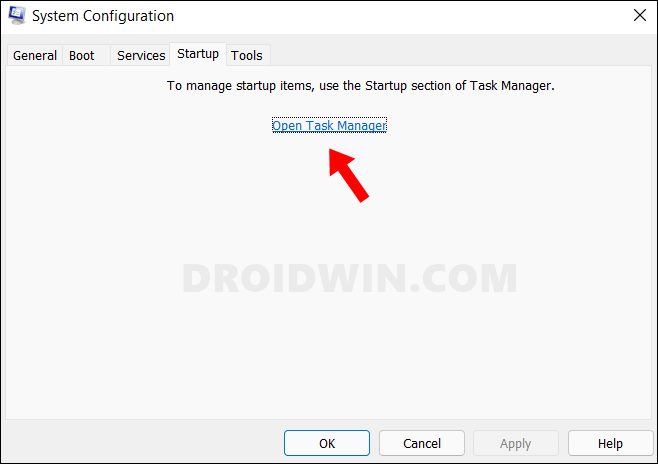
- Then go to the Startup tab and click on Open Task Manager.
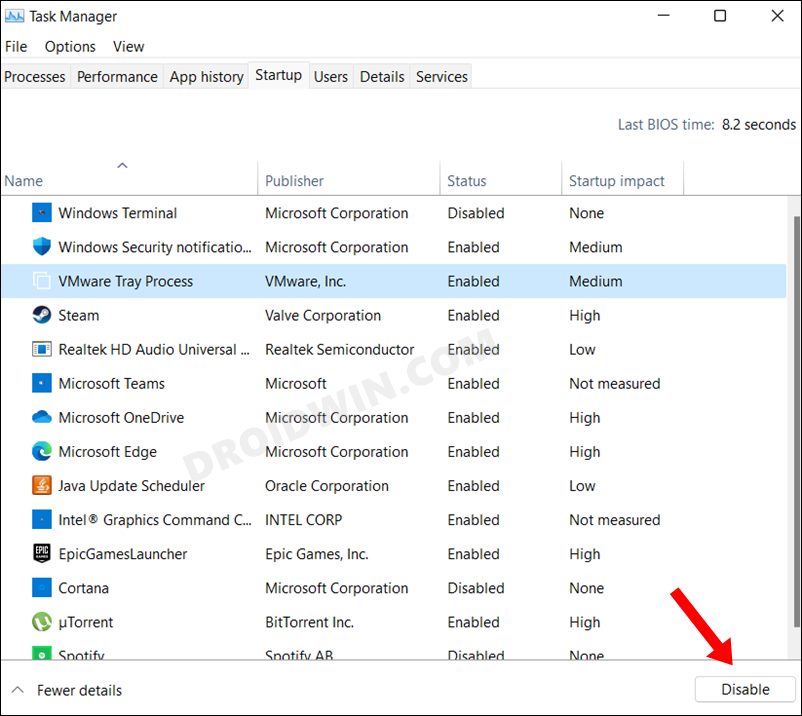
- Now select a process from the list and click Disable. Do so for all the running services.
- Once done, restart your PC and then check if it fixes the Call of Duty: Warzone not working issue in Windows 11.
FIX 7: Update GPU Drivers
Using old or outdated graphics drivers could result in quite a few issues, and it could well be the culprit behind the problem that we are currently dealing with. Therefore, you should update these drivers to the latest version, using the instructions given below-
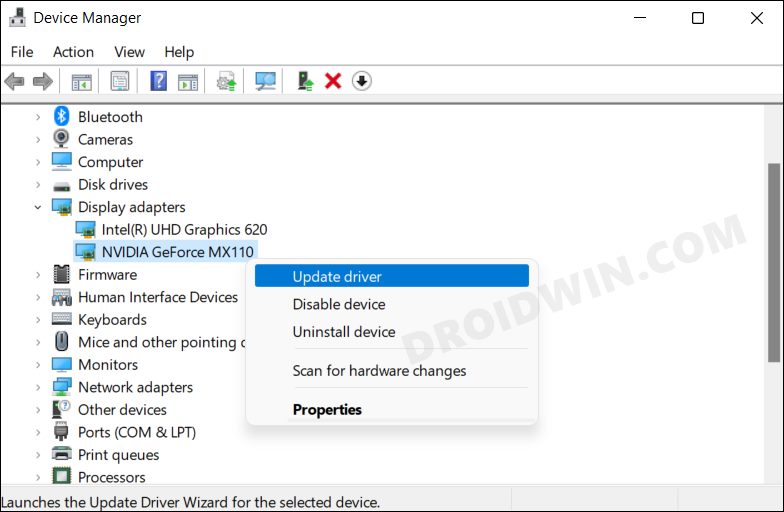
- Use the Windows+X shortcut and select Device Manager from the menu that appears.
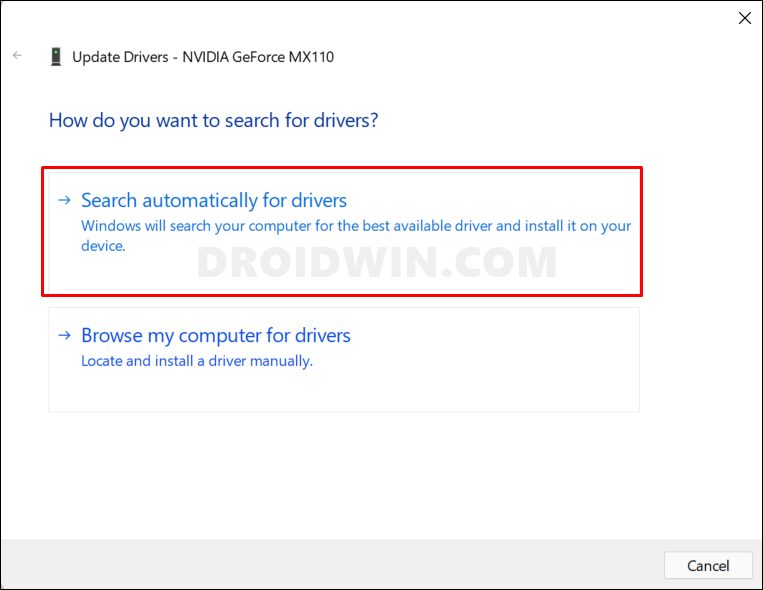
- Then expand the Display Adapter, right-click on your graphics drivers, and select Update Drivers.
- After that, click on Search automatically for graphics drivers.
- Windows will now search online for the driver and will subsequently download and install them.
- Once done, restart your PC for the changes to take place and then check if it fixes the Call of Duty: Warzone not working issue in Windows 11.
FIX 8: Reinstall Call of Duty: Warzone
If none of the aforementioned methods spelled out success for you, then your last course of action should be to uninstall and then reinstall the game. This will reset all the game’s configuration, settings, and other related files and would recreate it from scratch.
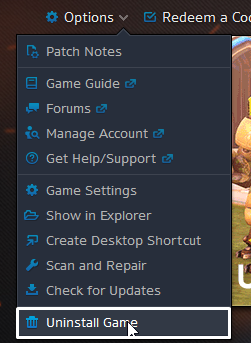
- Launch Battle.net, go to All Games, and select Call of Duty: Warzone.
- Then click on the Settings icon next to the Play button and select Uninstall.
- Wait for the uninstallation to complete. Once done, launch Battle.net and reinstall Warzone.
- Once installed, launch the game and you shouldn’t face any issues now.
So with this, we round off the guide on how you could fix the Bad Sectors error on your Windows 11 PC. We have listed eight different methods for the same. Do let us know in the comments section which one spelled out success for you. Likewise, all your queries are welcomed in the comments below.