In this guide, we will show you the steps to fix the ADB Error when your PC is unable to allocate bytes. The ADB and Fastboot Commands are generally regarded as the most important tools for custom development. Right from booting your device to Fastboot Mode or Stock Recovery, to unlocking the bootloader or flashing a file, you would need to take the help of these commands.
However, these commands are also most prone to bugs and issues. In most instances, the error message is self-explanatory and the user is itself able to rectify the underlying problem. But sometimes, the technicalities involved make the error a tad difficult to understand. And the issue that we are discussing here is just that.
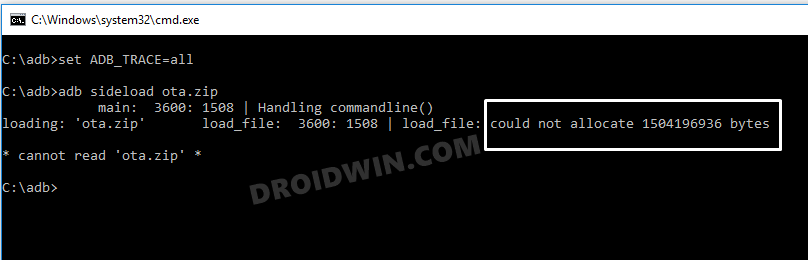
Few users were trying to flash the stock firmware via the ADB Sideload but were unable to do so as they were constantly greeted with the Unable to allocate XXXX bytes error message (where XXXX is a numerical value). So what is this error message and how could you rectify it? Well, let’s check it out.
What is ADB Unable to Allocate Bytes Error?
By default, ADB on Windows is not linked to being “large address aware”. So when you try to perform ADB Sideload on a large file, then it would fail to allocate enough memory for the file. To fix this, you will have to make your PC aware of this large address. When you do so, your PC will be able to access up to 4 GB of RAM on x64 operating systems and all memory that isn’t used by the operating system and other applications on x86 could be used as well.
One thing to note is that carrying out these tweaks isn’t generally required on the 64-bit versions of Windows. It’s mostly on the 32-bit versions of Windows where there’s a need to increase the user memory setting. So with that in mind, let’s get started with the steps to fix the ADB Unable to allocate XXXX bytes error. Follow along.
How to Fix ADB Unable to Allocate Bytes Error?
- To begin with, download Android SDK Platform Tools and extract it to any convenient location on your PC.

- Then head over to the platform-tools folder, type in CMD in the address bar, and hit Enter. This will launch the Command Prompt.
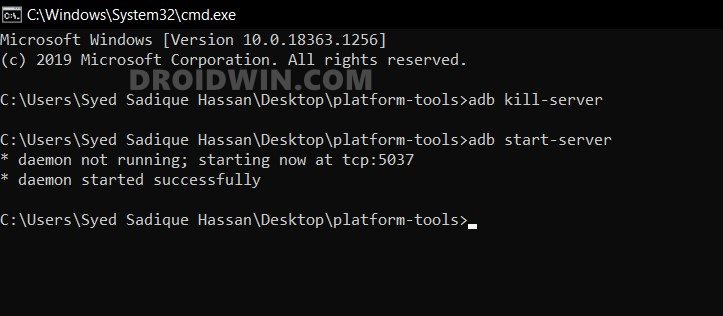
- Now type in the following two commands in the CMD window to kill the ADB Server and subsequently restart it.
adb kill-server
adb start-server
- After that, download the Large Address Aware executable app. Then extract it and subsequently launch it via its EXE file.
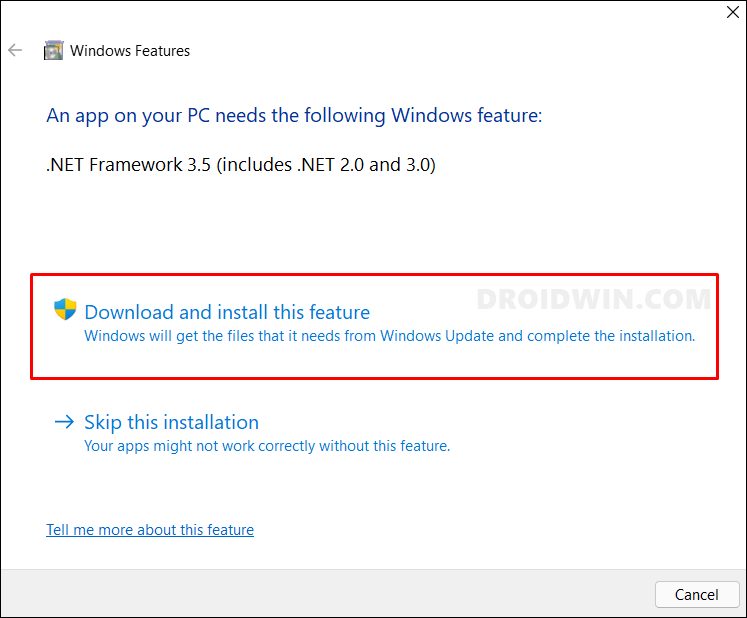
- If your PC doesn’t have the Microsoft Net Framework installed, then you will be notified to install it.
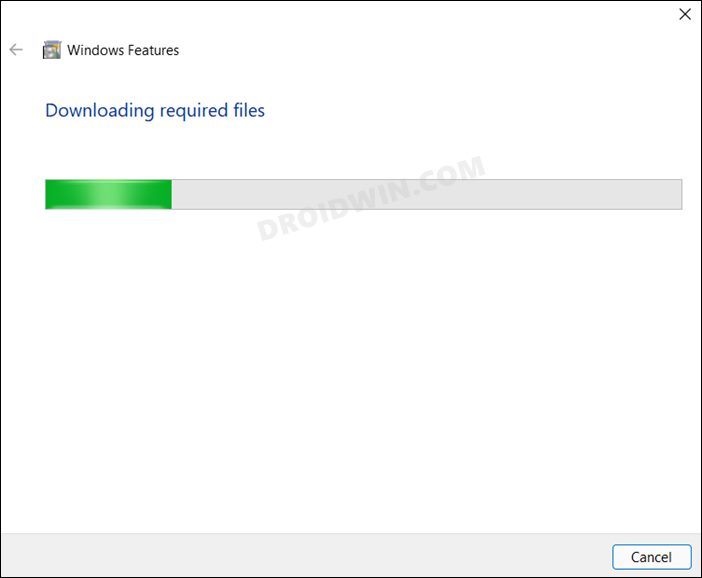
- So click on Download and install this feature and wait for the process to complete.
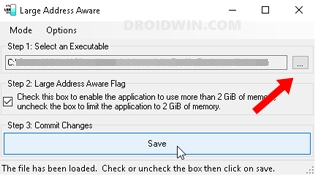
- Once done, the app shall now open. Click on the button (…) next to STEP 1: Select an executable.
- Navigate to the platform-tools folder and select the adb.exe file.
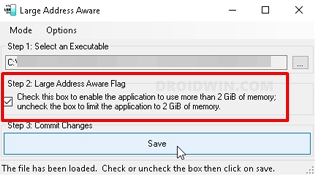
- After that, tick mark the box that says “Check this box to enable the application to use….”
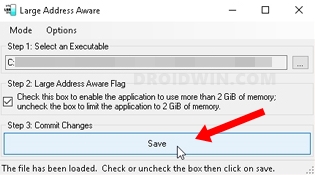
- Finally, click on the Save button and your PC will now be large address aware for the adb.exe file.
- That’s it, you may now carry out the desired task and there wouldn’t be any allocated bytes error this time around.


So with this, we round off the guide on how you could fix the ADB Unable to allocate bytes error. If you have any queries concerning the aforementioned steps, do let us know in the comments. We will get back to you with a solution at the earliest.


