In this guide, we will show you various methods to fix the FAILED (Write to device failed (no link)) error. When it comes to custom development, then it’s hard to imagine an ecosystem that doesn’t involve the use of Fastboot Commands. While most of the flashing could now be carried out via a custom recovery like TWRP as well, but you would still need to take the help of Fastboot Commands to flash custom recovery in the first place.
So while there’s not an iota of doubt regarding the importance and usefulness of these commands, executing them is easier said than done. This is because you might occasionally have to face an issue or two, most of which revolves around the usage of Fastboot Commands.
And the biggest issue with these errors is that they don’t help the end-user in understanding the root cause of the issue, let alone provide any guidance to rectify them. Fortunately, there do exist a few workarounds that have known to rectify this issue. And this guide shall make you aware of just that. So without further ado, let’s get started with the instructions to fix the FAILED (Write to device failed (no link)) error.
Table of Contents
How to Fix FAILED (Write to device failed (no link))
Do note that there’s no universal fix as such. You will have to try out each of the below-mentioned workarounds and see which one works best in your favor. So keeping that in mind, let’s get started. Droidwin and its members wouldn’t be held responsible in case of a thermonuclear war, your alarm doesn’t wake you up, or if anything happens to your device and data by performing the below steps.
Fix 1: Use Official ADB Binaires
The web is filled with a plethora of ADB and Fastboot Tools. However, you should always try and maintain a safe distance from them. This is because most of these tools, just to claim themselves as the most lite weight and fastest, tend to remove a few binaries. While these binaries aren’t always needed, but when they are needed and your PC doesn’t have them, then issues like this one are always on the cards.
Therefore, it is always recommended to download and install the official ADB provided by Google. Talking about ADB, you should also keep in mind that the CMD or Powershell window that you use to execute commands, should always be opened inside this ADB directory only. Both of them have been explained below, follow along.
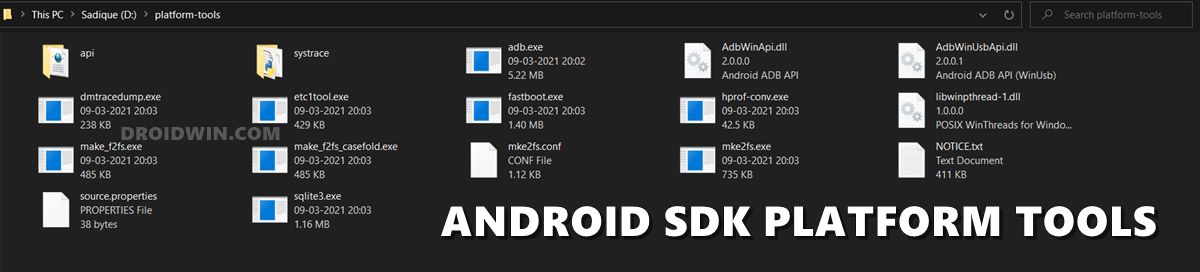
- To begin with, download the Android SDK Platform Tools from Google
- Then extract it to any convenient location on your PC.

- Doing so shall give you the platform-tools folder.
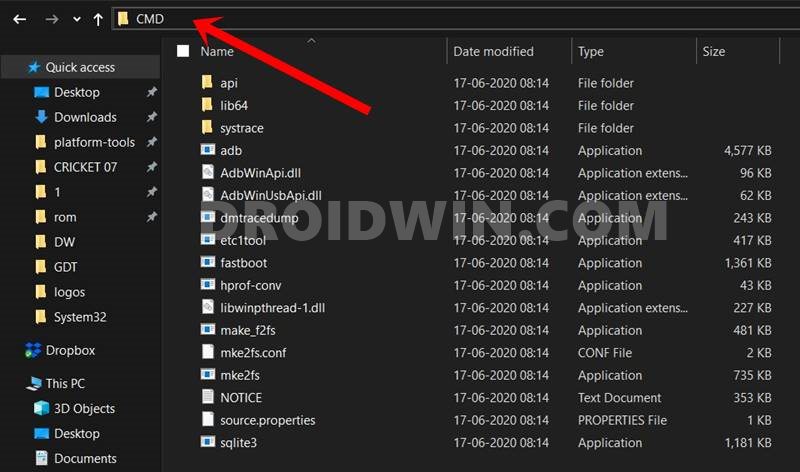
- Go to this folder, type in CMD in its address bar, and hit Enter.
- This shall launch the Command Prompt window within the ADB Directory.
- Now transfer the desired file that you are about to flash to this platform-tools folder.
- Finally, execute the desired command in this CMD window and check if the FAILED (Write to device failed (no link)) error has been fixed or not.
Fix 2: Install Android USB Drivers
USB Drivers are small software programs that are needed so that your PC is able to recognize the connected device,l which in this case is your smartphone. So go ahead, download, and install the android_win.inf drivers onto your Windows PC. Once that is installed, you should also consider installing the Android Bootloader Interface Drivers.
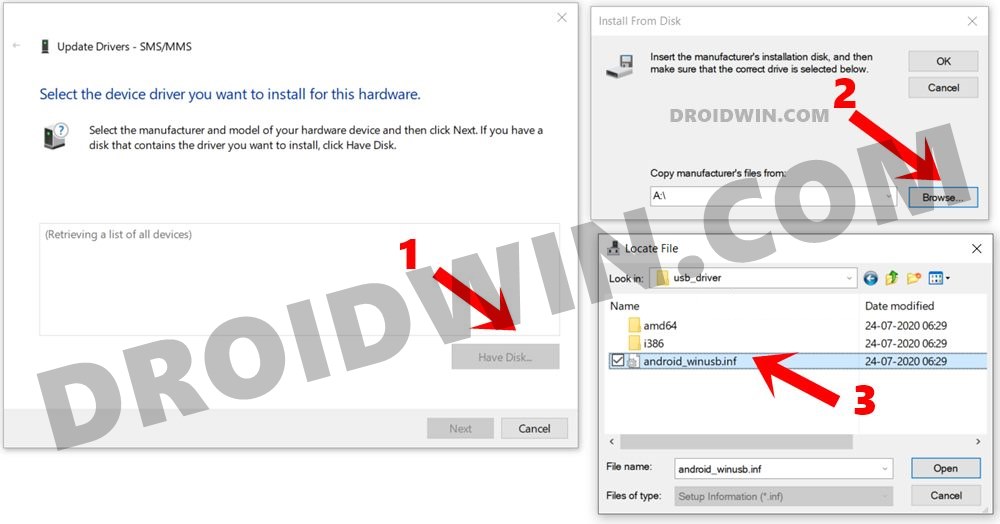
These are the official Fastboot Drivers which are needed so that your PC is able to identify the device when the former is booted to Fastboot/Bootloader Mode. So install both these drivers and then check if they are able to fix the FAILED (Write to device failed (no link)) error.
Fix 3: Use Official USB cable | USB 2.0 Port
The next two fixes are evident from their names themselves. First off, it is recommended that you use the official USB cables that came shipped with your device. If that is not possible, then use a cable that supports MTP (file transfer). Along the same lines, you should only use the USB 2.0 Port on your PC.
Using the faster 3.0 ones is known to cause quite a lot of issues, especially in the custom development domain. Moreover, it is also recommended that you don’t use any peripherals like a wireless mouse on the same USB adapter that your phone is connected to. It might probably interfere with your device’s Fastboot Mode. So try out these tweaks and see if they fix the FAILED (Write to device failed (no link)) error.
Fix 4: While Flashing TWRP
If you are getting this issue when flashing the TWRP Recovery, then here are a few things that you need to keep in mind.
- A lot of things have changed since Google introduced the A/B partition. The major change is the removal of the recovery partition from your device.
- So if your device follows the A/B partition scheme, then you wouldn’t be able to directly flash TWRP to the recovery partition. In other words, the below command will NOT work on your device:
fastboot flash recovery twrp.img
- Rather, you will first have to boot your device to the TWRP Recovery using the below command:
fastboot boot twrp.img
- Once your device boots to TWRP, you may then proceed ahead to permanently flash it. For that, you may either use the TWRP’s Recovery Ramdisk method or directly flash the recovery ZIP file. In this regard, you may refer to our below-linked guides:
- How to Install TWRP Recovery on Android
- TWRP: fastboot flash vs fastboot boot: Which command to use
- How to Permanently Install TWRP without TWRP ZIP File (only using TWRP.img file)
- How to Check and Change Current Active Slot on Android
Fix 5: Fix For Ryzen PCs
Ryzen based PCs have always had a love-hate relationship with custom development. There has been a plentitude of well-documented cases where the ADB and Fastboot Commands weren’t executed successfully.
So if you are also using a Ryzen chipset, then please refer to our guide on How to Fix Android ADB and Fastboot Issues on Ryzen based PCs. Try out all the fixes mentioned in the linked guide (especially the last two ones) and the underlying Fastboot error should be fixed.
So with this, we round off the guide on how you could fix the FAILED (Write to device failed (no link)) error. we have listed five different methods for the same. Do let us know in the comments section which one spelled out success for you.


