In this guide, we will show you the steps to download and install the MediaTek USB VCOM Drivers. Nowadays, more devices are turning to MTK powered chipsets than ever before. And it wouldn’t be long before it overtakes its force rival Snapdragon. Moreover, devices that are offering the best value for money more often than not come with the MTK chipset.
Along with that, these devices are quite an active player in custom development as well. Be it for unlocking the bootloader, flashing a custom recovery, or rooting their device via TWRP or Magisk patched boot.img, the possibilities stand endless. However, you would only be able to perform these tweaks if your PC is able to successfully recognize the connected device.
Let alone the aforementioned tweaks, even the basic file transfer requires an establishment for a successful connection. And that is only possible if you have the correct drivers installed. So if you are looking for these drivers but aren’t able to get hold of the same, then fret not. From this guide, you could easily download and install the MediaTek USB VCOM Drivers.
- How to Install TWRP on MediaTek using SP Flash Tool
- Bypass MediaTek SP Flash Tool SLA DAA Authentication
- How to Root any MediaTek Device Using SP Flash Tool
- How to Unbrick any MediaTek Phone using SP Flash Tool
Table of Contents
Automatic vs Manual MediaTek USB Drivers Installation

We have shared two different drivers’ files. The first one is for the automatic installation. You only need to launch the setup file and proceed with the on-screen instructions to install these drivers. On the other hand, the second driver file is for manual installation. In this, you will manually add the driver file to your PC via the Device Manager.
The first method is quite easy to execute and may initially try out that one. However, if that gives out any error, then don’t hesitate to try out the second method as well. There’s another important point worth taking into consideration. The automatic driver installation process doesn’t require you to disable Windows drivers’ signature verification.
On the other hand, if you are opting for the manual installation, then you would have to disable the driver signature check as well (instructions for that are given as well). So keep these points in mind and then opt for the installation method of your choice.
- Root any MediaTek Device on Locked Bootloader
- How to Root any MediaTek ARMv8 Device
- ARM, ARMx64, x86: What processor does my Android Device have?
- How to Extract Spreadtrum and Unisoc PAC Firmware File
Driver Compatibility
These drivers are compatible with all the MediaTek devices and are supported across Windows 7, 8, 8.1, and 10.
Download Latest MediaTek USB VCOM Drivers (Auto/Manual)
- Automatic MediaTek USB VCOM Drivers: MTK_Driver_Auto_Installer_EXE_v5.1632.00
- Manual MediaTek USB VCOM Drivers: MTK_ALL_USB_VCOM_DRIVERS
Automatic Install MediaTek USB VCOM Drivers
- To begin with, download the Automatic Installation driver file from the above section.
- Then extract it to any convenient location on your PC.
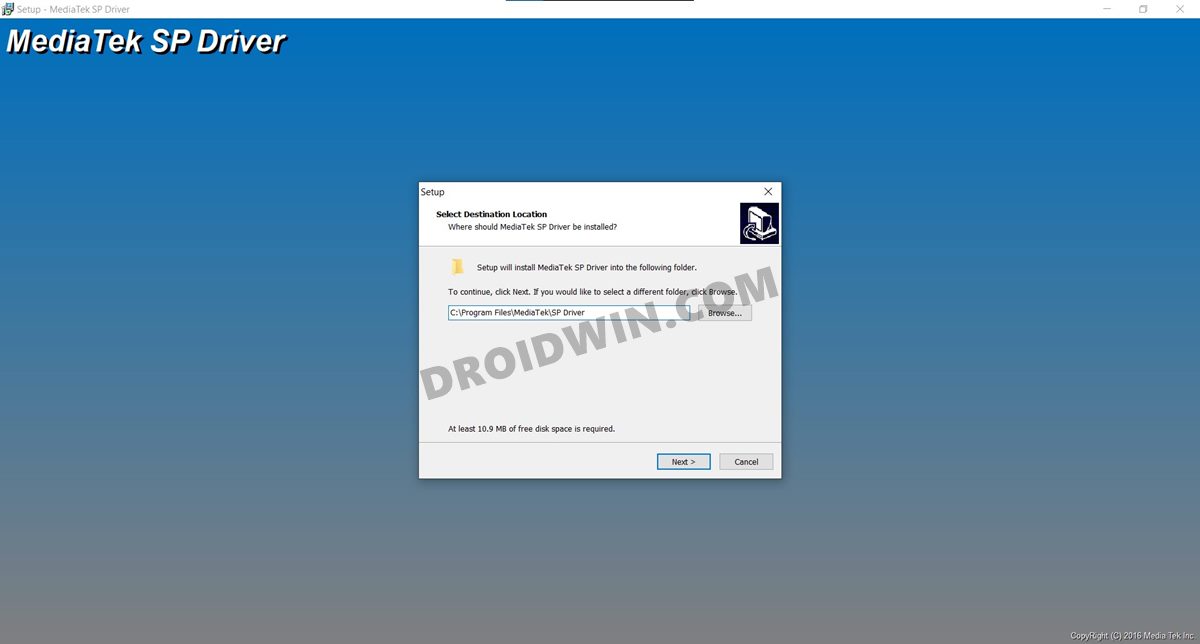
- Go to that folder and double-click on the DriverInstall file to launch the setup.
- Select the installation directory, click Next > Finish. That’s it, the process is now complete.
- It is recommended that you restart your PC for the changes to take place.
So these were the steps for the automatic installation of the MediaTek USB VCOM Drivers. if you faced any issues or wish to manually try out the steps, then refer to the below instructions.
Manually Install MediaTek USB VCOM Drivers
- To begin with, disable the Windows Driver Signature Verification on your PC.
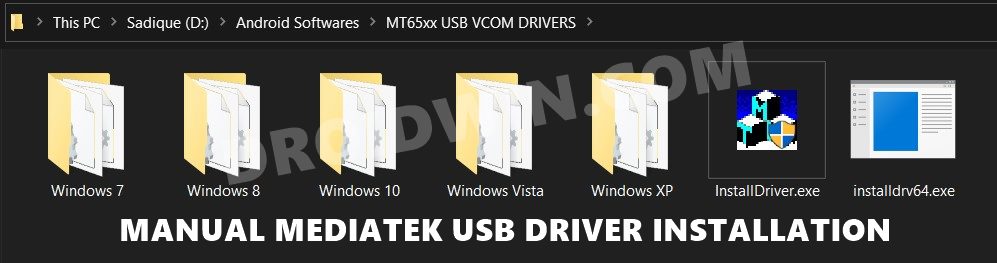
- Then download the manual driver file from the above section and extract it to any convenient location on your PC.

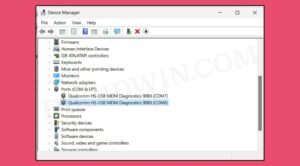
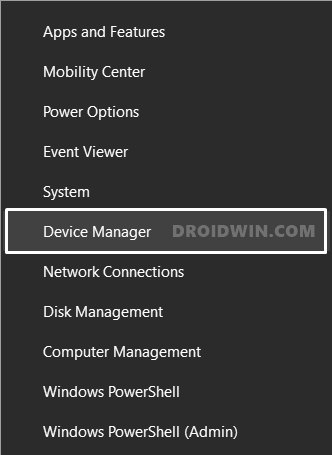
- Next up, use the Windows+X shortcut to bring up the menu and then select Device Manager from the list.
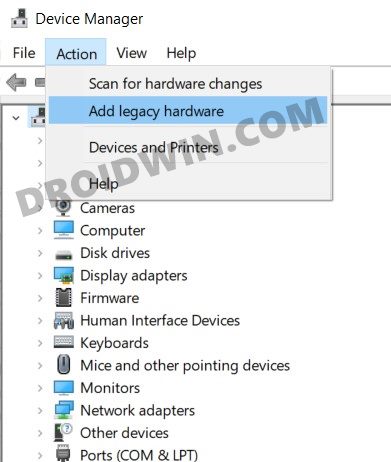
- Now click on the Action button situated at the top menu bar and select Add Legacy Hardware.
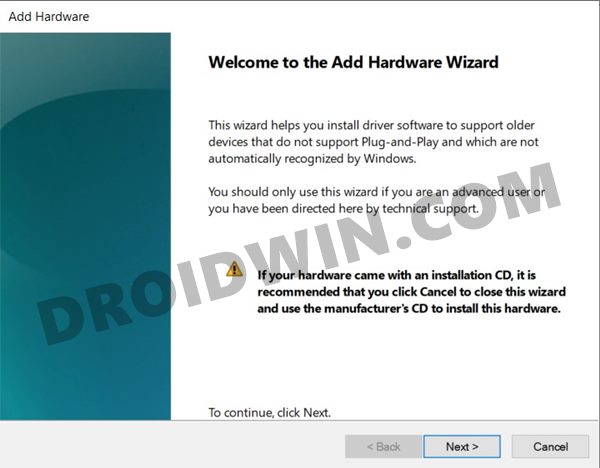
- Click Next in the welcome screen that appears.
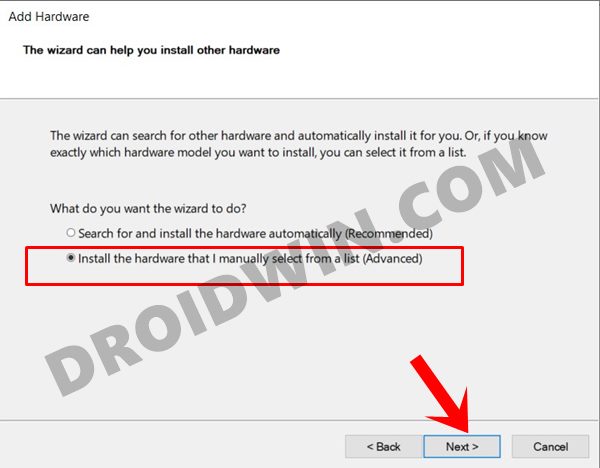
- Then select Install the hardware that I manually select from a list (Advanced) and click Next.
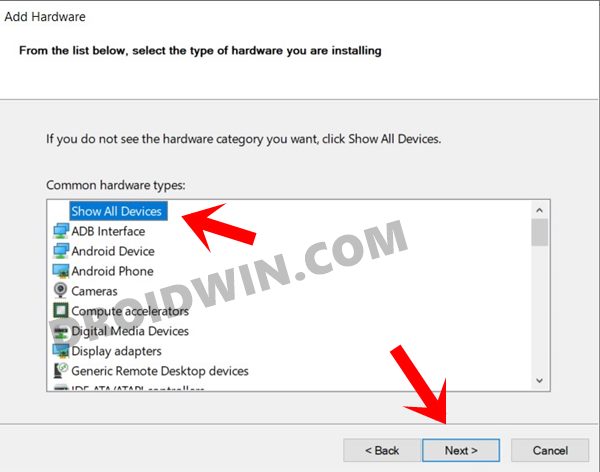
- Select Show All Devices and click Next.
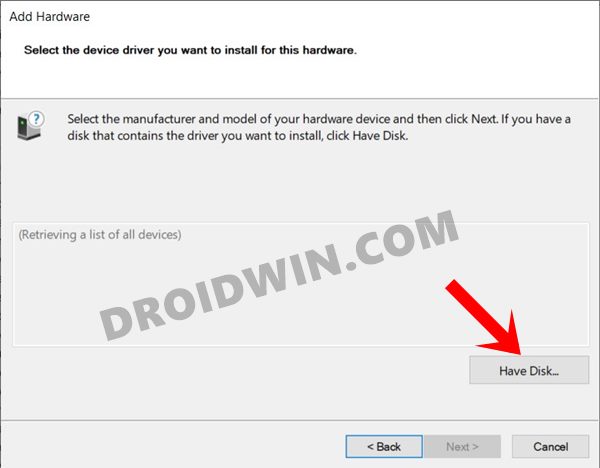
- Then click on the Have Disk button and click Browse.
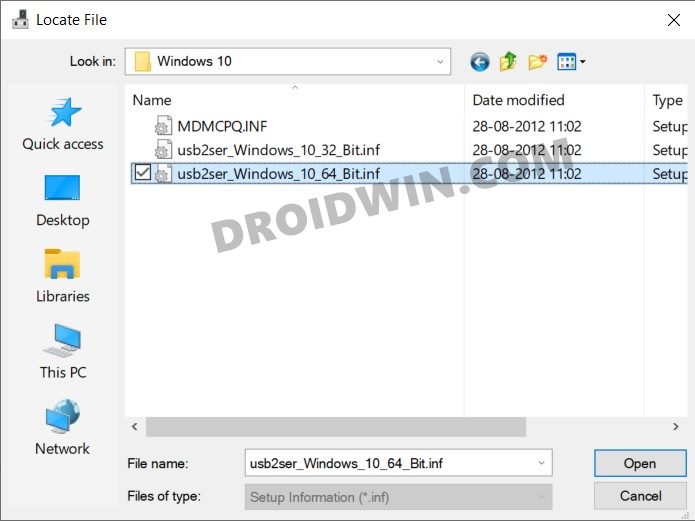
- Navigate to the extracted driver folder, select the OS version folder and finally select the required INF file (32/64BIT).
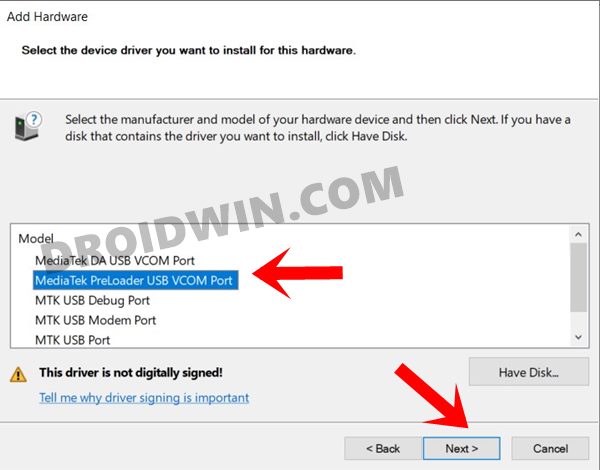
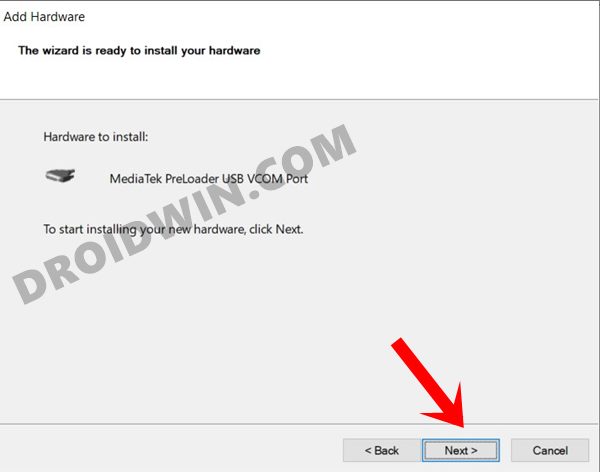
- Then click Open > OK and you should see the driver name listed there. Select Mediatek Preloader USB VCOM Port from the list and click Next.
- Finally, click Next and wait for the installation to complete.
- Once done, hit Finish and restart your PC (recommended). That’s it, you have successfully installed the MediaTek USB VCOM Drivers on your PC.
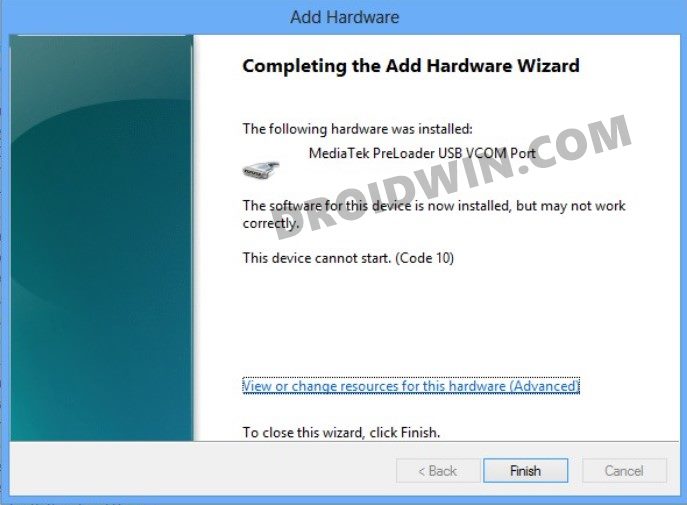
Fix MediaTek USB Driver Error: This Device cannot start (Code 10)
After manually installing the drivers, you might see the message that “This Device cannot start (Code 10)”. It’s just because the drivers are not digitally signed. That is why we instructed in the first step to disable driver verification. Well, even if you didn’t do so and hence are seeing this error message, there’s no cause of worry. You may completely ignore it and carry on with your work.
So with this, we conclude the guide on how to install the download and install the MediaTek USB VCOM Drivers. We have shared both the automatic and manual installation. If you have any queries related to the aforementioned instructions, do let us know in the comments section. We will get back to you with a solution at the earliest.