In this guide, we will show you the steps to create a TWRP Nandroid Backup directly on PC via ADB Commands. When you step into custom development, there’s always an element of risk involved in things going south. Be it for flashing a custom recovery like TWRP, a custom ROM, or just a Magisk Module, a slight mistake and you are inviting risk. This is the reason why it is always recommended to take a complete device backup beforehand.
Manually doing so would take ages and also calls for a lot of effort. Therefore, the best route forward is taking a Nandroid backup directly via TWRP. Doing so will create a backup of all the partitions on your device. These include the data, system, vendor, boot, among others. So if your device gets bricked or boot looped, you only need to restore this backup and the device will be up and running.
However, after you take this backup, it is always recommended to transfer it to your PC. This is because in some instances, wiping the data partition becomes an absolute necessity to remove encryption and for your device to boot properly. This is just one of the many cases, there could be countless others where a factory reset.
And when you do so, you would have to bid adieu to the Nandroid backup as well. This is the last thing that anyone would want to happen. But the good thing is that it is easily avoidable. You could create the TWRP Nandroid backup and transfer it directly to the PC using just a single line of ADB Command. Let’s check it out how.
Table of Contents
How to Create TWRP Nandroid Backup Directly On PC via ADB
The below instructions are listed under separate sections for ease of understanding. Make sure to follow in the exact same sequence as mentioned. Droidwin and its members wouldn’t be held responsible in case of a thermonuclear war, your alarm doesn’t wake you up, or if anything happens to your device and data by performing the below steps.
Install Android SDK

First and foremost, you will have to install the Android SDK Platform Tools on your PC. This is the official ADB and Fastboot binary provided by Google and is the only recommended one. So download it and then extract it to any convenient location on your PC. Doing so will give you the platform-tools folder, which will be used throughout this guide.
Boot to TWRP Recovery
- Now connect your device to the PC via USB cable. Make sure USB Debugging is enabled.
- Then head over to the platform-tools folder, type in CMD in the address bar, and hit Enter. This will launch the Command Prompt.

- Type in the following command in the CMD window to boot your device to TWRP
adb reboot recovery

Create TWRP Nandroid Backup via ADB Commands
- Let’s now get to the crux of this article. So the general syntax to take a Nandroid Backup via ADB is as follows:
adb backup -f <backupname> --twrp <options>
- Here <backupname> is the name that you want to give to the backup file. If you don’t give any name, then it would be assigned the default name backup.ab.
- Next comes the <options>. Here you could specify the argument as to how you would want to customize this backup. Following are the available options:
system: backup the system partition
cache: backup the cache partition
data: backup the data partition
boot: backup the boot partition
etc: backup every partition on your device
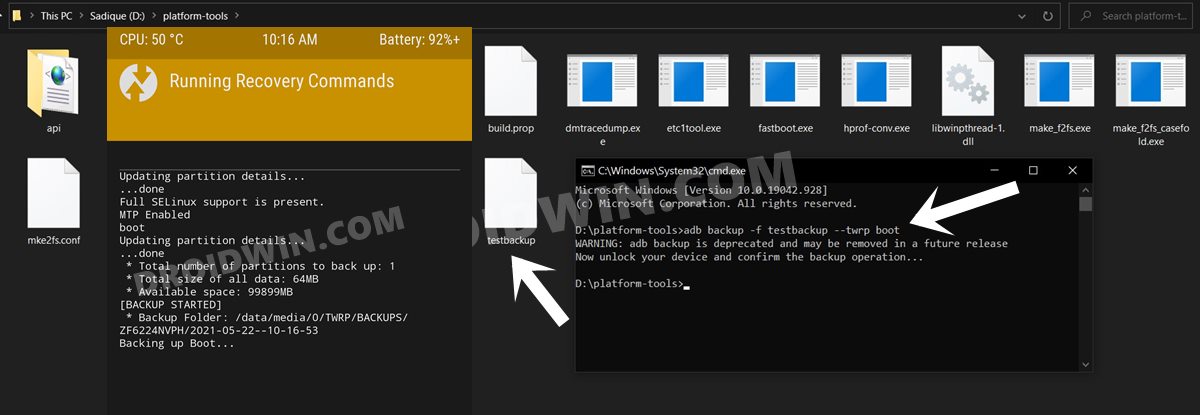
- Furthermore, the backed-up file will be placed inside the same folder where we have launched the CMD window. So in our case, that would be the platform-tools folder.
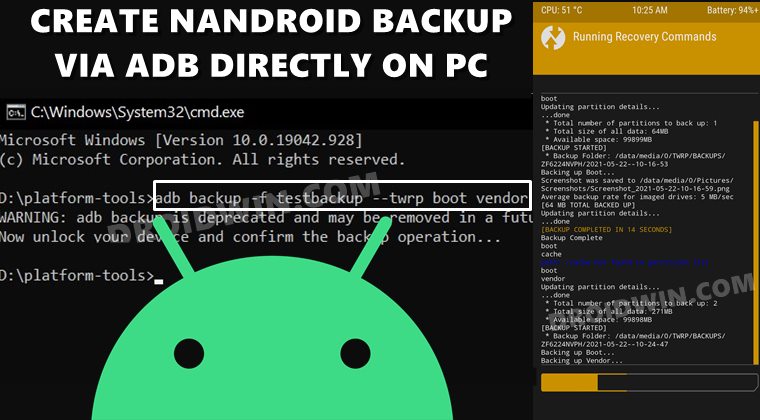
- So if you wish to create a backup of the boot partition and name it testbackup, then the command will be:
adb backup -f testbackup --twrp boot
- What if you don’t specify any argument? Well, in that case, the system and data partition will be backed up, named backup.ab. This is how the command will look like in that case:
adb backup --twrp
- Furthermore, you could also add two or more arguments to a single command. For that, you just need to separate each argument by a single space. For example, if you wish to take a backup of the boot and vendor partition and name it ‘testbackup’, then the command would be as follows:
adb backup -f testbackup --twrp boot vendor
How to Restore Nandroid Backup via TWRP
- Let’s suppose we have created a backup named testbackup, which is stored on our PC. We now need to restore this backup to our device.
- For that, boot the device to TWRP and launch the CMD window inside the platform-tools.
- Then, execute the below command to restore the backup:
adb restore testbackup
That’s it. The process stands complete. And with this, we conclude the guide on how to create a TWRP Nandroid Backup directly on PC via ADB Commands. If you have any queries concerning the aforementioned steps, do let us know in the comments. We will get back to you with a solution at the earliest.


Suvendu
Hi, can we back up photos & Videos by this method from Oneplus 7t which is currently in recovery mode & device state is locked
Jean Noel HAMON
OnePlus 8 Pro
OOS 11.0.10.10
TWRP 3.6
Magisk 23.0
Bonjour
Pour effectuer une sauvegarde avec TWRP (en mode Recovery sur l’appareil ou avec les commandes ADB sur le PC) est-ce qu’il faut sauvegarder :
– par précautions toutes les partions pour retrouver le téléphone à l’identique après la restauration (système complet, paramétrages, applications avec données , SMS – MMS – journal d’appel, etc.)
– certaines partitions : lesquelles pour un redémarrage de l’appareil
Pour effectuer la restauration des partitions sauvegardées, faut-il effectuer avant un « factory Reset », rebooter ensuite sur Recovery ?
Je vous remercie pour vos informations et votre aide
Bien cordialement
Jean Noel HAMON
OnePlus 8 Pro
OOS 11.0.10.10
TWRP 3.6
Magisk 23.0
Hello
To perform a backup with TWRP (in Recovery mode on the device or with ADB commands on the PC) do you need to back up:
– as a precaution all partitions to find the phone identically after the restoration (complete system, settings, applications with data, SMS – MMS – call log, etc.)
– select partitions: which ones for a restart of the device
To perform the restoration of the saved partitions, should it be performed before a “factory Reset”, then reboot on Recovery?
Thank you for your information and help.
Best regards