In this guide, we will show you the steps to create a new administrator account without logging in to your Windows 11 PC. There could be quite a few instances when you might need to create and use a new admin account on your PC. For example, recently one of my friends borrowed a laptop from someone. Then he went on to challenge his inner geek, and in the process, ended up corrupting a few system files.
As a result OF which, the PC was unable to boot to the OS. Now, there do exist a few fixes that you could carry out from the BIOS to resolve this issue. However, most of those tweaks would require elevated permission, or in other words, an administrator account. Now, asking for the owner of that PC for his account would have left to a long chain of events.
So what we instead did was to temporarily create a new administrator account and carried out the fixes that rectified the underlying issue. once we were able to boot to the OS, we then deleted that temporary admin account and it turned out to be a win-win scenario for everyone. So without any further ado, let’s check out the steps to create a new administrator account without logging in to your Windows 11 PC. Follow along.
Create a New Administrator Account without logging in to Windows 11

- To begin with, create a Windows 11 Bootable USB drive. [NOTE: This step requires you to have an additional PC at hand. If you don’t have it, then you could instead opt for the Automatic Repair Mode method].
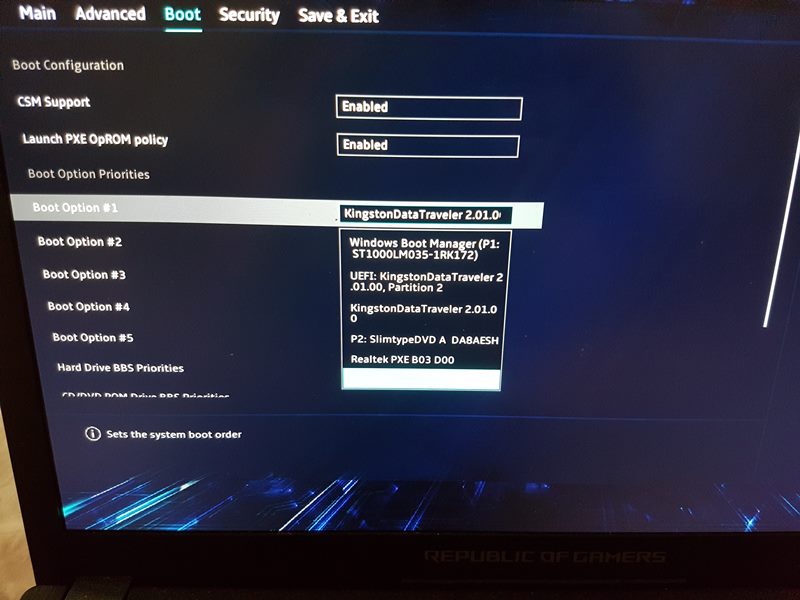
- Then change the boot order from BIOS and put the USB device as the primary boot device.

- Your PC will now boot to the Windows setup. Now press the Shift+F10 keys and it will open the Command Prompt.
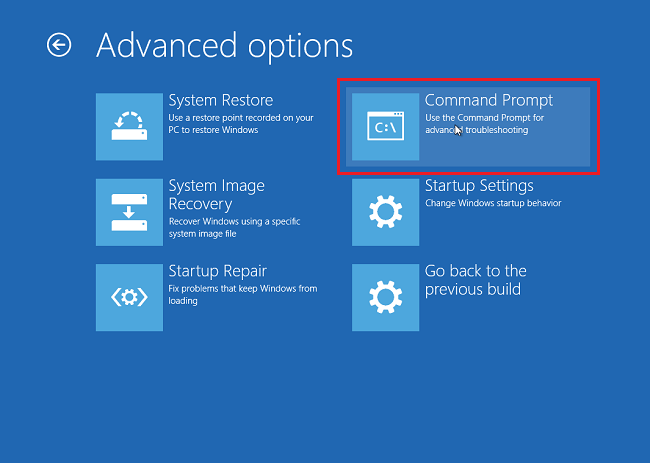
- You could also click on Repair your computer and then go to Troubleshoot > Advanced option > Command Prompt.
- Now execute the below command [replace username with the desired name that you wish to allocate to the new account]
user username /add
- Now execute the below command to add that account to the local group of administrator [replace username accordingly].
localgroup administrators username /add
- You may now log in to the newly created administrator account and carry out the required administrator level fixes.
That’s it. These were the steps to create a new administrator account without logging in your Windows 11 PC. If you have any queries concerning the aforementioned steps, do let us know in the comments. We will get back to you with a solution at the earliest.


