In this guide, we will show you various methods to fix the issue of being unable to connect the Bluetooth earphones on your Mac. There have been quite a few reports wherein users have voiced their concern that they are unable to connect their Bluetooth device with their Macbook and iMac. Most of these devices belong to the wireless earphones/headphones/earbuds domain.
Moreover, the issue isn’t limited to any particular OS version as users having macOS Big Sur, Monterey, or Ventura are all in the same boat. Likewise, some have even said that while their earphone does show as connected in their Mac but the sound still comes from their Mac speakers. If you are also getting bugged with any of these issues, then this guide shall help you out. Follow along.
Table of Contents
How to Fix Cannot Connect Bluetooth Earphones to Mac
It is recommended that you try out each of the below-mentioned workarounds and then see which one spells out success for you. So with that in mind, let’s get started.
FIX 1: Toggle Bluetooth on Mac
First and foremost, you should consider disabling and re-enabling the Bluetooth on your Mac. This will disable the existing connection and would create a new one, which in turn might rectify the underlying issue as well. So let’s give it a try and check out the results.
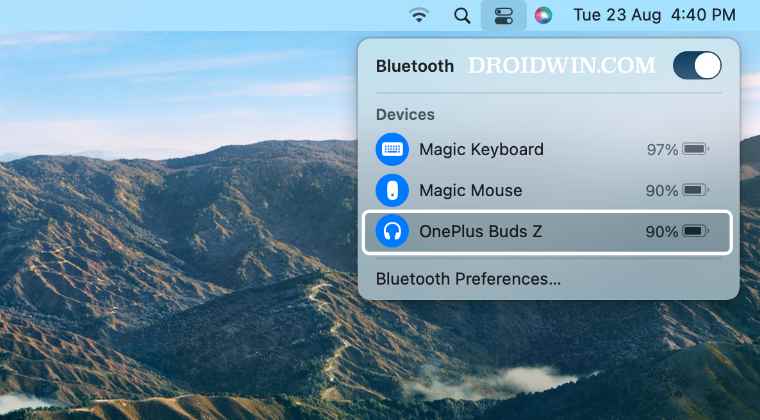
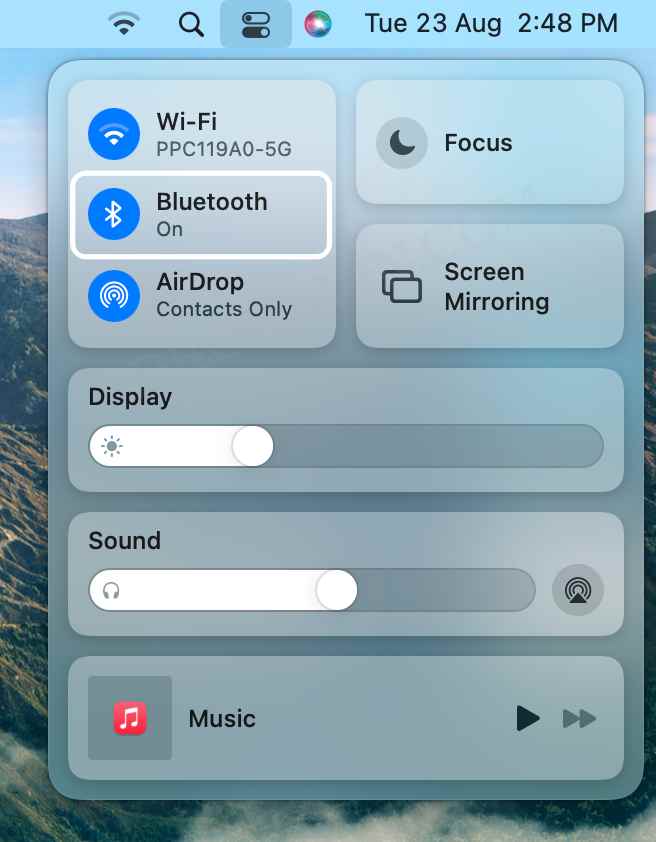
- Click on the Control Center icon and select Bluetooth.

- Then turn off the toggle next to Bluetooth.
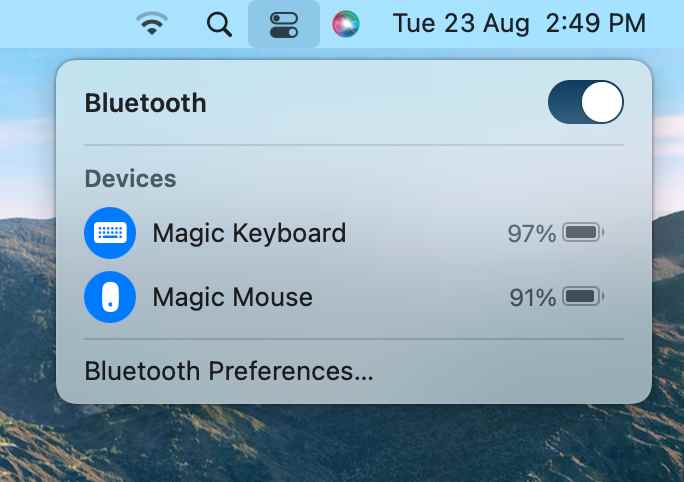
- Now wait for a few seconds and then re-enable Bluetooth.
- Your Bluetooth earphone should now automatically connect to your Mac.
- If that doesn’t happen, then go to Bluetooth Preferences and click on Connect next to it.
- Now check if your Bluetooth earphones are connecting to your Mac.
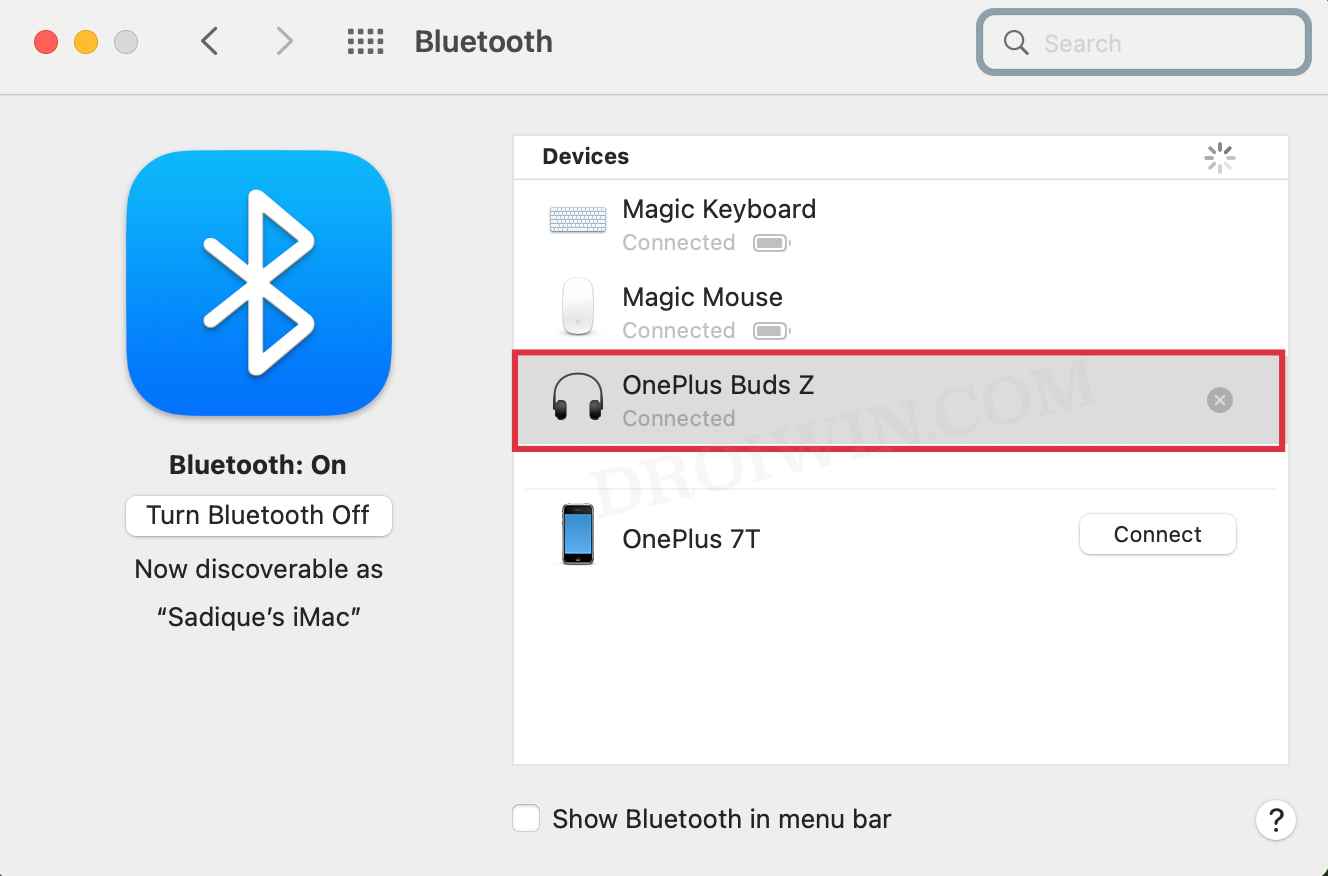
FIX 2: Pair your Earphone Again
Next up, you should consider removing your earphones from the paired devices section of your Mac and then pair it back again. Here’s how it could be done:
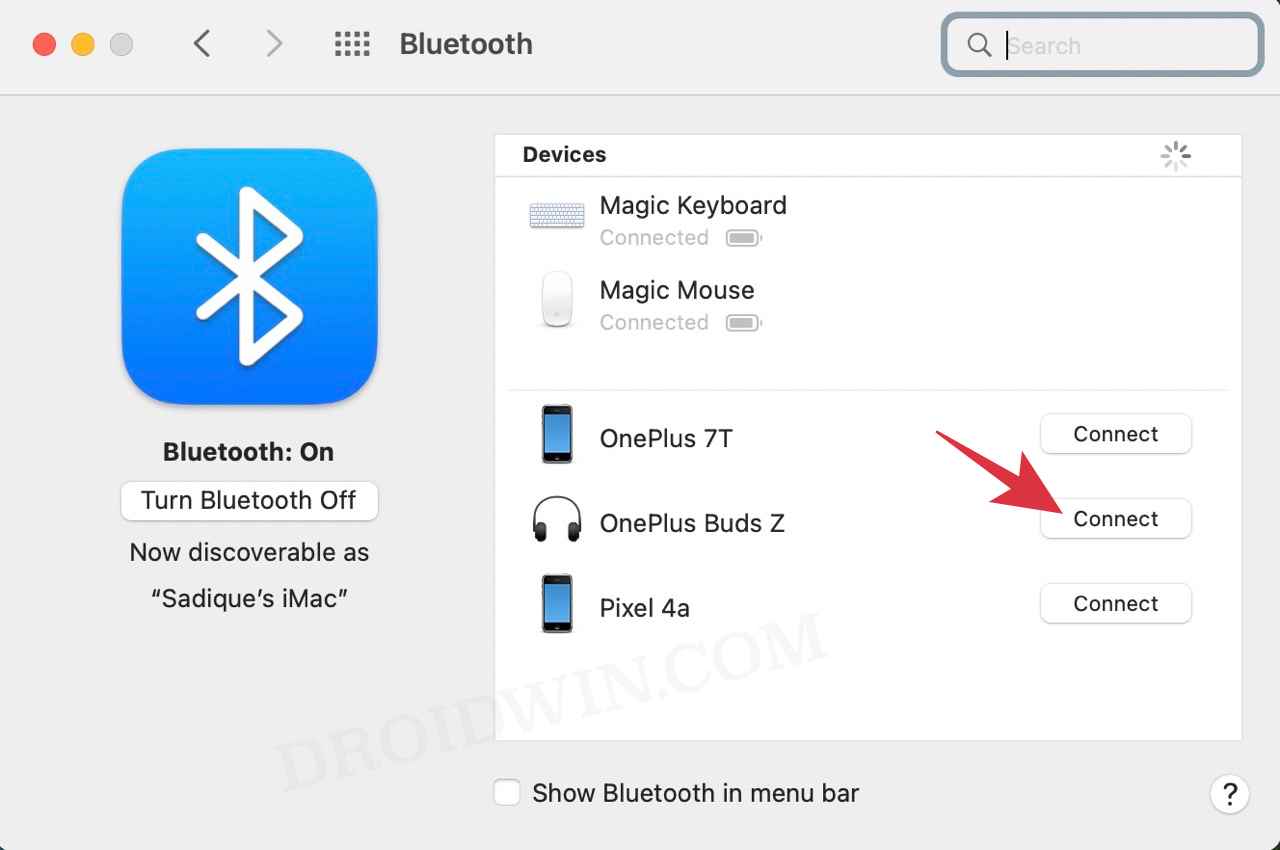
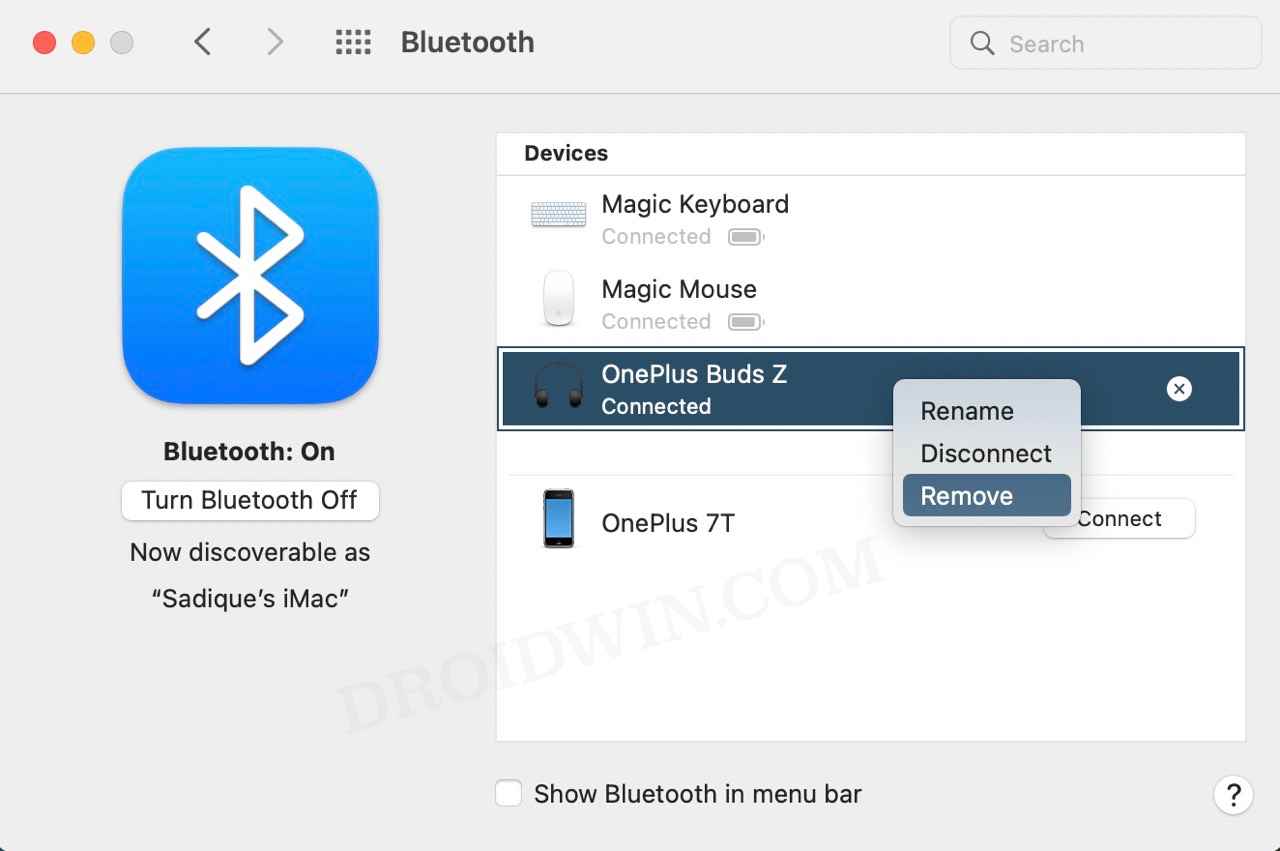
- Click on the Control Center icon and select Bluetooth.
- Then click on Bluetooth Preferences.
- After that, right-click on your earphones and select Remove.
- Now bring up your earphones in the pairing mode.
- It will now appear in the list of devices. click on Connect.
- Now check if your Bluetooth earphones are connecting to your Mac.
FIX 3: Tweak Earphone Settings
If you successfully paired and connected your earphones to your mac but are still not hearing any sound, then you might have to tweak its Balance and Output settings from your Mac. Here’s how it could be done:
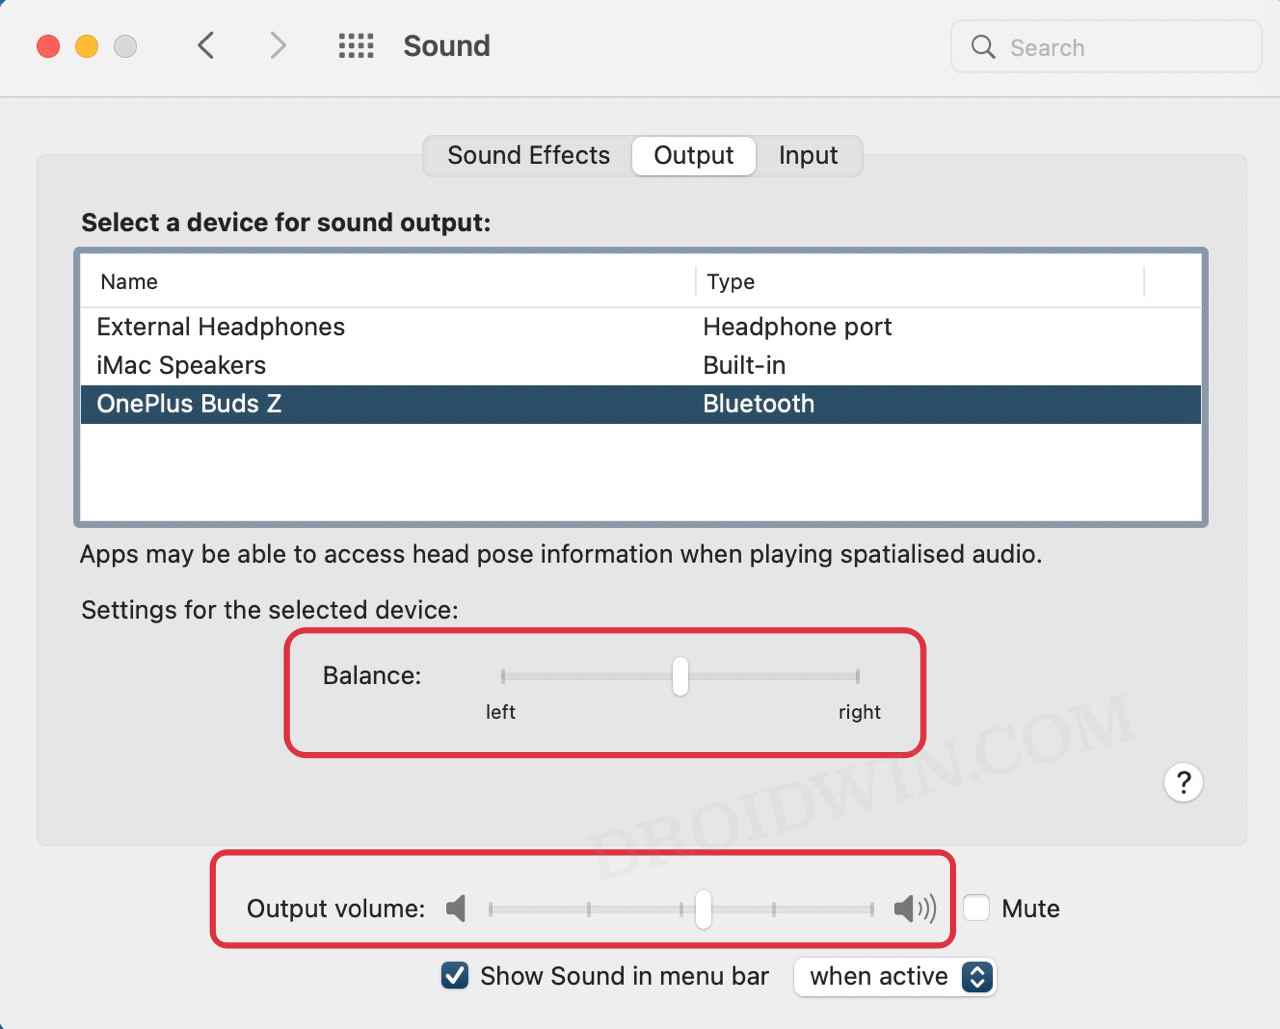
- Click on the Apple logo and select System Preferences.
- Then go to the Output tab and select your earphones.
- Now tweak the Balance and Output settings accordingly.
- Check if your Bluetooth earphones are now working on your Mac.
FIX 4: Restart Bluetooth Process
If any of the background running processes of Bluetooth aren’t functioning along the expected lines, then it could spell out trouble for the Bluetooth. Therefore, you should consider restarting all its processes, using the instructions listed below [do note that this will remove all your paired devices].
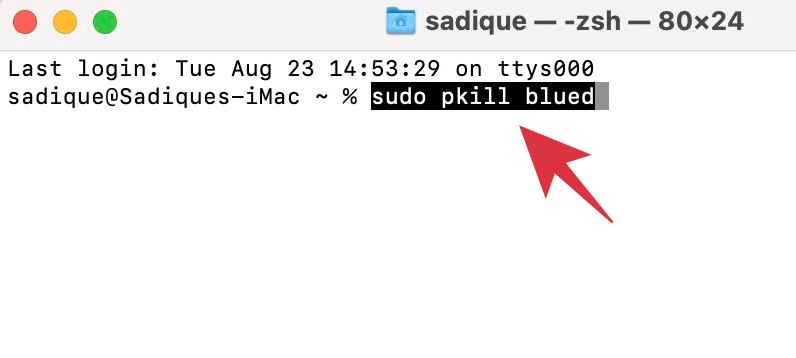
- To begin with, open Launchpad and go to Other > Terminal.
- Then execute the below command in the terminal window
sudo pkill blued
- Now try reconnecting your earphones with your Mac and check if it works out.
FIX 5: Reset Bluetooth Module
In some instances, your mouse might not be able to establish a successful connection with your Mac due to the latter’s Bluetooth module being corrupted. In such cases, you will have to reset the Bluetooth module on your Mac, as instructed below.
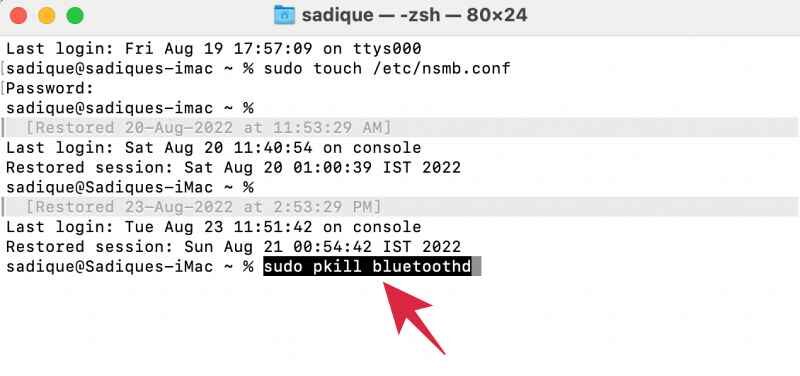
- Open Launchpad and go to Other > Terminal.
- Now execute the below command in the Terminal window
sudo pkill bluetoothd
- Once done, re-pair your earphones with your Mac and check out the results.
FIX 6: Reset NVRAM
Both M1/M2 and Intel-based Macs come with NVRAM [Non-Volatile Random Access Memory) which holds information about the configuration of your Mac. They store information related to your desktop settings, mouse, keyboard, time zone, and display resolution, among others. So if this stored data gets corrupted, then its associated hardware or software component might not be able to perform as expected. Therefore, you will have to reset the NVRAM, using the instructions given below:
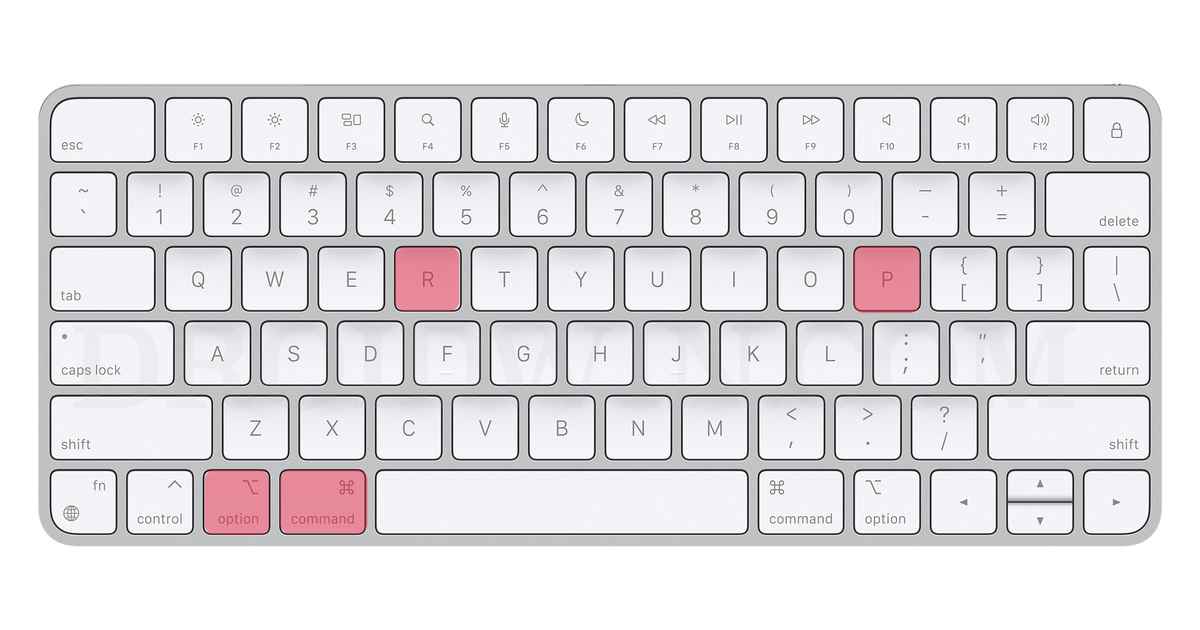
- If you have an M1 or M2 Mac, then just a normal restart will reset the NVRAM.
- For an Intel-based Mac, you should first turn off your PC.
- Then before the gray screen appears, press the CMD, Option, P, and R keys together.
- Keep on pressing these keys until your Mac restarts and you hear the startup sound.
- Once that happens, you may release the keys and the NVRAM reset is now complete.
- Now check if your Bluetooth earphones are working on your Mac.
FIX 7: Manually Configure Network MTU
Many users were able to resolve the Bluetooth connectivity issue by assigning a manual value to the WiFi Maximum Transmission Unit. So let’s put this tweak to the test and check out the results.
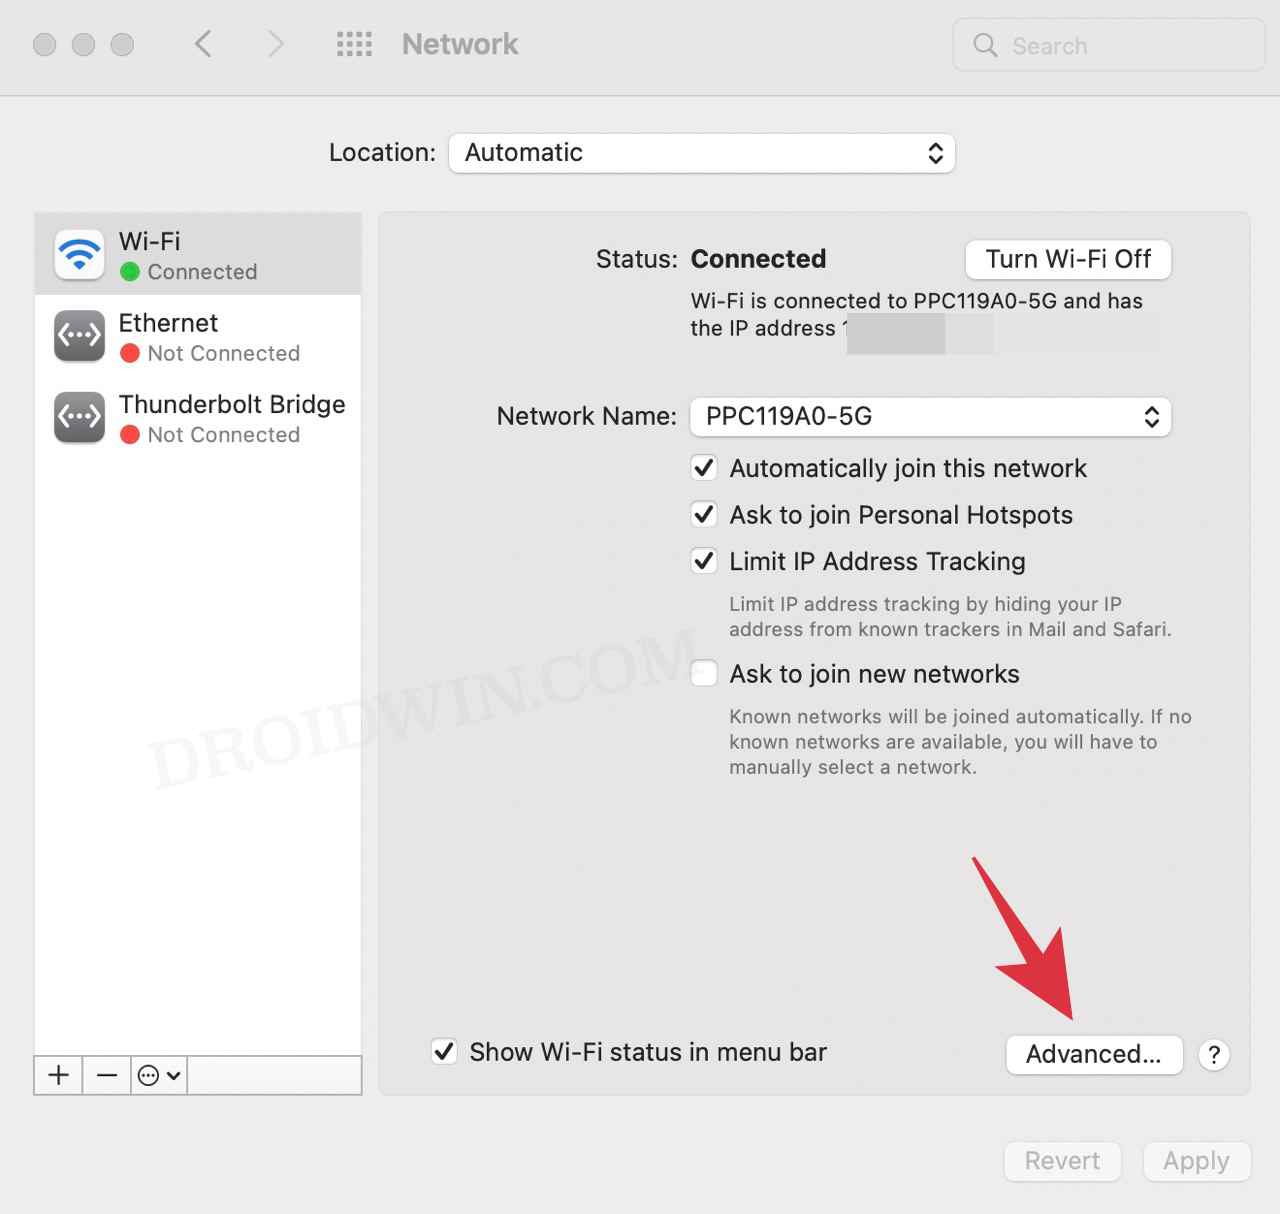
- Click on the Apple menu and select System Preferences.
- Then click on Network, select WiFi, and click on Advanced.
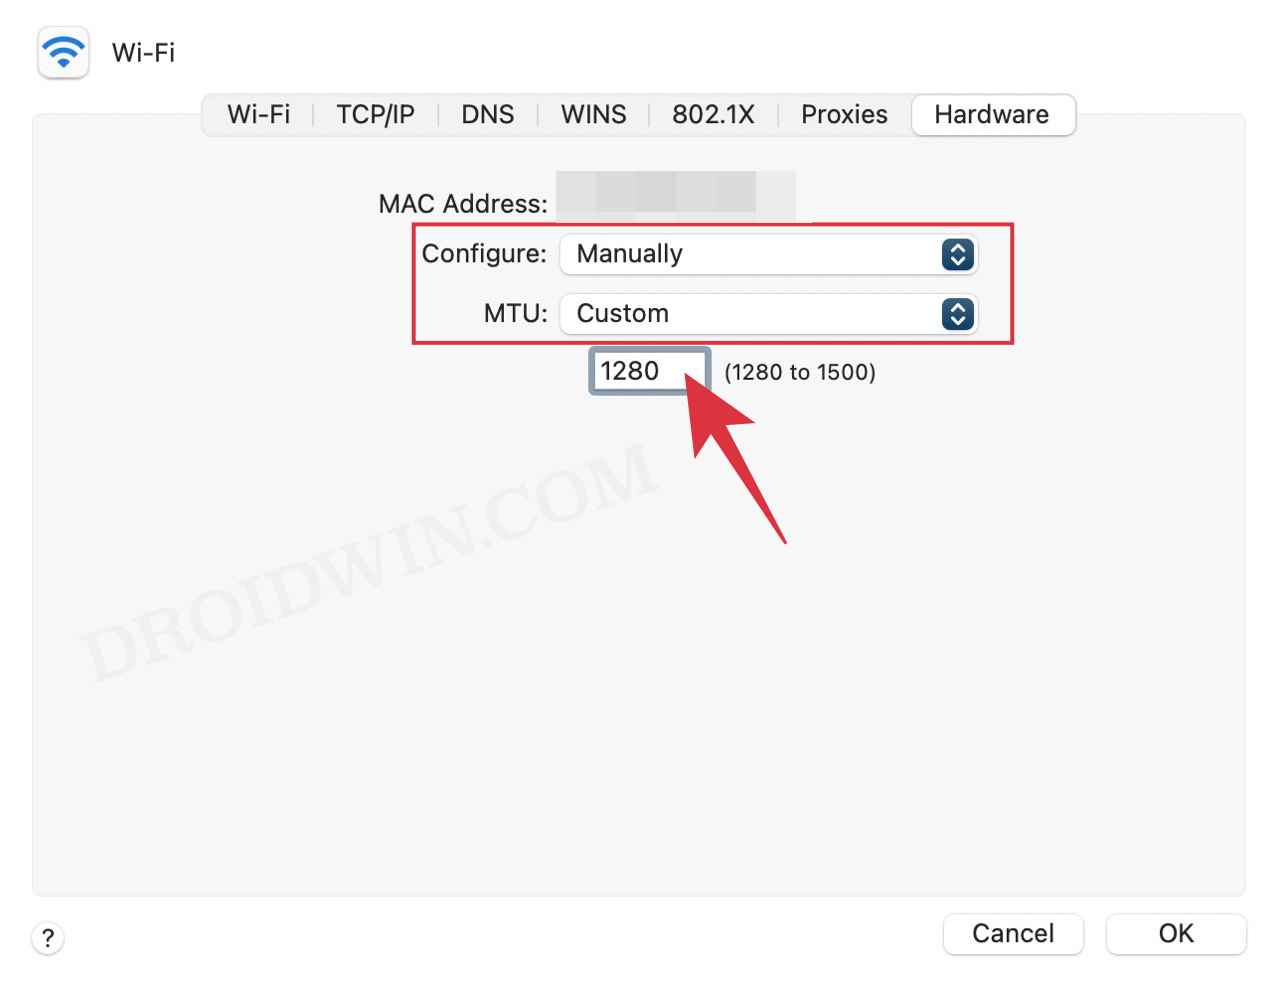
- Now go to the Hardware tab and change Configure to Manually.
- Then change MTU to Custom, type in 1280 as the value, and hit OK.
- Now check if your Bluetooth earphones are working on your Mac.
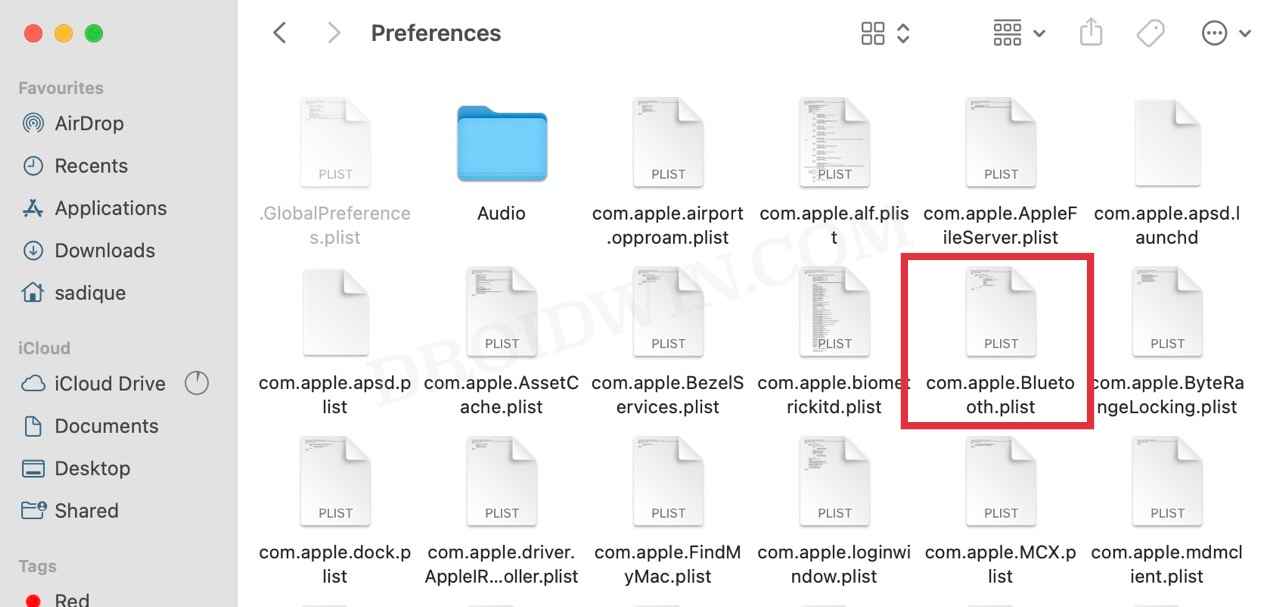
FIX 8: Delete Bluetooth Configuration Files
If none of the aforementioned methods managed to work out in your favor, then it might be the case of your Bluetooth’s preferences and configuration settings getting corrupted. To rectify it you will have to delete its config file [Property List-PLIST] and let the OS recreate it from scratch. Here’s how it could be done:
- Launch Finder and press Shift+Command+. keys to show hidden files.
- Then go to Library > Preferences folder and delete the following file:
com.apple.Bluetooth.plist
- After that, go to Library > Preferences >ByHost and delete the file stating with:
com.apple.Bluetooth
- Once done, restart your Mac and the files will be re-created.
- Now reconnect your earphones and the issue would have been rectified.
That’s it. These were the eight different methods that shall help you fix the issue of being unable to connect the Bluetooth earphones on your Mac. If you have any queries concerning the aforementioned steps, do let us know in the comments. We will get back to you with a solution at the earliest.


