In this guide, we will make you aware of a workaround that might help you fix the issue of being unable to add Security Keys on macOS 13.2. The latest OS build for Mac has bought in a couple of noteworthy features, among them it’s the enhanced security mechanism that is taking away all the limelight. Known as Security keys, it replaces the traditional six-digit verification code that you enter from an Apple device.
So if you have a two-step verification enabled on your Apple account [which you definitely should], then after entering the password, you will have to use a FIDO Certified security key to complete the authorization. Only after that, will you be able to log in to your account. And as you might have guessed, losing this key means you will no longer be able to access your account.
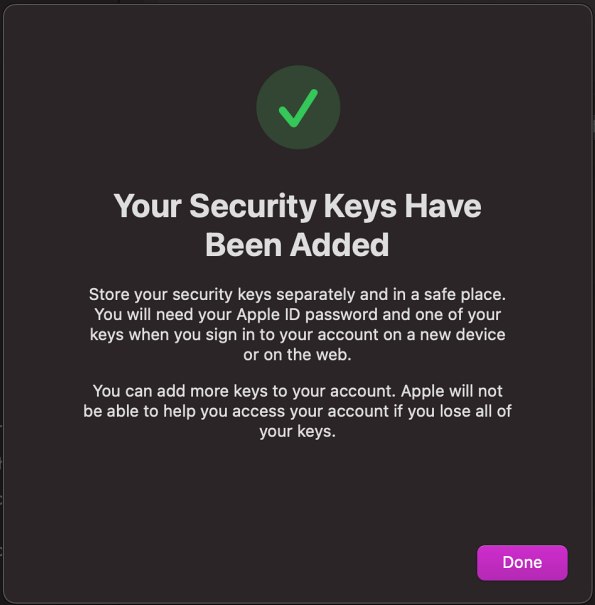
To overcome this, it is always recommended to have at least a couple of security keys in hand [you could have a maximum of six]. Weighing in the risks and benefits involved, many users did infact opt for this method but are unable to add Security Keys on their Mac running macOS 13.2. Whenever they are trying to do so, they do get the success message [Security keys have been added], but that is just a false positive, in reality, the keys haven’t been added. So is there a fix? Let’s check it out.
Fix Cannot Add Security Keys on macOS 13.2
As of now, the only workaround that is spelling out access for some users involves trying to add the secure keys around 3-4 times and ultimately the keys will be added to your Mac. So refer to the below steps to give it a try and then check out the results:
- Launch System Settings and click on your name.
- Then click on “Password & Security and click on “Add” next to “Security Keys”.
- Now proceed with the on-screen instructions to complete the setup.
- You might have to try this around 3-4 times before it ultimately works out.
As of now, this is the only workaround that is working in favor of some users. As and when we get hold of more tweaks, we will update this guide accordingly. Moroever, as far as the official stance on this matter is concerned, the developers are yet to acknowledge this issue, let alone give out any ETA for the rollout of a fix.