In this guide, we will show you the steps to fix the issue of the watermark turning grey after export in Adobe Lightroom Classic. This creative image organization and image manipulation software from the tech behemoth beholds a slew of nifty features up its sleeves. Be it for importing, organizing, tagging, or editing digital images, it could perform all these tasks with ease.
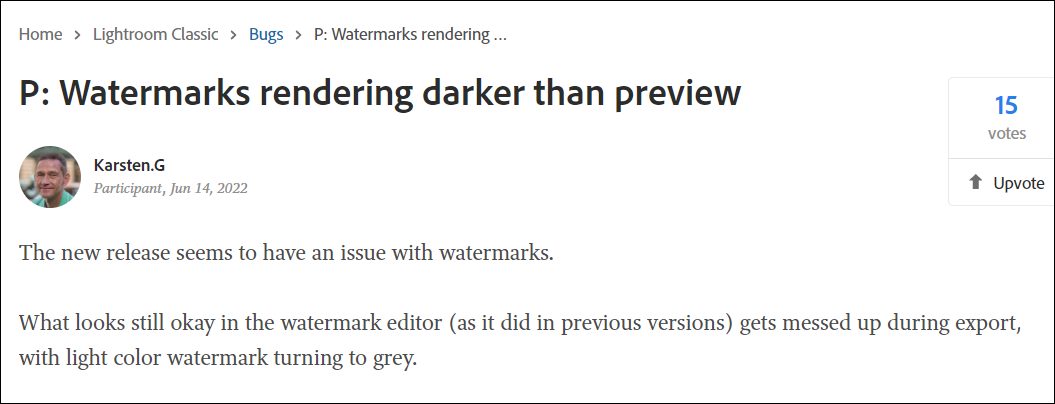
Likewise, its editing capabilities in the form of the tone curve, HSL, color grading, detail, lens corrections, and calibration manipulation is also worthy of praise. What isn’t is the fact that this software gets bugged with quite a few issues. As of now, various users have voiced their concern that Adobe Lightroom Classic is turning the watermark to a grey color after the export.
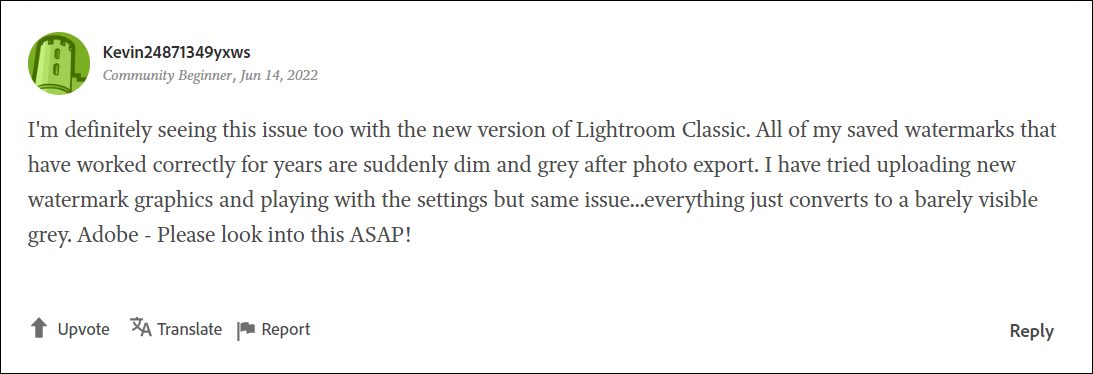
When they are in the preview mode/watermark editor screen, the watermark appears in its true self. But as soon as they export it, the watermark suddenly changes to dim and grey. Adding more to their misery, some users have also reported that a black border gets automatically placed around their white watermark. If you are also getting bugged with any of these issues, then this guide shall help you out. Follow along for the fixes.
Fix Adobe Lightroom Classic: Watermark turns Grey after Export

The culprit behind this issue is the latest buggy update version 11.6 rolled out by Adobe in the first week of July. So to rectify it, you will have to downgrade it to the earlier stable version. For that, you may either refer to our detailed guide on How to Downgrade Adobe Creative Cloud Apps to an Earlier Version or check out the shorter instructions below
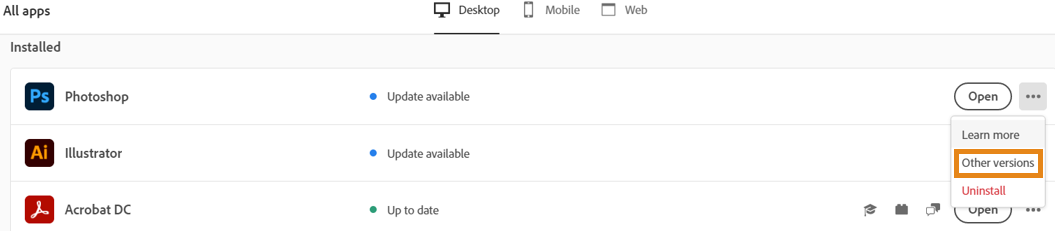
- Open the Creative Clouds app and scroll to the app that you wish to downgrade.
- Then click on the More (…) button next to that app.

- After that, select Other Versions from the drop-down menu.
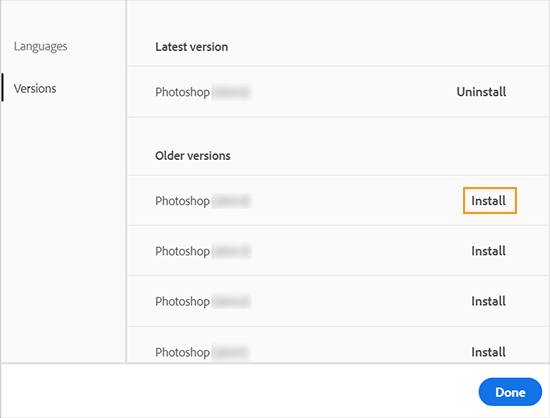
- Now click on the Install button next to the app version of your choice.
- That’s it, the older build of that app will now be installed onto your PC.

That’s it. These were the steps to fix the issue of the watermark turning grey after export in Adobe Lightroom Classic. As far as the official stance on this matter is concerned, the developers are aware of this issue, but they haven’t given out any ETA for the rollout of a fix. As and when that happens, we will update this guide accordingly. In the meantime, the aforementioned workaround is your best bet.


